 Save
Save
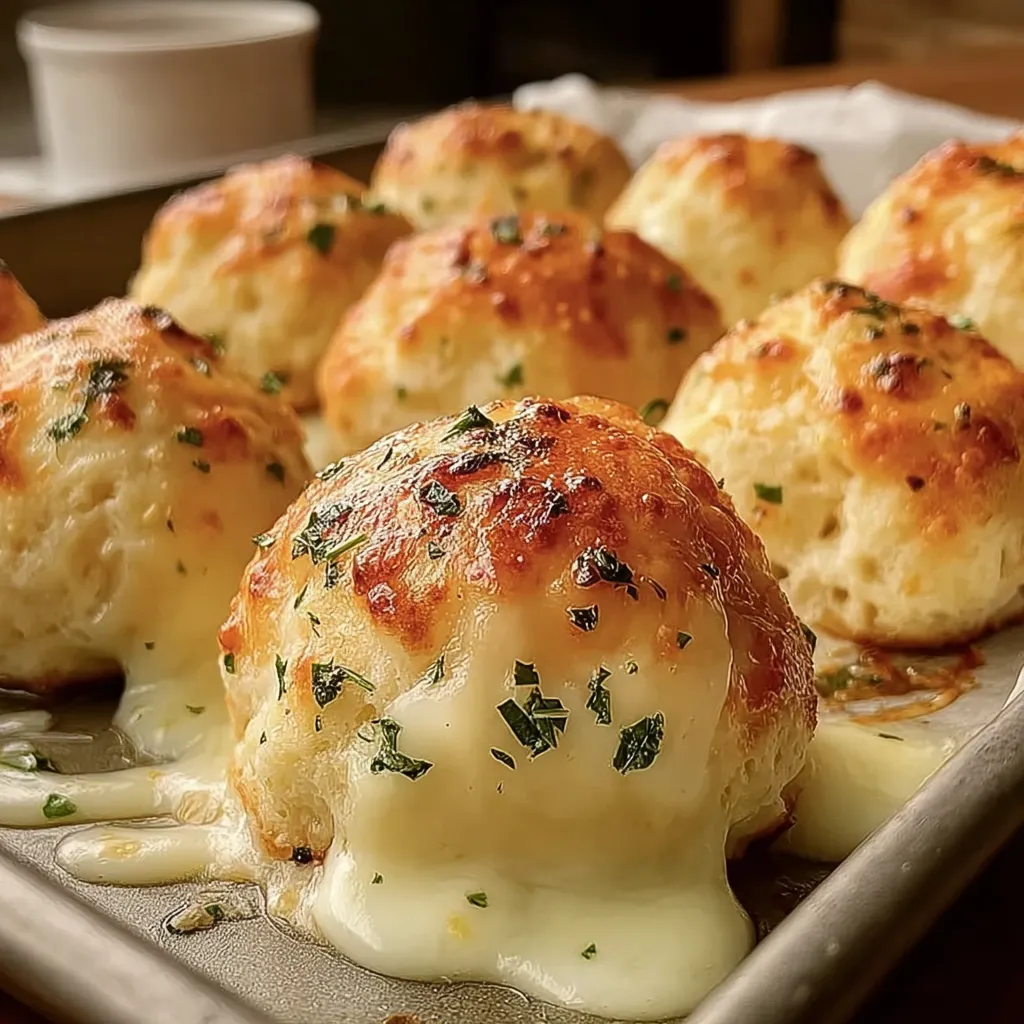
These cheese stuffed biscuits transform ordinary refrigerated dough into irresistible cheese bombs that disappear within minutes at any gathering. The contrast between the golden crispy exterior and the gooey mozzarella center creates that perfect cheese pull moment everyone craves.
I first made these for a last minute game day gathering when I was short on time but every single person requested the recipe. Now they've become my signature contribution to potlucks and family dinners.
Ingredients
- Refrigerated biscuit dough provides the perfect shortcut while still delivering fluffy delicious results
- Mozzarella cheese cubes create that dramatic cheese pull effect and mild flavor that complements the garlic butter
- Butter combined with garlic powder and Italian seasoning transforms into an aromatic coating that elevates simple dough
- Parmesan cheese adds a savory nutty crust on top for extra flavor complexity
- Fresh parsley brightens the rich flavors and adds visual appeal
Step-by-Step Instructions
- Prepare Your Oven and Workspace
- Heat your oven to precisely 375°F and line a baking sheet with parchment paper to prevent sticking. The parchment also makes cleanup significantly easier.
- Prepare The Biscuit Dough
- Open the refrigerated biscuit can and separate the dough pieces. Press each biscuit between your palms or use a rolling pin to flatten into discs about 3 inches in diameter. Work quickly as the dough becomes stickier as it warms.
- Add The Cheese
- Place one cube of mozzarella in the center of each flattened biscuit. Make sure the cheese cube is centered for even melting.
- Form The Cheese Bombs
- Carefully bring all edges of the dough up and around the cheese cube, pinching firmly to seal completely. Roll between your palms to form a smooth ball. Double check for any openings where cheese might escape during baking.
- Create The Flavor Coating
- In a small bowl, combine the melted butter with garlic powder and Italian seasoning, stirring until well incorporated. This aromatic mixture will infuse the bread with savory flavor.
- Apply The Butter Mixture
- Using a pastry brush, generously coat each dough ball with the garlic butter mixture, ensuring even coverage for consistent flavor in every bite.
- Add The Parmesan Finish
- Sprinkle the Parmesan cheese over the butter coated balls, gently pressing it into the surface slightly so it adheres during baking.
- Bake To Golden Perfection
- Place the prepared cheese bombs on your lined baking sheet with at least 2 inches between each one. Bake for 12 to 15 minutes, watching carefully around the 12 minute mark as ovens vary. They should be evenly golden brown and slightly firm to the touch.
- Garnish And Serve
- Remove from the oven and let cool for 3 to 5 minutes so the cheese can set slightly. Sprinkle with fresh chopped parsley and serve while still warm for the best cheese pull experience.
 Save
Save
The first time I served these at a family gathering, my nephew who normally refuses to try new foods ate four in a row. The simplicity of bread and cheese transformed into something special with that aromatic garlic butter coating became an instant tradition.
Serving Suggestions
These cheese bombs pair beautifully with marinara sauce for dipping, creating a pizza like experience. For a more substantial meal, serve alongside a hearty vegetable soup or fresh garden salad. At parties, I arrange them on a wooden board with small bowls of different dipping sauces like ranch, pesto, and spicy honey for an interactive appetizer station that always gets people talking.
Troubleshooting Tips
If your cheese is leaking during baking, you likely have gaps in the dough seal. Make sure to pinch the edges firmly and roll the ball between your palms until completely smooth. Another trick is to freeze the cheese cubes for 15 minutes before wrapping them which gives you more time to seal the dough before the cheese begins to melt. If some still leak, simply use a spatula to scoop up any escaped cheese and return it to the top of the biscuit right after baking.
Variations Worth Trying
Experiment with different cheese fillings like cheddar for sharper flavor or pepper jack for heat. For meat lovers, add a small piece of pepperoni or cooked bacon alongside the cheese. Sweet versions work surprisingly well too just add cinnamon to the butter mixture, use cream cheese, and drizzle with honey after baking. My family favorite variation includes adding a tiny spoonful of pesto alongside the mozzarella for an Italian twist that elevates these simple bites to gourmet status.
 Save
Save
Recipe FAQs
- → Can I use different types of cheese?
Absolutely! While mozzarella offers that classic pull-apart texture, cheddar, pepper jack, or fontina work beautifully too. For extra flavor, try combining different cheese varieties in each biscuit.
- → Why is my cheese leaking out during baking?
The most common reason is inadequate sealing. Make sure to pinch the dough edges firmly and roll the ball until smooth with no visible seams. Chilling the cheese cubes for 15 minutes before assembly can also help prevent premature melting.
- → Can I make these ahead of time?
You can prepare the stuffed biscuit balls up to a day ahead and refrigerate them unbaked. The butter mixture can also be made in advance. When ready to serve, brush with the garlic butter mixture and bake until golden brown.
- → What can I serve with cheese stuffed biscuits?
Marinara sauce is the classic pairing, but ranch dressing, pizza sauce, or herb-infused olive oil also complement these cheesy bites perfectly. They're great alongside soups, salads, or as part of an appetizer spread.
- → How do I store and reheat leftovers?
Store cooled biscuits in an airtight container in the refrigerator for up to 3 days. Reheat in a 350°F oven for 5-7 minutes until warmed through. Avoid microwave reheating if possible, as it can make the biscuits tough.
- → Can I freeze these cheese biscuits?
Yes! Freeze them either before or after baking. For unbaked biscuits, freeze individually on a baking sheet, then transfer to a freezer bag once solid. Bake from frozen, adding 5-7 minutes to the cooking time. For baked biscuits, thaw in the refrigerator before reheating.
