
 Save
Save
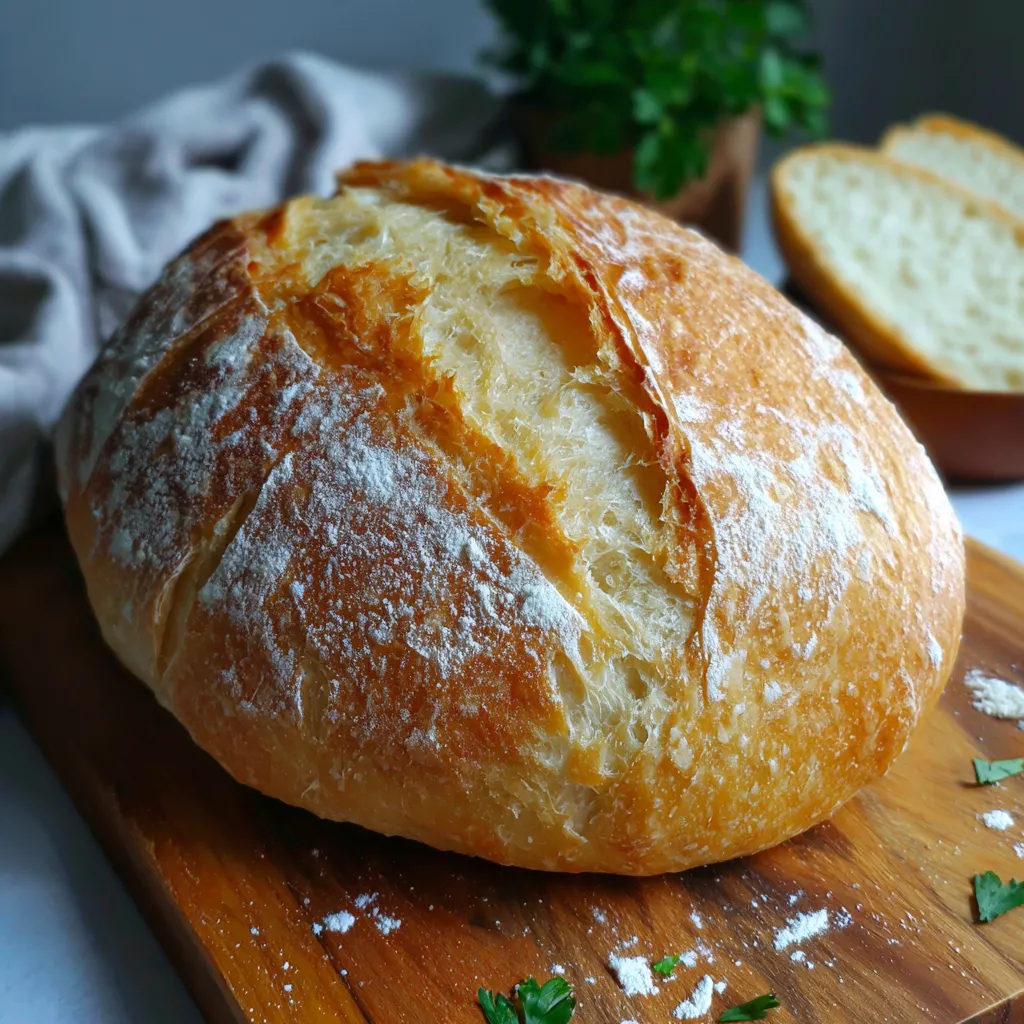
This rustic, crusty loaf bread recipe transforms just four simple ingredients into an artisanal bread experience right in your own kitchen without any kneading required. The Dutch oven method creates that perfect contrast between a crackling golden crust and a soft, airy interior that rivals any bakery loaf.
I first discovered this method during a snowstorm when I couldn't get to the store for fresh bread. My family was so impressed with the results that we rarely buy bread anymore this has become our weekly tradition that fills our home with the most incredible aroma.
Ingredients
- Bread flour creates the perfect chewy texture and sturdy structure look for unbleached varieties for the best flavor
- Instant yeast ensures reliable rising without the need to proof separately in warm water
- Kosher salt enhances flavor and strengthens the gluten structure use Diamond Crystal for best results
- Warm water activates the yeast and creates steam during baking which helps develop that perfect crust
Step-by-Step Instructions
- Combine the dry ingredients
- Mix flour and salt in a large bowl then dissolve yeast in warm water before combining with dry ingredients. Stir until just combined into a shaggy dough without overworking. The minimal mixing preserves air pockets that create the artisanal texture.
- First rise
- Cover the bowl with plastic wrap or a clean towel and let rise at room temperature for 1 to 4 hours. The longer rise develops more complex flavors as the yeast works its magic. The dough should double in size and look bubbly across the surface.
- Preheat your baking vessel
- Place your Dutch oven with its lid into a 450°F oven for at least 30 minutes. This creates an intensely hot environment that mimics professional bread ovens. The preheated vessel immediately sears the exterior for maximum rise.
- Shape the dough
- Transfer risen dough to a lightly floured surface and shape into a round boule with gentle handling. Cut two shallow slashes across the top to control expansion and place on parchment paper while oven finishes heating. The minimal handling preserves air bubbles.
- Bake covered
- Carefully lower dough into preheated Dutch oven using parchment paper as a sling. Cover with lid and bake for 30 minutes. The covered environment traps steam from the dough which creates the signature crackling crust as it condenses on the bread surface.
- Finish uncovered
- Remove lid and continue baking for about 15 minutes until deeply golden brown. This uncovered stage allows moisture to escape and the crust to develop its full color and crispness. Listen for a hollow sound when tapped for doneness.
- Cool completely
- Transfer bread to a wire rack and let cool for at least 15 minutes before slicing. This crucial cooling period allows the interior to set properly and prevents the dreaded gummy texture that comes from cutting too soon.
The kosher salt is truly the unsung hero of this recipe. I once made this bread without measuring carefully and ended up with bland results. The proper amount transforms the flavor completely bringing out the natural sweetness of the wheat and creating that perfect bread flavor we all crave.
Storage Solutions
This bread stays freshest when stored cut side down on a cutting board for the first day. For longer storage place in a paper bag or bread box never plastic which softens the crust. To revive a day old loaf sprinkle with water and heat in a 350°F oven for 5 to 10 minutes until the crust crisps up again.
Customization Options
This base recipe welcomes endless variations. Try adding herbs like rosemary and thyme for an aromatic loaf perfect with soups. Mix in a handful of shredded cheese or chopped olives for savory applications. For a heartier texture incorporate seeds like sunflower pumpkin or flax just before shaping the dough.
Serving Suggestions
While delicious on its own this bread transforms into something special when served warm with good quality butter. It makes exceptional toast for breakfast especially when topped with avocado or a poached egg. For dinner parties serve alongside olive oil with a sprinkle of flaky sea salt for dipping or as the foundation for bruschetta.
The Dutch Oven Magic
The magic of this recipe lies in the Dutch oven technique which has been used for centuries. The heavy cast iron creates an environment similar to professional steam injection ovens. As the dough heats moisture evaporates creating natural steam inside the sealed pot. This steam gelatinizes the starches on the surface creating that distinctive crackling crust that is otherwise difficult to achieve in home ovens.
Recipe FAQs
- → Can I use all-purpose flour instead of bread flour?
Yes, all-purpose flour works perfectly well as a substitute for bread flour in this no-knead loaf. The bread may have a slightly different texture, but will still turn out delicious with a wonderful crust and soft interior.
- → Why do I need to preheat the Dutch oven?
Preheating the Dutch oven is crucial as it creates immediate steam when the dough hits the hot surface, which helps develop that professional bakery-style crust. The enclosed environment traps moisture from the dough, creating the perfect environment for crusty bread formation.
- → Can I make this bread without a Dutch oven?
While a Dutch oven produces the best results, you can use a cast iron pan with similar results. Alternatively, a baking sheet works too - just place the shaped dough on parchment paper and bake until golden brown (about 30-45 minutes), though the crust may not be quite as crispy.
- → How should I store this bread?
For optimal freshness, store the cooled bread in a paper bag at room temperature for 1-2 days. For longer storage, wrap tightly in plastic wrap and freeze for up to 3 months. Reheat frozen bread in a 350°F oven for 10-15 minutes to restore the crispy crust.
- → Why does the bread need to cool before slicing?
Allowing the bread to cool for at least 15 minutes lets the interior structure set properly. Cutting into hot bread releases steam prematurely and can result in a gummy, compressed texture. Patience yields a better crumb structure and proper texture.
- → Can I add other ingredients to flavor the bread?
Absolutely! This basic dough is perfect for customization. Try adding herbs like rosemary or thyme, garlic, olives, cheese, nuts, or seeds. Incorporate these ingredients during the initial mixing stage for even distribution throughout the loaf.