
 Save
Save
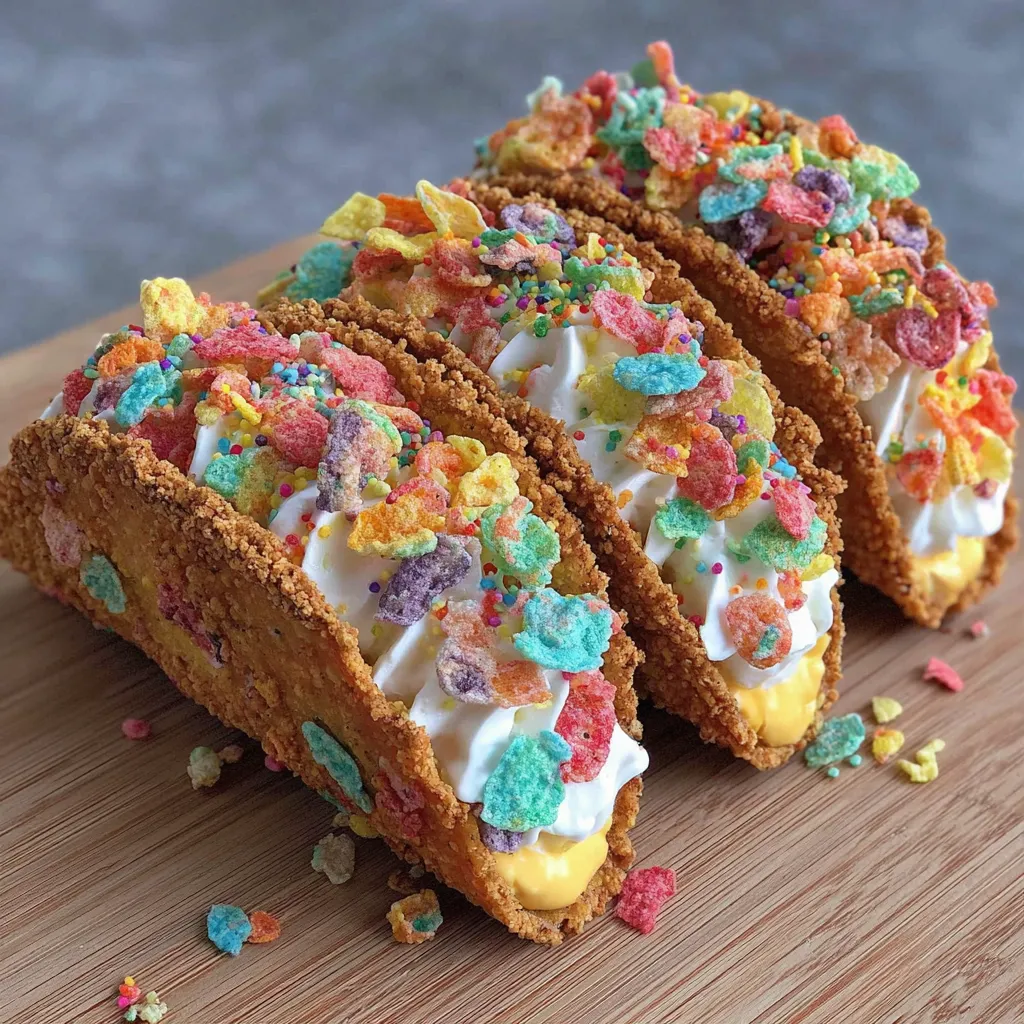
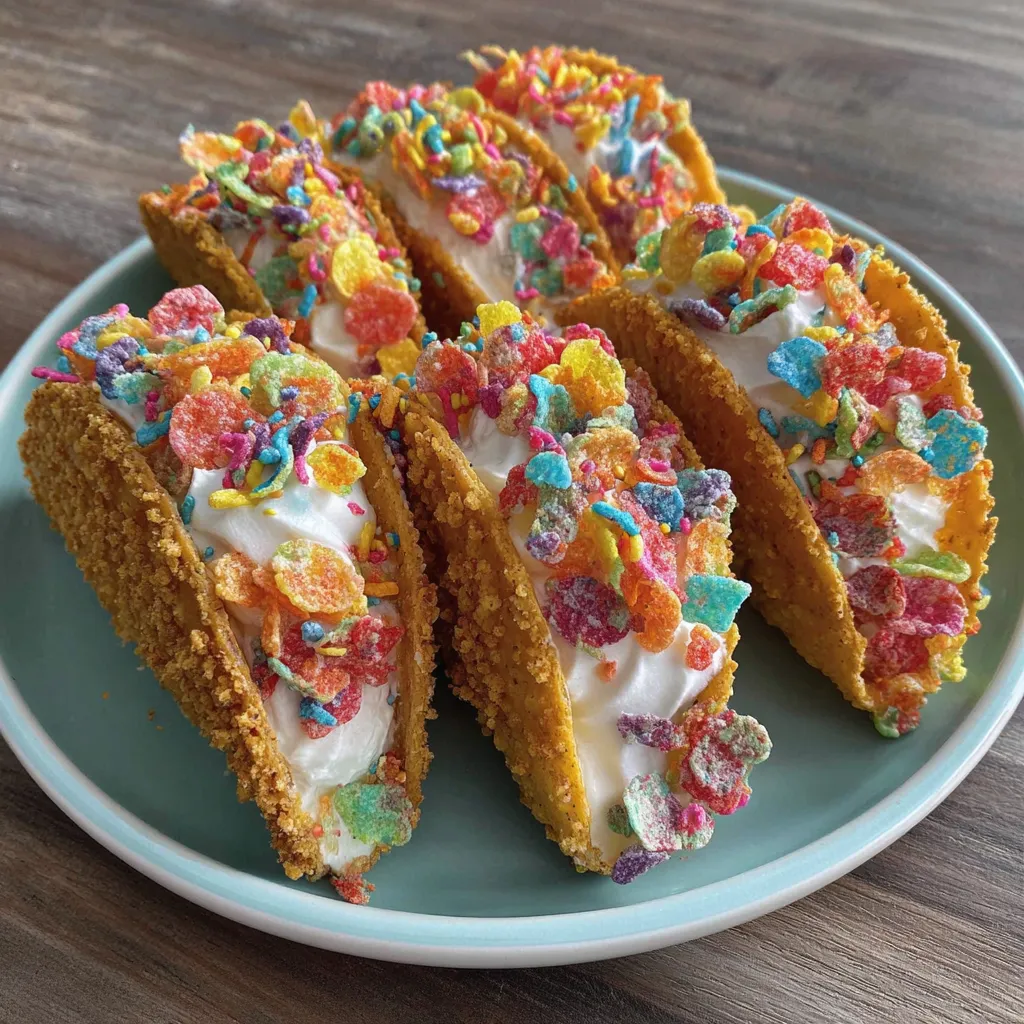
This vibrant Fruity Pebbles Cheesecake Tacos recipe transforms a beloved breakfast cereal into a show-stopping dessert that makes everyone smile. The combination of crunchy, colorful shells filled with creamy cheesecake filling creates a perfect balance of textures and flavors that both kids and adults adore.
I first created these for my niece's birthday party when I needed something colorful that wouldn't melt in the summer heat. They were such a hit that they've become our go-to dessert for celebrations when I want something that looks fancy but comes together quickly.
Ingredients
- Fruity Pebbles cereal forms the vibrant crunchy shell and adds that nostalgic flavor everyone recognizes
- Unsalted butter binds the cereal together while adding richness to balance the sweetness
- Cream cheese creates the tangy base for the filling use full fat for best flavor and texture
- Powdered sugar sweetens the filling without the graininess of regular sugar
- Pure vanilla extract adds depth to the cheesecake mixture use real not imitation for best results
- Whipped cream lightens the filling and creates a mousse like texture
- Extra cereal for garnish adds color and reinforces the flavor profile
Step-by-Step Instructions
- Create the shells
- Combine the colorful fruity cereal with melted butter until every piece is coated. The butter should be warm enough to mix easily but not hot enough to melt the cereal coating. This mixture will initially seem loose but will firm up beautifully when chilled.
- Form the taco shapes
- Press the cereal mixture firmly into taco molds or use the back of a muffin tin to create curved shapes. Apply even pressure to ensure the shells hold together. Place in refrigerator for at least 30 minutes until completely firm and solid.
- Prepare the filling
- Beat cream cheese until completely smooth with no lumps whatsoever. This usually takes about 2 minutes with an electric mixer. Room temperature cream cheese is essential here to avoid lumps that cold cream cheese can create.
- Create the mousse
- Gradually incorporate powdered sugar and vanilla into the cream cheese. The mixture should be smooth and slightly thickened. Then fold in the whipped cream using gentle strokes to maintain as much air as possible for a light texture.
- Assembly time
- Remove the hardened shells from their molds carefully to avoid breakage. Fill each shell generously with the cheesecake mixture using a piping bag for a cleaner presentation or simply spoon it in for a more rustic look.
- Add final touches
- Sprinkle additional cereal pieces on top of each taco for color and crunch. The contrast between the smooth filling and crunchy topping creates a delightful textural experience in every bite.
My secret trick is adding a tiny pinch of salt to the cream cheese mixture. It might sound strange but it enhances the vanilla flavor and creates a more balanced taste against the sweetness of the cereal. My daughter discovered this by accident when she was helping me in the kitchen and now we never skip this step.
Make Ahead Options
The beauty of this dessert lies in its versatility for preparation. You can make components ahead of time to streamline assembly. The cereal shells can be prepared up to three days in advance if stored in an airtight container at room temperature. The filling can be mixed and refrigerated for up to two days before use simply give it a quick whisk to restore the fluffy texture if it has settled. I recommend final assembly within two hours of serving for the perfect balance of crunchy shell and creamy filling.
Creative Variations
While the classic recipe shines with Fruity Pebbles you can easily adapt this concept with different cereals for unique flavor profiles. Cocoa Pebbles create a chocolate version perfect for chocolate lovers. Cinnamon Toast Crunch makes a warm spiced variation that pairs beautifully with a touch of cinnamon in the filling. Cap'n Crunch creates an extra crunchy shell with its distinctive flavor. For adults only consider adding a tablespoon of orange liqueur to the filling when using Fruity Pebbles or coffee liqueur when using chocolate cereals.
Serving Suggestions
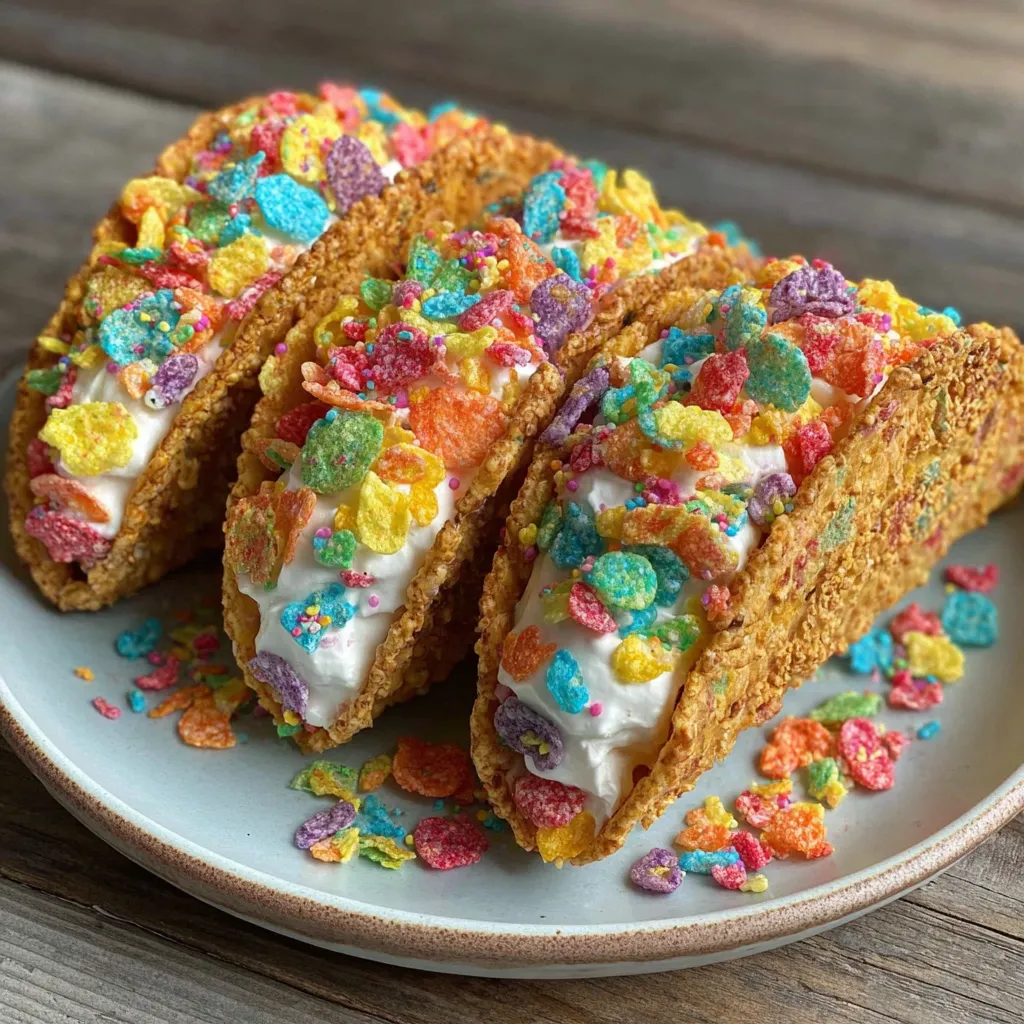
These cheerful tacos create an impressive dessert display when arranged on a serving platter. Consider creating a DIY taco bar for parties where guests can fill their own shells with the cheesecake mixture and choose from an array of toppings like fresh berries chocolate chips crushed cookies or caramel sauce. Serve with small glasses of milk for kids or coffee for adults. For an extra special touch add a scoop of vanilla ice cream alongside for a delightful temperature contrast.
Recipe FAQs
- → Can I make these Fruity Pebbles Cheesecake Tacos ahead of time?
Yes, you can prepare the cereal shells a day in advance and store them in an airtight container. The cheesecake filling can also be made ahead and refrigerated. For best results, assemble the tacos within a few hours of serving to maintain the shell's crunch.
- → What can I use if I don't have taco molds?
If you don't have taco molds, you can use the back of a muffin tin by draping the cereal mixture over alternating cups to create a taco shape. You can also shape aluminum foil into small U-shaped molds or hang the mixture over a wooden spoon balanced between two objects.
- → Can I use a different type of cereal?
Absolutely! While Fruity Pebbles create vibrant, colorful shells, you can substitute with other cereals like Cocoa Pebbles for chocolate lovers, Cinnamon Toast Crunch for a warm spiced flavor, or even Rice Krispies for a more neutral base.
- → How do I store leftover cheesecake tacos?
Store any leftover tacos in the refrigerator for up to 3 days. Place them in an airtight container and separate layers with parchment paper to prevent sticking. The shells may soften slightly over time but will still be delicious.
- → How can I make these dairy-free or vegan?
To make these dairy-free, substitute the butter with coconut oil, use dairy-free cream cheese, and replace the whipped cream with coconut whipped cream. Check that your cereal is vegan-friendly (many fruity cereals are, but it's worth confirming).
- → What other toppings can I add to the cheesecake tacos?
These tacos are incredibly versatile! Try drizzling with chocolate or caramel sauce, adding fresh berries, sprinkles, mini chocolate chips, crushed cookies, or even a dollop of fruit preserves for extra flavor and visual appeal.