
 Save
Save
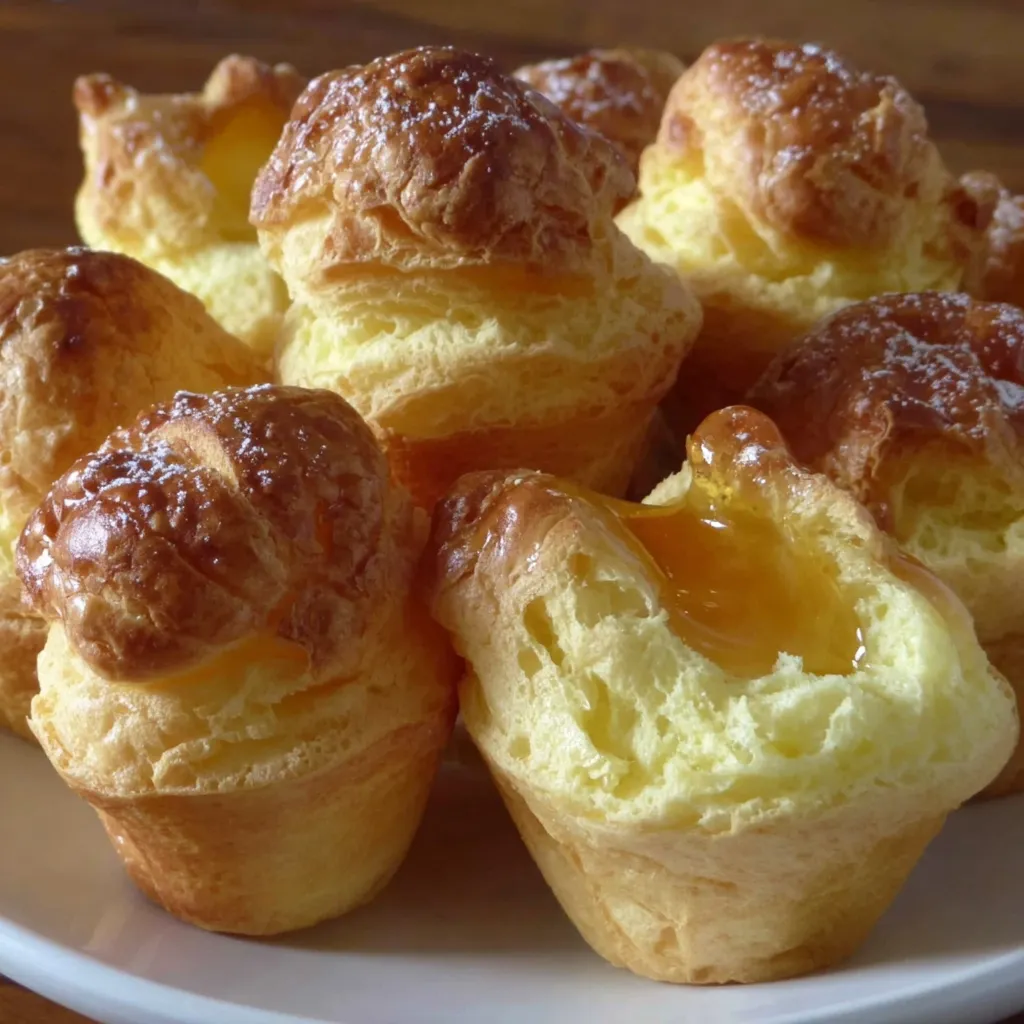
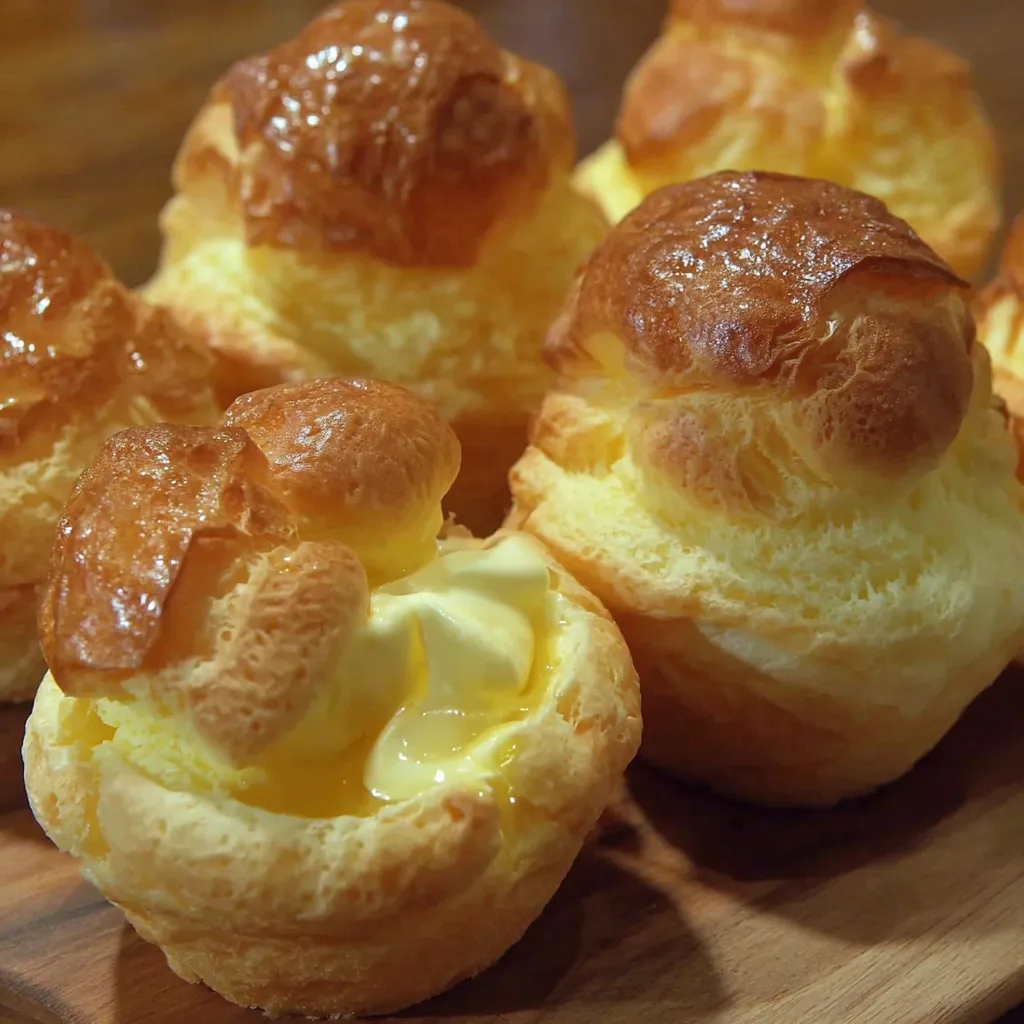
This golden French pastry transforms simple ingredients into cloud-like puffs with hollow centers perfect for sweet fillings. My grandmother taught me this recipe when I was just twelve years old, and the magic of watching them rise in the oven still delights me decades later.
I first made these Nun's Puffs for a Sunday brunch with my in laws who were visiting from France. They were so impressed by this traditional recipe that they asked for seconds and the recipe to take back home.
Ingredients
- Unsalted butter provides rich flavor and helps create the steam needed for proper rising
- Whole milk adds moisture and richness to the dough
- All purpose flour forms the structure of the puffs while remaining light
- Large eggs at room temperature ensure proper incorporation and maximum rise
- Granulated sugar both in the dough and sprinkled on top creates a delicate sweetness and crispy exterior
- Optional toppings like honey drizzled over warm puffs elevate these simple treats
Step-by-Step Instructions
- Prepare Your Pan
- Thoroughly grease a standard 12 cup muffin tin including the top edges. This crucial step ensures your puffs will release easily after baking. The greasing must be generous as these pastries expand significantly during baking.
- Create The Base Mixture
- In a medium saucepan melt the butter completely then add milk and bring to a gentle boil. Watch carefully for small bubbles forming around the edges this indicates the right temperature without boiling over.
- Form The Dough
- Add all flour at once to the boiling mixture and stir vigorously with a wooden spoon over low heat. Continue stirring until the dough forms a smooth ball and pulls away from the sides. This should take about 1 2 minutes of constant stirring and develops the gluten properly.
- Cool The Mixture
- Remove from heat and let the dough cool for approximately 5 minutes. This cooling period is essential if the dough is too hot when eggs are added they will cook rather than incorporate creating a lumpy texture.
- Add The Eggs
- Incorporate eggs one at a time mixing thoroughly after each addition. The dough will initially look broken and separated but continue stirring vigorously until smooth before adding the next egg. This patience creates the signature texture. Add the optional sugar with the final egg if desired.
- Fill The Pan
- Divide the smooth glossy dough evenly among the prepared muffin cups filling each about 2/3 to 3/4 full. Sprinkle generously with sugar which will create a delightful crisp sweet crust as they bake.
- Bake To Perfection
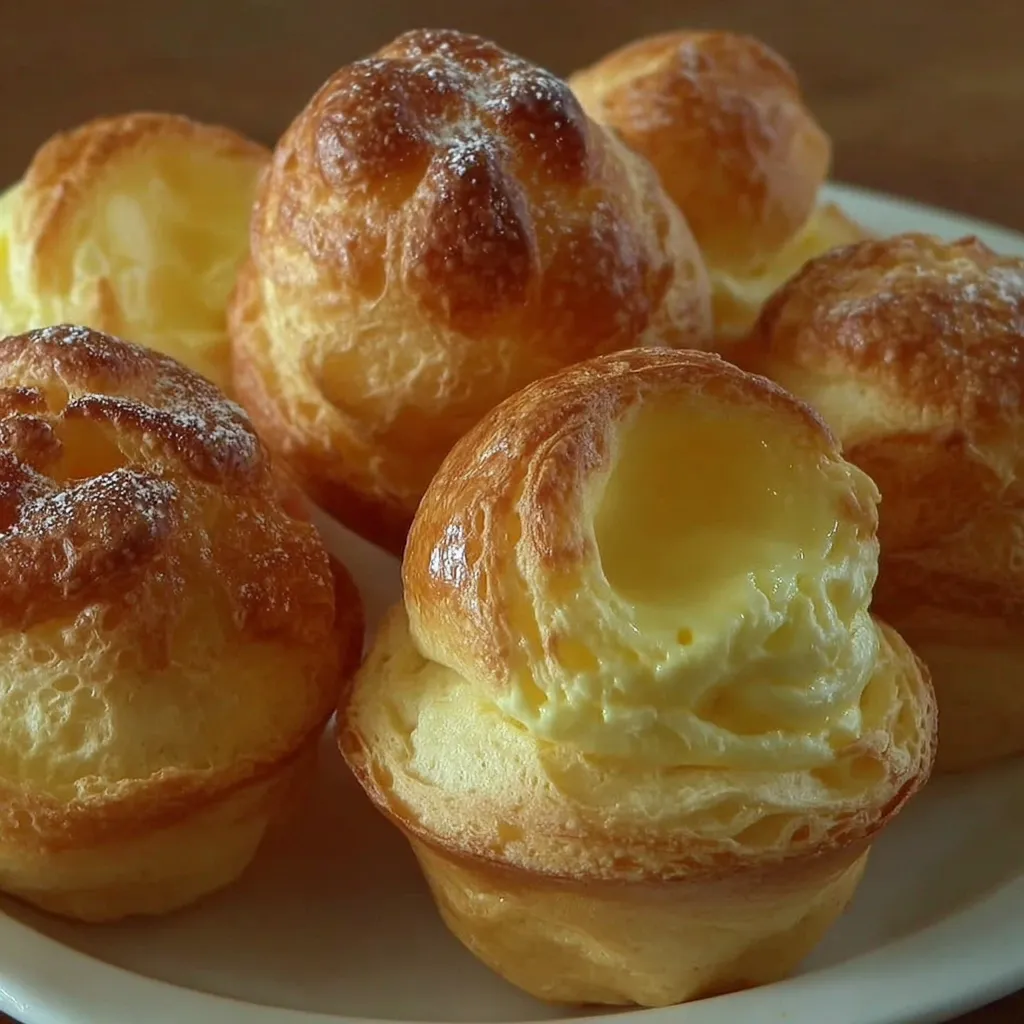
- Bake in a preheated 375°F oven for approximately 30 minutes until dramatically puffed and golden brown. Resist opening the oven during the first 20 minutes as this can cause deflation.
- Serve Immediately
- Remove from the oven and let cool for just 2 3 minutes in the pan then carefully transfer to a serving plate. Enjoy while warm with honey drizzled over top or with whipped cream and fresh berries.
My favorite memory of making Nun's Puffs was during a snowstorm when we lost power but our gas stove still worked. We made these by candlelight and filled them with homemade strawberry jam we had canned the previous summer. That magical evening of sweet treats during a power outage has become family legend.
The History Behind The Name
Nun's Puffs date back to European convents where nuns would prepare these simple yet impressive pastries for special occasions and visiting dignitaries. The name comes from their resemblance to a nun's headdress when they rise dramatically in the oven. This simplified version of choux pastry became popular in home kitchens because it delivers impressive results without requiring professional pastry skills.
Storage And Make-Ahead Tips
While these puffs are best enjoyed fresh from the oven they can be stored in an airtight container at room temperature for up to 24 hours. To refresh them place in a 350°F oven for about 5 minutes to restore some crispness. The dough can also be made up to 24 hours ahead and refrigerated covered with plastic wrap directly on the surface to prevent a skin from forming. Let it come to room temperature before baking.
Creative Filling Ideas
Transform these versatile puffs by filling them with different sweet or savory options. For breakfast try filling with scrambled eggs and cheese. For dessert pastry cream and fresh berries create an elegant presentation. My personal favorite is filling them with lemon curd topped with a dollop of whipped cream for the perfect balance of sweet and tart. Simply slice them halfway open or poke a small hole in the bottom to add fillings.
Troubleshooting Tips
If your puffs deflate after baking they likely needed more time in the oven. The exterior must be firm enough to maintain structure. Always ensure your oven is properly preheated before baking. If your puffs stick to the pan despite greasing next time try also dusting the greased pan with a thin layer of flour or using parchment paper liners for easier removal.
Recipe FAQs
- → Why are they called Nun's Puffs?
Nun's Puffs get their charming name from their historical origins in European convents, where nuns would prepare these simple yet elegant pastries. The name also reflects how they 'puff up' dramatically during baking, resembling a nun's habit or coif.
- → Can I make Nun's Puffs ahead of time?
While Nun's Puffs are best enjoyed fresh from the oven when they're at their most crisp and airy, you can make them a few hours ahead. They tend to soften over time, so for the optimal texture, serve them the same day they're baked. If needed, you can refresh them in a 350°F oven for 5 minutes.
- → How do I know when the Nun's Puffs are fully baked?
Properly baked Nun's Puffs should be well-risen, golden brown on the outside, and feel firm to the touch. If you tap the bottom, they should sound hollow. The inside should be moist but not doughy. If they collapse after removing from the oven, they likely needed a few more minutes of baking time.
- → Can I make a savory version of Nun's Puffs?
Absolutely! To make savory Nun's Puffs, simply omit the sugar in the dough and the sugar topping. You can add herbs, grated cheese, or black pepper to the batter. Savory versions pair wonderfully with soft cheese, herbed butter, or as an accompaniment to soups and stews.
- → Why did my Nun's Puffs collapse after baking?
Collapsed puffs usually indicate they weren't baked long enough. The exterior needs to set firmly while the interior moisture creates steam that causes the puff. Other causes include opening the oven door too early in the baking process, which releases heat and steam, or not allowing the flour mixture to cool sufficiently before adding eggs.
- → Can I use alternative flours to make Nun's Puffs?
While traditional Nun's Puffs rely on all-purpose flour for their characteristic rise and texture, you can experiment with substituting up to 1/4 of the flour with alternatives like whole wheat or gluten-free blends. Be aware that this may affect the rise and texture, potentially resulting in denser puffs. For gluten-free versions, a 1:1 gluten-free baking mix often works best.