
 Save
Save
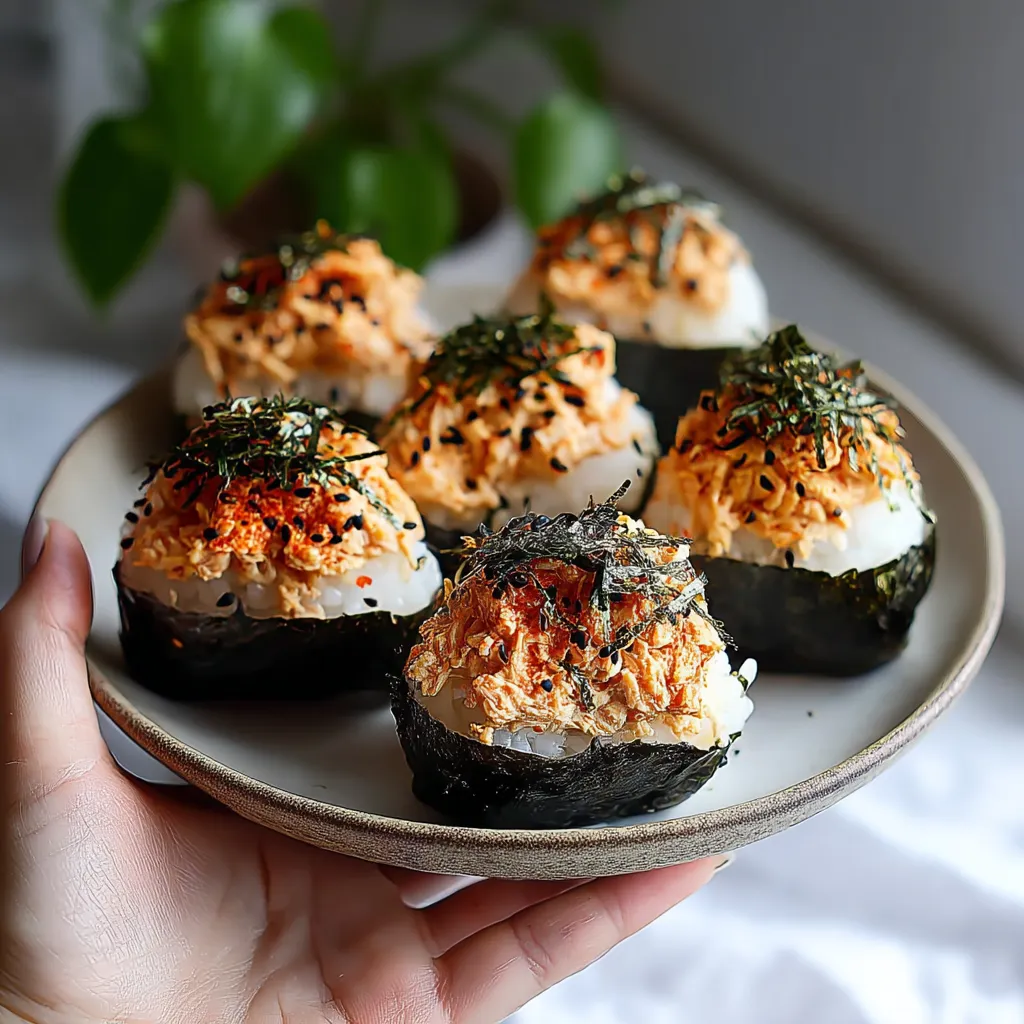
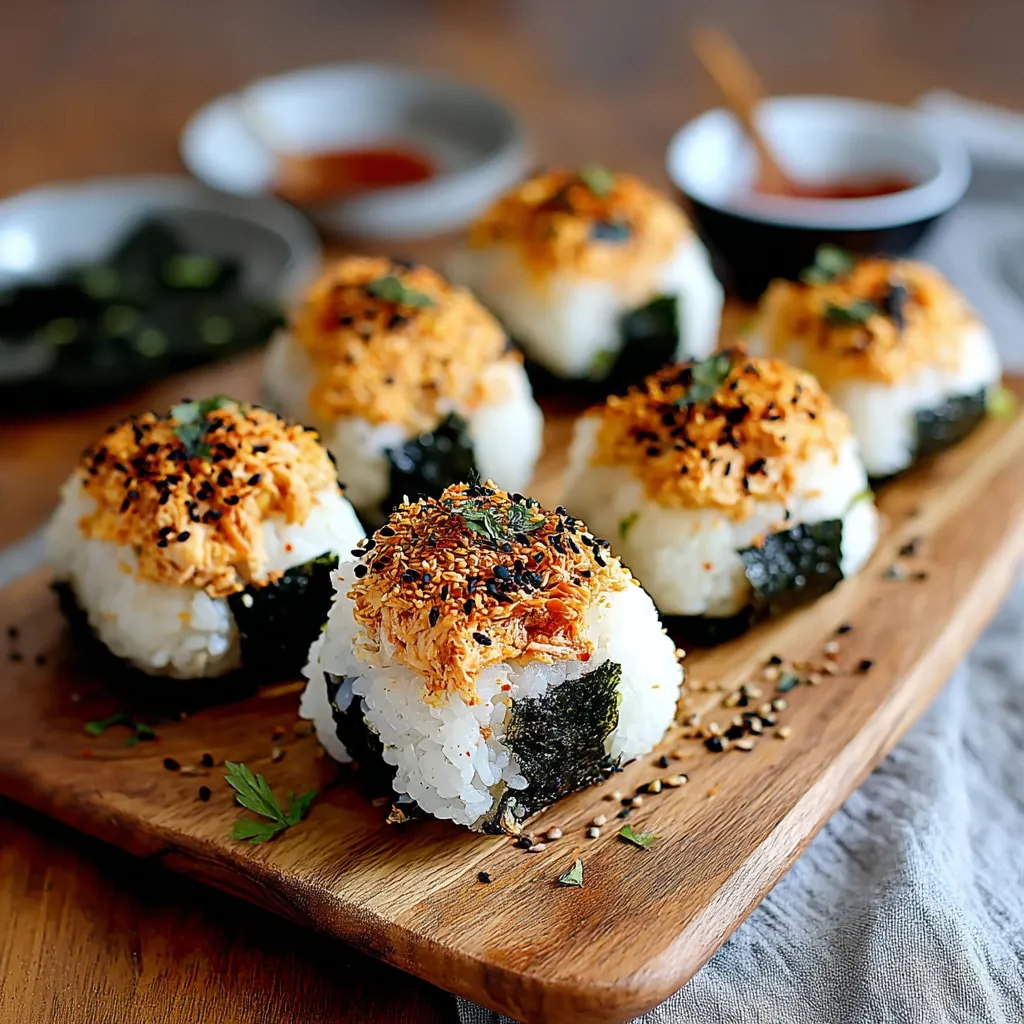
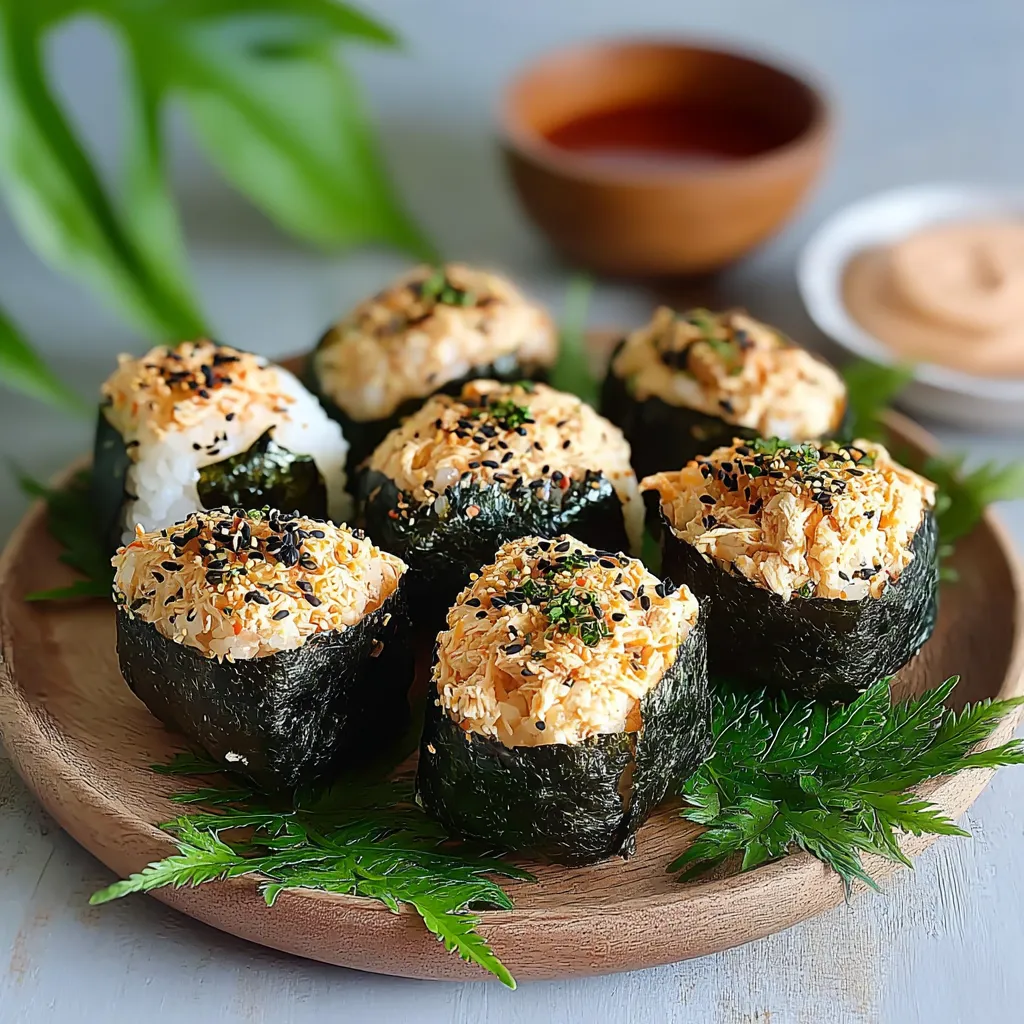
This spicy tuna onigiri recipe transforms humble ingredients into delightful Japanese rice triangles that perfectly balance flavor and convenience. The combination of seasoned rice with creamy spicy tuna filling creates a satisfying bite that works beautifully for quick lunches or snacks when you need something substantial but don't have hours to spend in the kitchen.
I first made these during a particularly busy week when I needed grab and go lunches, and they've become my favorite solution for hectic days. My Japanese friend showed me her grandmother's shaping technique, and I've never looked back from making these little flavor bombs.
Ingredients
- Short grain rice Provides the sticky texture needed for proper shaping and authentic flavor
- Salt Essential for seasoning the rice and enhancing all flavors
- Nori seaweed sheets Adds that distinctive umami flavor and helps hold the onigiri together
- Black sesame seeds Optional but adds lovely visual contrast and nutty flavor
- Canned tuna High protein base for the filling look for sustainably caught options
- Japanese mayonnaise Creates creaminess use Kewpie brand for authentic flavor
- Sriracha sauce Provides controllable heat adjust to your spice preference
Step-by-Step Instructions
- Prepare the rice
- Cook short grain rice according to package directions until tender. While still hot, gently fold in salt using a rice paddle or wooden spoon with a cutting motion to avoid crushing the grains. The rice needs to be warm when forming the onigiri as it will be much easier to shape and will hold together better.
- Mix the spicy tuna filling
- Drain the canned tuna thoroughly to remove excess liquid which would make your filling too runny. In a small bowl, combine the drained tuna with mayonnaise and sriracha, adjusting the proportions to your heat preference. Mix thoroughly until you have a uniform, creamy consistency. The filling should hold together without being overly wet.
- Set up your assembly station
- Prepare a small bowl of water with a pinch of salt to moisten your hands this prevents the rice from sticking to your fingers. Cut nori sheets into strips about 2 inches wide for wrapping. Have your filling and rice within easy reach, along with plastic wrap if using the wrap method for shaping.
- Shape the onigiri
- Wet your hands with the salted water and scoop about 3/4 cup of warm rice. Create a small indentation in the center with your thumb and add about 1 tablespoon of the spicy tuna mixture. Gently fold the rice over the filling and begin shaping into a triangle using firm but gentle pressure. The rice should completely encase the filling without any gaps.
- Wrap with nori
- Place the shaped onigiri on the nori strip with one corner of the triangle pointing down. Fold the nori around the bottom half of the onigiri, leaving the top exposed for easy handling. The moisture from the rice will help the nori adhere naturally. For a completely wrapped version, use a full sheet and moisten the overlapping edge to seal.
The sriracha is my secret weapon in this recipe. While not traditionally Japanese, it adds the perfect level of heat that complements the creamy mayonnaise and briny tuna. My husband, who typically avoids spicy food, asks for these specifically because the rice balances the heat so beautifully.
Storage Tips
Onigiri is best enjoyed the same day, ideally within 4-6 hours of making. If you need to store them longer, wrap each completed onigiri individually in plastic wrap and refrigerate for up to 24 hours. The rice will harden slightly in the refrigerator, so bring them to room temperature before eating or warm them briefly in the microwave for 15-20 seconds without the nori which should be added after reheating.
Clever Variations
Transform this basic recipe by swapping the tuna filling with alternatives like salmon mixed with cream cheese, umeboshi plum paste, or pickled vegetables for vegetarian options. For an exciting fusion twist, try using Korean kimchi mixed with a bit of mayonnaise or even leftover curry. The rice can also be flavored with furikake seasoning or mixed with cooked black sesame seeds for visual appeal and nutty flavor.
Cultural Context
Onigiri has been a staple in Japanese cuisine for centuries, initially created as a practical way for travelers and workers to carry their lunch. The triangular shape made them easy to hold without chopsticks, while the nori provided a clean wrapper to keep hands rice free. In modern Japan, onigiri is available in convenience stores in countless varieties, making it the ultimate Japanese fast food with traditional roots.
Recipe FAQs
- → Can I make Spicy Tuna Onigiri ahead of time?
Yes, you can make them up to 24 hours ahead. Wrap each onigiri individually in plastic wrap and refrigerate. For best results, add the nori wrapper just before serving to prevent it from becoming soggy. Let the onigiri come to room temperature for about 15 minutes before eating for optimal flavor and texture.
- → How do I properly shape the onigiri?
Wet your hands with water to prevent rice from sticking. Place rice in your palm, create a small indentation for the filling, then add the tuna mixture. Close the rice around the filling and shape into a triangle using your palms and fingers. The traditional method uses the L-shape formed by your thumb and index finger as a guide for creating the triangle corners.
- → What can I use instead of tuna?
Great alternatives include salmon (fresh or canned), cooked shrimp, crab meat, or for vegetarian options try avocado, pickled vegetables, umeboshi (pickled plum), or cubed tofu seasoned with soy sauce. The filling should be flavorful but not too wet to maintain the onigiri structure.
- → Why is my onigiri falling apart?
This typically happens when the rice isn't sticky enough or is too hot/cold. Use short-grain Japanese rice (sushi rice) at slightly warm temperature. Make sure to apply firm but gentle pressure when shaping. If still problematic, try adding a tiny bit more water to your rice when cooking or use plastic wrap to help bind the rice while shaping.
- → How spicy is this onigiri?
With 1 tablespoon of sriracha sauce divided among 6 servings, these onigiri have a mild-to-medium heat level. You can easily adjust the spiciness by increasing or decreasing the amount of sriracha. For a milder version, use just 1-2 teaspoons, and for extra spicy, add up to 2 tablespoons or mix in some chili flakes.
- → What's the best way to serve onigiri?
Onigiri are traditionally served at room temperature and can be eaten as is. They pair wonderfully with miso soup, a simple side salad with sesame dressing, pickled vegetables, or edamame. For a complete bento box lunch, include onigiri with various small side dishes like tamagoyaki (Japanese omelette) or steamed vegetables.