
 Save
Save
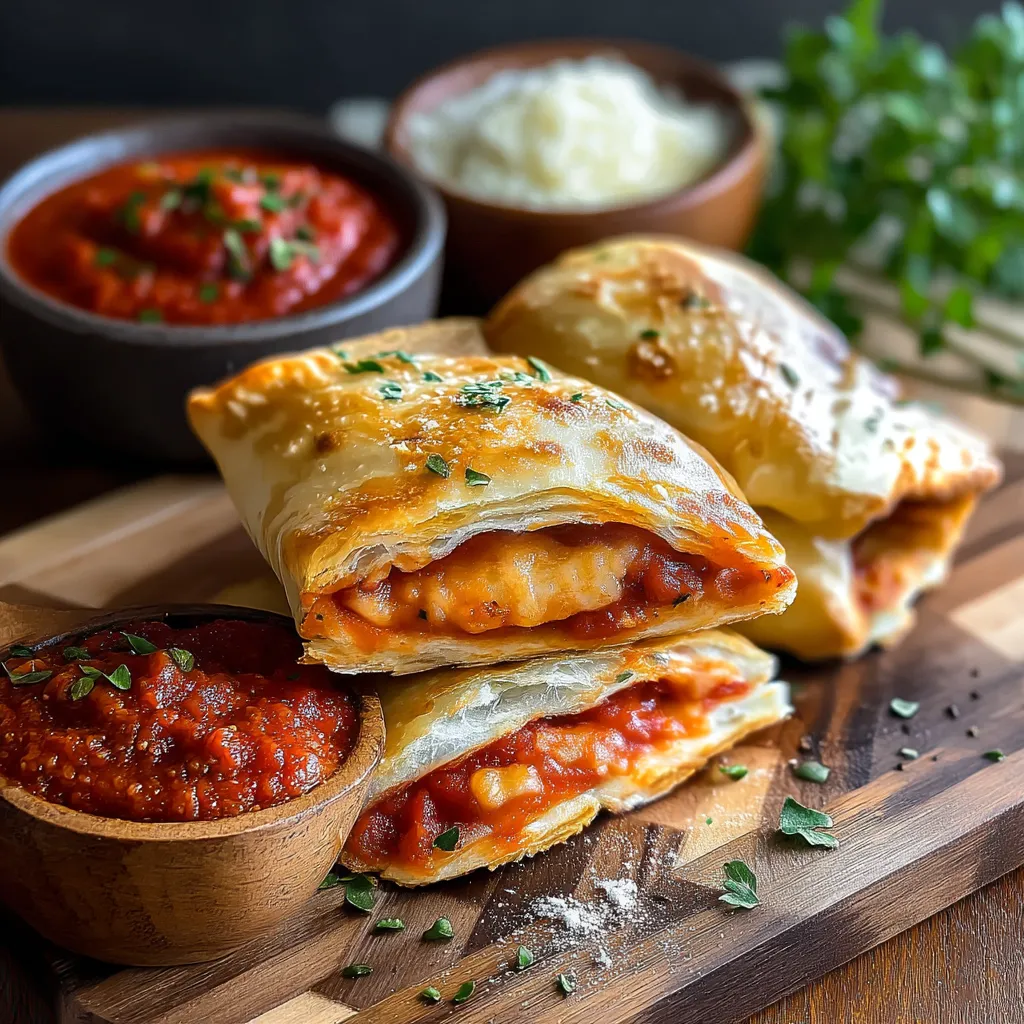
This hearty homemade Hot Pockets recipe transforms the freezer aisle classic into a customizable delight your family will request again and again. The combination of soft, freshly baked dough and gooey melted cheese creates the perfect portable meal that puts the store-bought version to shame.
I started making these when my kids became obsessed with the store-bought version. After they watched me make these from scratch, they never asked for the boxed kind again. The joy on their faces when they bite into that first warm, cheesy pocket is worth every minute of preparation.
Ingredients
- Warm water gives the yeast the perfect environment to activate and create a fluffy dough
- Granulated sugar feeds the yeast and helps achieve that golden brown crust
- Active dry yeast provides the leavening power for a perfect pocket texture
- Olive oil adds richness to the dough and helps achieve a tender result
- All purpose flour creates the perfect structure for your hot pockets
- Salt enhances all the flavors and balances the dough
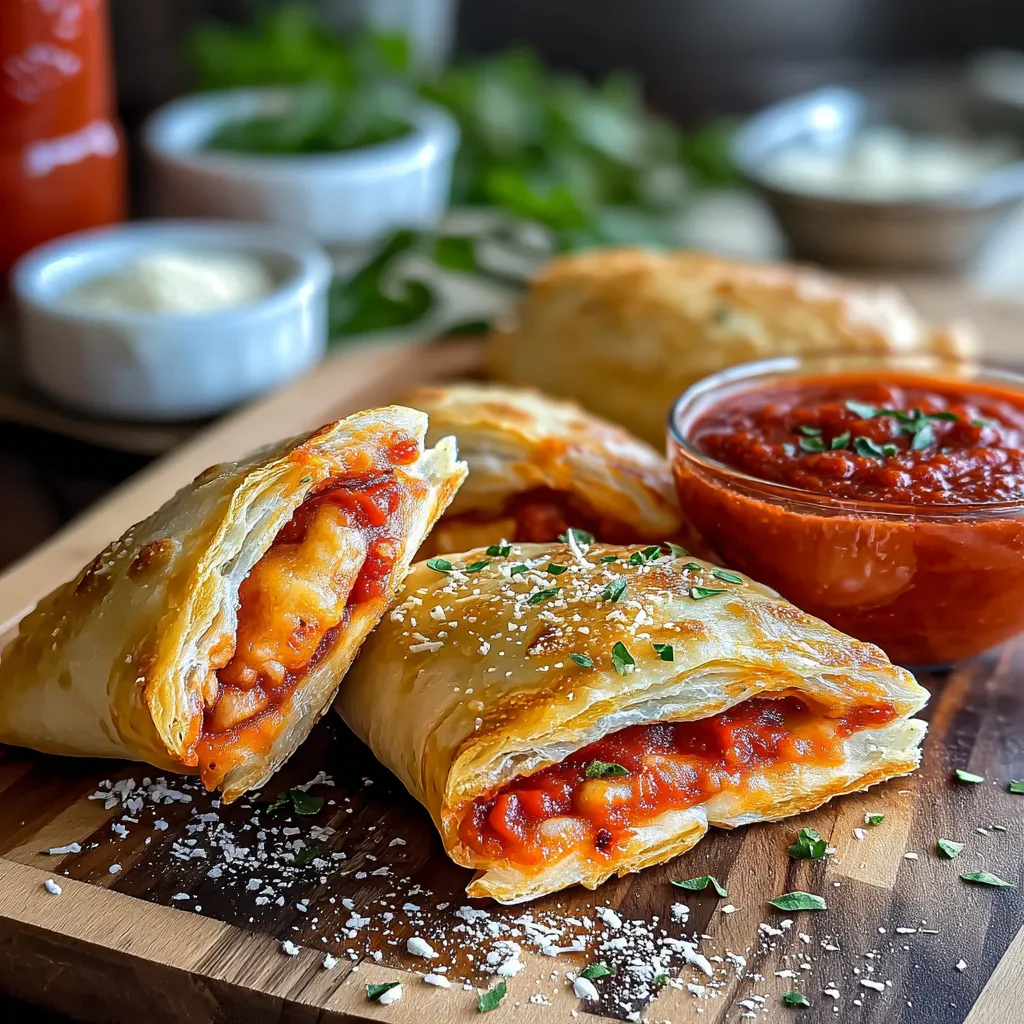
- Pizza sauce brings classic tomato flavor that pairs perfectly with the cheese
- Pepperoni or ham provides protein and savory depth
- Mozzarella cheese delivers that signature stretch when melted
- Cheddar cheese adds sharp flavor complexity to complement the mild mozzarella
Step-by-Step Instructions
- Activate the Yeast
- Combine warm water, sugar, and yeast in a mixing bowl and let it sit for 5 minutes until the mixture becomes frothy and aromatic. This step is crucial for ensuring your dough rises properly. The water should be warm but not hot, about 110°F, to properly activate without killing the yeast.
- Form the Dough
- Add olive oil, flour, and salt to the activated yeast mixture. Stir thoroughly until a sticky dough forms, making sure all ingredients are fully incorporated. The dough will initially cling to your spoon but will become less sticky as you work with it.
- Knead to Perfection
- Transfer your dough onto a floured surface and knead for about 5 minutes until smooth and elastic. Add up to 1/2 cup extra flour if needed to prevent sticking. The dough is ready when it springs back when lightly pressed with your finger.
- First Rise
- Place the kneaded dough in a greased bowl and cover with a clean kitchen towel. Allow it to rise in a warm spot for about 30 minutes until doubled in size. This rise develops flavor and creates the perfect texture for your hot pockets.
- Prepare for Baking
- Preheat your oven to 450°F and line a baking sheet with parchment paper. The high temperature will create a nicely browned exterior while keeping the inside tender and the cheese perfectly melted.
- Shape the Pockets
- Divide the risen dough into 8 equal portions and roll each portion into a circle about the size of your hand, approximately 6 inches in diameter. Keep the dough about 1/4 inch thick for the perfect ratio of dough to filling.
- Add the Fillings
- Spread a generous spoonful of pizza sauce onto the center of each dough circle, leaving about 1 inch around the edges clear. Add your pepperoni or ham and top with a combination of mozzarella and cheddar cheese. Be careful not to overfill or your pockets may burst during baking.
- Seal the Pockets
- Fold the dough in half over the filling to create a half moon shape. Press the edges firmly together, then crimp with a fork to ensure a tight seal that will prevent the delicious fillings from leaking during baking.
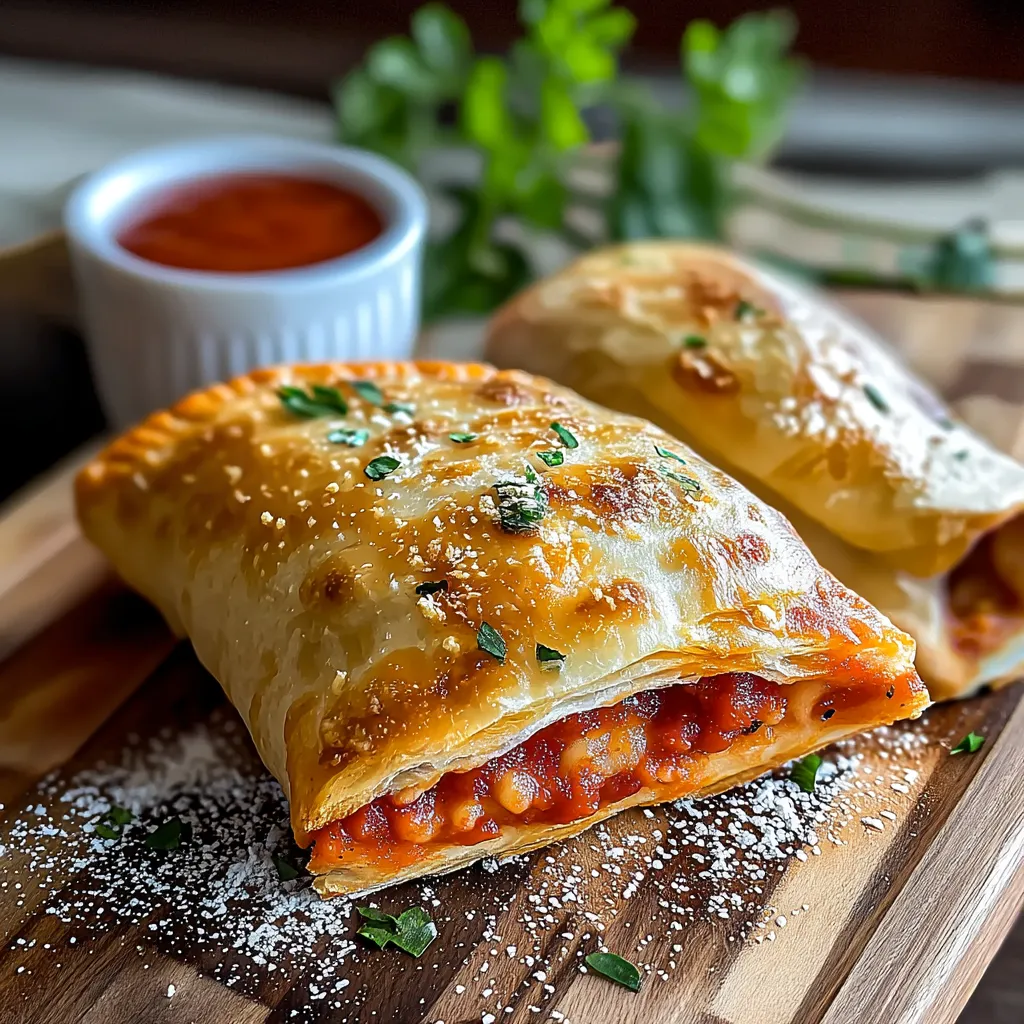
- Bake to Golden Perfection
- Place your sealed pockets on the prepared baking sheet, leaving at least 2 inches between each. Bake for 10 15 minutes until the pockets achieve a beautiful golden brown color and the cheese inside is bubbling hot.
- Cool and Enjoy
- Allow the hot pockets to cool slightly for about 5 minutes before serving. This brief cooling period allows the filling to set slightly and prevents burning your mouth on the molten cheese inside.
My absolute favorite way to enjoy these is with a sprinkling of Italian herbs mixed into the dough. My daughter still talks about the time we had an assembly line hot pocket party where everyone created their own unique flavor combinations. The kitchen was a disaster, but the memories were priceless.
Make-Ahead and Storage
These homemade hot pockets excel as a make ahead meal option. After baking and cooling completely, wrap each pocket individually in aluminum foil, then store in a freezer bag for up to 3 months. To reheat, unwrap and microwave for 1 2 minutes or bake at 350°F for 10 minutes until heated through. The texture stays remarkably similar to freshly made, especially when reheated in the oven.
Endless Filling Variations
The beauty of homemade hot pockets lies in their versatility. Try breakfast pockets with scrambled eggs, bacon, and cheddar. For vegetarian options, sautéed mushrooms, spinach, and ricotta create a delicious filling. My family loves buffalo chicken with blue cheese, while taco meat with Mexican cheese blend is always a hit for game days. Remember to cook any raw meat fillings before adding them to your pockets.
Serving Suggestions
Transform these hot pockets into a complete meal by serving alongside a simple green salad dressed with lemon and olive oil. For dipping, offer marinara sauce, ranch dressing, or garlic butter. These pockets also pair wonderfully with a cup of tomato soup for a nostalgic lunch combination that both kids and adults will appreciate.
The Secret to Perfect Dough
The key to exceptional hot pockets lies in the dough. For the softest, most flavorful results, let your dough rise in a warm location away from drafts. A slightly longer rise develops more complex flavors. If your kitchen is cool, create a warm environment by preheating your oven for 1 minute, then turning it off and placing your covered dough inside with the door cracked. The gentle warmth will create ideal rising conditions.
Recipe FAQs
- → Can I freeze these homemade hot pockets?
Yes! Allow the baked pockets to cool completely, then wrap individually in plastic wrap and place in a freezer bag. They'll keep for up to 3 months. Reheat from frozen in a microwave for 2-3 minutes or in a 350°F oven for about 20 minutes.
- → What other fillings can I use?
The possibilities are endless! Try ham and swiss cheese, spinach and feta, ground beef with taco seasoning and cheddar, buffalo chicken with blue cheese, or breakfast versions with scrambled eggs, cheese and bacon. Just ensure fillings aren't too wet to prevent soggy pockets.
- → How do I prevent the filling from leaking out?
Make sure to pinch the edges firmly and fold them over slightly. You can also use a fork to press and seal the edges. Avoid overfilling - about 2-3 tablespoons of filling per pocket is ideal. Any small holes can be pinched closed before baking.
- → Can I make the dough ahead of time?
Absolutely! The dough can be made up to 24 hours in advance and stored in the refrigerator. Let it come to room temperature for about 30 minutes before rolling. You can also freeze the dough for up to 3 months - thaw overnight in the refrigerator before using.
- → How do I reheat these for the best texture?
For the crispiest results, reheat in a 350°F oven for 10-15 minutes if refrigerated, or 20 minutes if frozen. For quick reheating, microwave for 1-2 minutes (refrigerated) or 2-3 minutes (frozen), though the crust won't be as crispy. Wrapping in a paper towel helps prevent sogginess.
- → How long do these stay fresh?
Stored in an airtight container, they'll last 3-4 days in the refrigerator. For longer storage, freeze them for up to 3 months. For best quality, cool completely before storing to prevent condensation that could make them soggy.