
 Save
Save
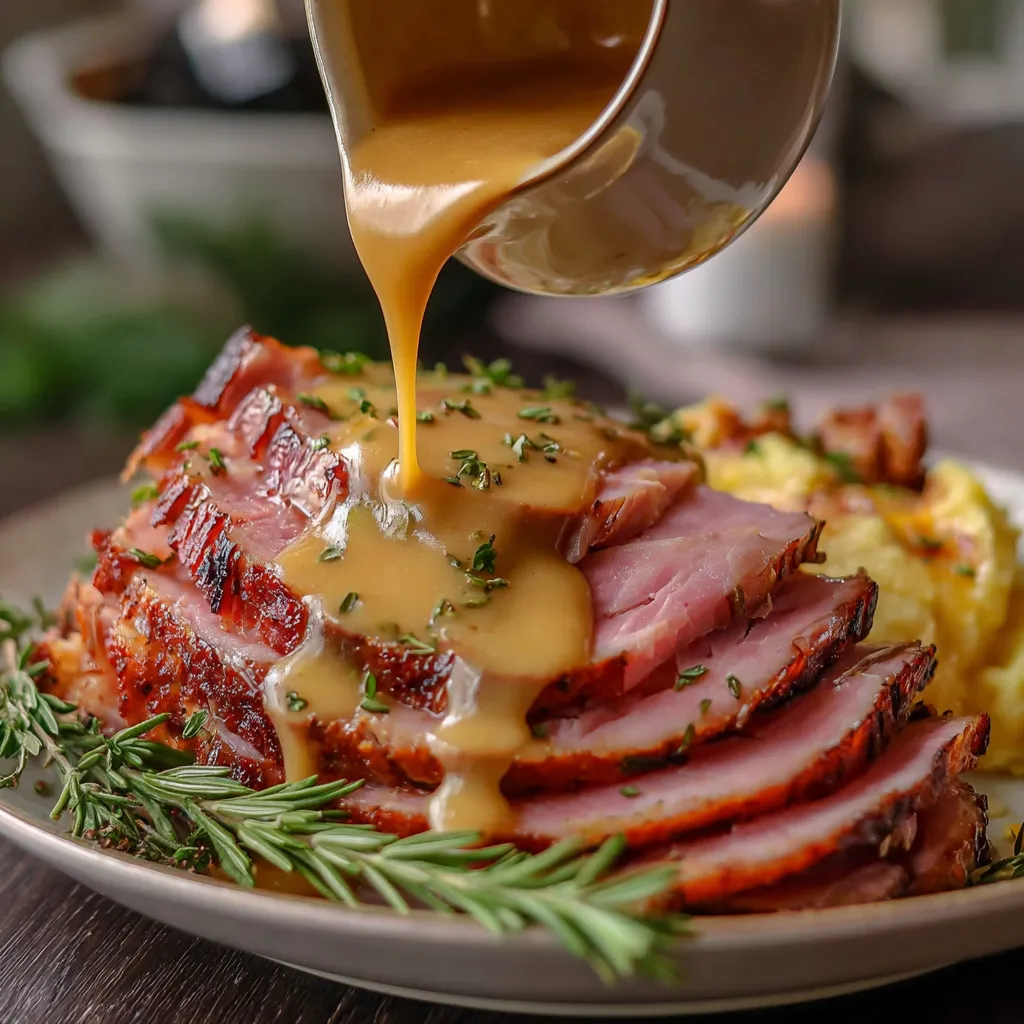
This homemade ham gravy transforms holiday meals from ordinary to extraordinary with its rich flavor and silky texture. Made from the precious drippings of your roasted ham, this gravy captures all those concentrated flavors that would otherwise go to waste.
I first created this gravy recipe when hosting my first Christmas dinner. The ham was perfect but something was missing until I whisked up this quick gravy. Now my family refuses to eat ham without it, and guests always request the recipe.
Ingredients
- Butter provides richness and helps create the roux foundation. Use unsalted for better control of seasoning
- All-purpose flour thickens the gravy and creates body. Measure precisely for perfect consistency
- Ham drippings contain concentrated flavor from your roasted ham. Strain before using for silky texture
- Optional salt and pepper for adjusting seasoning. Usually unnecessary as ham drippings are naturally salty
Step-by-Step Instructions
- Create the Roux
- Melt butter completely in a large saucepan over medium-low heat until it foams slightly but doesn't brown. Sprinkle flour evenly over melted butter and whisk continuously for 1-2 minutes until mixture smells slightly nutty and takes on a light golden color. This cooking process eliminates raw flour taste.
- Incorporate the Drippings
- While continuously whisking, slowly pour ham drippings into the roux. Pour in a steady stream rather than all at once to prevent lumps from forming. Continue whisking until all flour is completely dissolved and mixture looks smooth.
- Simmer to Perfection
- Increase heat to medium and bring mixture to a gentle simmer. Cook for 5-10 minutes, whisking occasionally, until gravy reaches desired thickness. It should coat the back of a spoon but still flow smoothly. Remember the gravy will thicken slightly as it cools.
- Serve and Enjoy
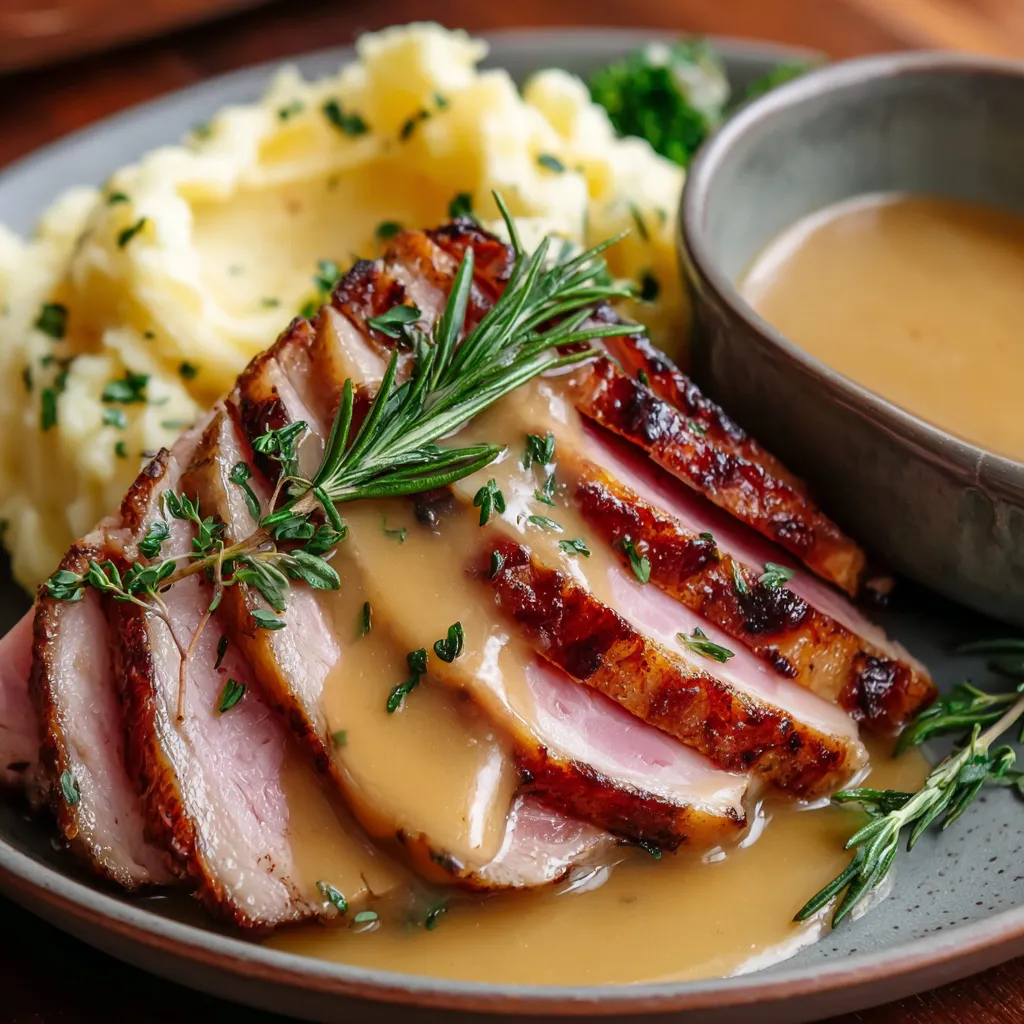
- Taste gravy and adjust seasoning if needed. Transfer to a warmed gravy boat and serve immediately with sliced ham, mashed potatoes, or other side dishes.

The butter-to-flour ratio in this recipe is my secret to silky gravy without lumps. My grandmother taught me this technique when I was just learning to cook, and I've never had a gravy failure since. The smell of this gravy simmering always takes me back to her kitchen.
Collecting Ham Drippings
The quality of your drippings determines the flavor of your gravy. When roasting ham, place it on a rack in a roasting pan with about 1/2 cup of water. As the ham cooks, the flavorful juices will collect in the pan. If you don't have enough drippings, supplement with good quality chicken or vegetable broth. For added richness, you can add a splash of white wine to the roasting pan during the last 30 minutes of cooking.
Storage and Reheating
This gravy keeps beautifully in the refrigerator for up to 4 days in an airtight container. When reheating, place in a saucepan over low heat and whisk occasionally to prevent skin from forming. Add a splash of broth or water if needed to reach desired consistency. For longer storage, freeze in ice cube trays then transfer to freezer bags. These gravy cubes can be defrosted and reheated for up to 3 months.
Troubleshooting Tips
If your gravy develops lumps, don't panic. Transfer to a blender and pulse until smooth, or strain through a fine mesh sieve. For gravy that's too thick, gradually whisk in additional broth or water until you reach desired consistency. If gravy is too thin, mix 1 teaspoon cornstarch with 1 tablespoon cold water and whisk into simmering gravy until thickened.
Flavor Variations
Elevate this basic recipe with thoughtful additions. For a savory herb gravy, add 1 teaspoon of fresh thyme or rosemary during the final minute of cooking. Create a creamy version by stirring in 2 tablespoons of heavy cream just before serving. For a deeper flavor profile, add 1 teaspoon of Dijon mustard or a splash of cognac after removing from heat.
Recipe FAQs
- → How can I make ham gravy if I don't have enough drippings?
If you don't have enough ham drippings, you can substitute or supplement with store-bought ham stock or chicken broth. For added flavor, consider adding a teaspoon of Worcestershire sauce or a small amount of kitchen bouquet to enhance the savory notes.
- → Why is my ham gravy lumpy?
Lumpy gravy typically results from adding liquid too quickly to the roux. To prevent lumps, ensure your butter and flour mixture is well-combined, then gradually whisk in warm (not cold) drippings. If lumps have already formed, strain the gravy through a fine-mesh sieve or blend briefly with an immersion blender.
- → Can I make ham gravy ahead of time?
Yes, you can make ham gravy up to 2 days ahead. Store it in an airtight container in the refrigerator. When reheating, place in a saucepan over medium-low heat and whisk occasionally. You may need to add a small amount of broth or water to reach desired consistency.
- → How do I thicken ham gravy that's too thin?
To thicken thin gravy, create a slurry by mixing 1 tablespoon cornstarch with 2 tablespoons cold water until smooth. Bring your gravy to a simmer, then slowly whisk in the slurry. Continue simmering for at least 1 minute until thickened. Repeat if necessary, but add gradually to avoid over-thickening.
- → What herbs or seasonings complement ham gravy?
Ham gravy pairs beautifully with subtle herbs like fresh thyme, sage, or a small amount of rosemary. For seasoning, black pepper, a pinch of cloves, or even a dash of nutmeg can enhance the flavor profile. Taste as you go, as ham drippings may already contain sufficient salt.
- → Can I freeze leftover ham gravy?
Yes, ham gravy freezes well for up to 3 months. Allow it to cool completely, then store in airtight freezer containers, leaving some headspace for expansion. Thaw overnight in the refrigerator and reheat gently on the stovetop, whisking to restore its smooth consistency.