
 Save
Save
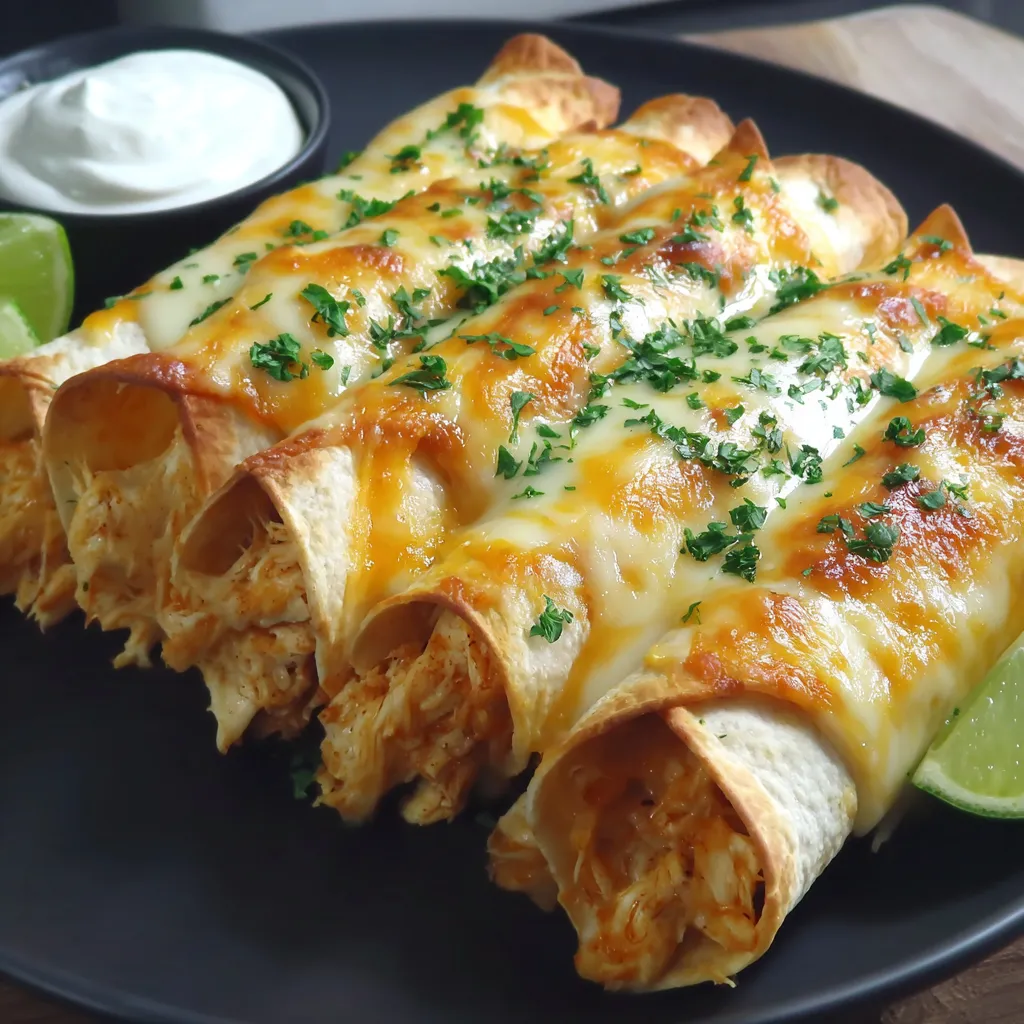
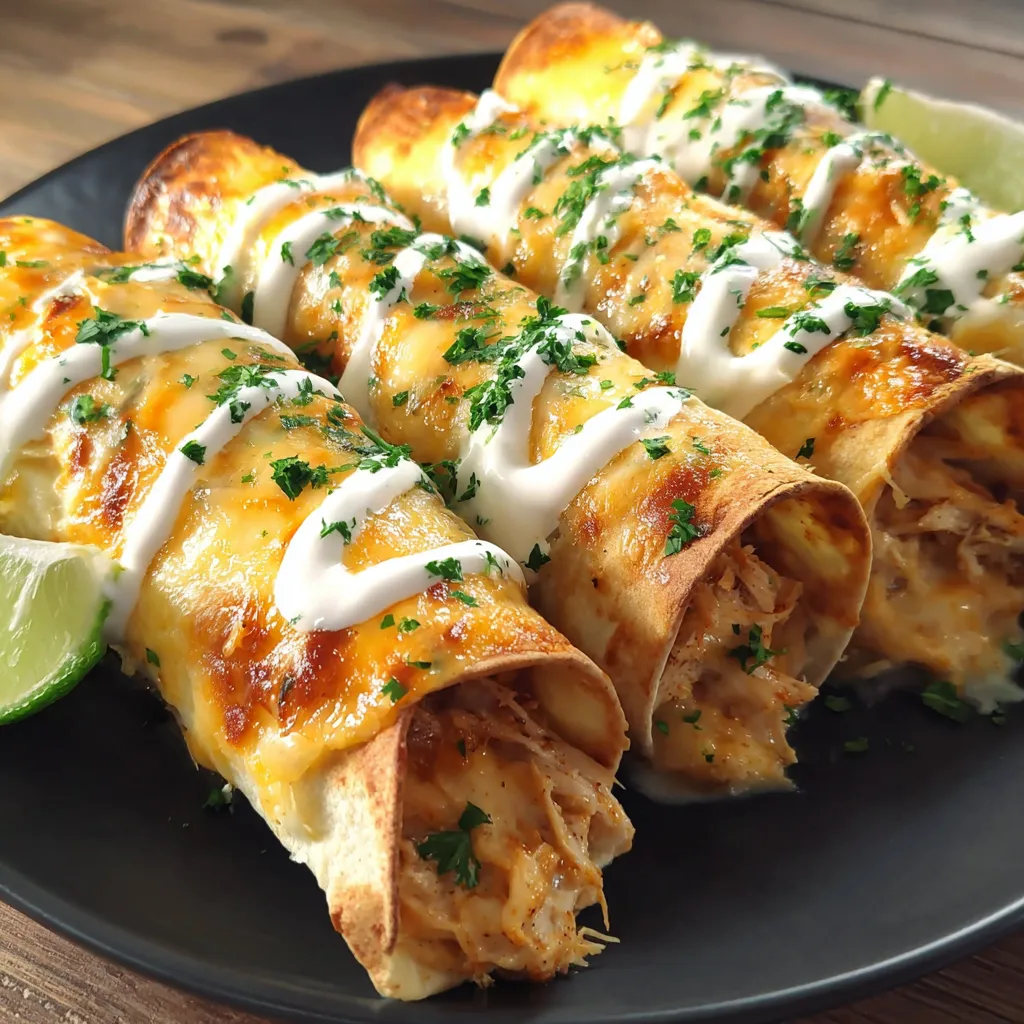
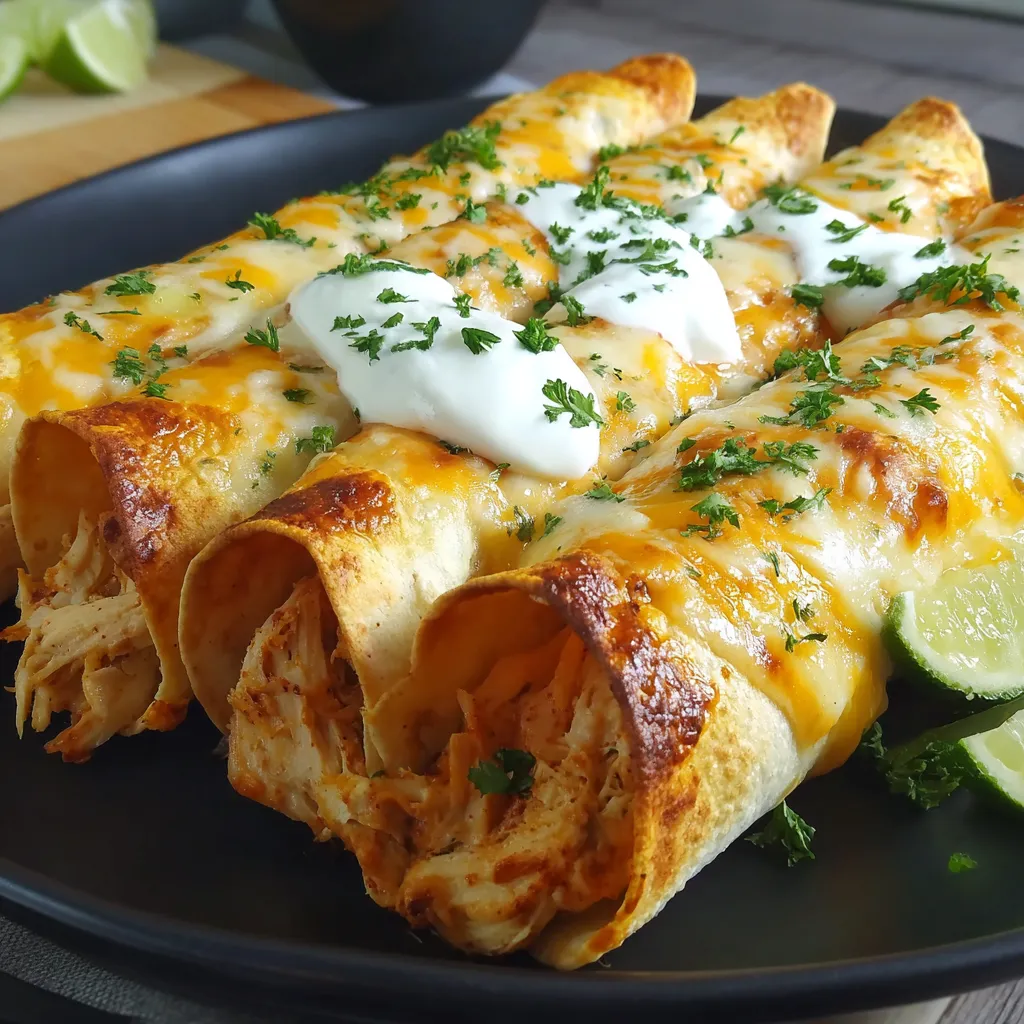
This baked cream cheese chicken taquito recipe transformed my family's taco night into something extraordinary. The crispy, oven-baked shells filled with creamy, cheesy chicken deliver restaurant-quality flavor without the hassle of deep frying.
I first created these when looking for a way to use leftover rotisserie chicken. My children now request these weekly, and they've become our go-to solution for busy weeknights when we want something that feels special without hours in the kitchen.
Ingredients
- Shredded chicken provides the protein foundation and using rotisserie chicken saves tremendous time while adding flavor depth
- Cream cheese creates that irresistible creamy texture that keeps the filling moist
- Cheddar cheese adds the perfect melt factor look for freshly grated for best melting properties
- Salsa introduces moisture and flavor in one ingredient choose your heat level based on family preference
- Garlic powder infuses aromatic depth without the work of mincing fresh garlic
- Onion powder provides savory notes without the texture of actual onions perfect for picky eaters
- Ground cumin brings essential Mexican-inspired warmth that makes these taquitos truly special
- Flour or corn tortillas serve as the vessel look for 6-inch size for perfect proportions
Step-by-Step Instructions
- Preheat Oven
- Set your oven to 425°F and line a baking sheet with parchment paper. This high temperature ensures the taquitos get properly crispy without frying, while the parchment prevents sticking and makes cleanup effortless.
- Prepare Filling
- Combine shredded chicken, softened cream cheese, shredded cheddar, salsa, and all seasonings in a medium bowl. Mix thoroughly until the cream cheese is completely incorporated throughout the mixture. The filling should be cohesive but still have texture from the chicken pieces.
- Prepare Tortillas
- Warm your tortillas to make them pliable. Cold tortillas will crack when rolled. I prefer microwaving them wrapped in damp paper towels for about 25 seconds. The moisture helps keep them soft and prevents drying during baking.
- Fill and Roll
- Place each tortilla on your work surface and add 2-3 tablespoons of filling in a line across the lower third. Roll tightly from the bottom up, keeping the filling compact. Place seam-side down on your baking sheet so they stay closed during baking.
- Oil the Exterior
- Brush or spray each taquito with oil to promote browning and crispiness. This step is crucial for achieving that fried texture in the oven. Be sure to coat evenly but not excessively to avoid greasiness.
- Bake to Perfection
- Bake for 15-18 minutes until golden brown and crispy. The edges should be slightly darker than the centers. This is where patience pays off the perfect taquito has a satisfying crunch when you bite into it.
- Rest and Serve
- Allow the taquitos to cool for 2-3 minutes before serving. This brief rest helps the filling set and prevents burnt mouths. Arrange on a platter with your favorite dipping options for a beautiful presentation.
The secret to these taquitos is definitely the cream cheese. I discovered this trick years ago when trying to make chicken enchiladas creamier, and it transforms ordinary ingredients into something truly special. My grandmother actually commented that these reminded her of the taquitos she ate growing up in Arizona, but without the heavy feeling afterward.
Storage Solutions
These taquitos maintain their quality remarkably well when stored properly. After cooling completely, place leftovers in an airtight container with paper towels between layers to absorb moisture. They'll keep in the refrigerator for up to 4 days. To reheat, place them in a 350°F oven for about 10 minutes to restore crispiness. Avoid microwave reheating which makes them soggy.
Freezing Instructions
Taquitos freeze beautifully, making them perfect for meal prep. After baking, cool completely, then freeze in a single layer on a baking sheet until solid. Transfer to a freezer bag, removing as much air as possible. They'll keep for up to 3 months. Reheat from frozen in a 375°F oven for 15-20 minutes until heated through and crispy again. I often make a double batch specifically to stock my freezer for quick lunches.
Serving Suggestions
Create a taquito bar for family dinner by setting out bowls of guacamole, sour cream, different salsas, and hot sauces. Add a simple side of black beans and a fresh green salad with cilantro-lime dressing to complete the meal. For entertaining, slice the taquitos in half and arrange them standing upright in a circular pattern on a platter with a bowl of dip in the center for an impressive presentation that encourages sharing.
Ingredient Substitutions
If you're watching your dairy intake, substitute the cream cheese with pureed white beans or mashed avocado. The texture will be different but still delicious. For a spicier version, add a diced jalapeño or canned green chiles to the filling. Vegetarians can replace the chicken with a mixture of black beans and corn, or even sautéed mushrooms for a meaty texture. The versatility of this recipe template makes it adaptable to whatever you have on hand.
Recipe FAQs
- → Can I make these taquitos ahead of time?
Yes! You can prepare the filling and roll the taquitos up to 24 hours in advance. Store them covered in the refrigerator, then brush with oil and bake when ready to serve. You can also freeze the assembled unbaked taquitos for up to 3 months - just add a few extra minutes to the baking time when cooking from frozen.
- → What's the difference between using corn and flour tortillas?
Corn tortillas provide a more authentic flavor and texture, plus they're gluten-free. However, they can crack when rolling unless properly warmed. Flour tortillas are more pliable and easier to work with, making them beginner-friendly, but they offer a different flavor profile and texture than traditional taquitos.
- → How do I keep corn tortillas from breaking when I roll them?
The key is proper warming. Wrap your stack of corn tortillas in damp paper towels and microwave for 30 seconds, or heat them individually in a dry skillet for about 10 seconds per side. Work quickly while they're warm, and if they start to crack, warm them again. Having a slightly wetter filling can also help prevent cracking.
- → Can I use different fillings for variety?
Absolutely! Try substituting shredded beef, pork, or even black beans for a vegetarian option. You can also experiment with different cheese combinations like pepper jack for extra spice, or add diced green chiles, corn, or black beans to the filling. Just maintain a similar consistency so the taquitos hold together during baking.
- → Why are my taquitos not getting crispy in the oven?
Several factors can affect crispiness. Make sure you're brushing or spraying with enough oil before baking. Spacing the taquitos properly on the baking sheet allows air to circulate. Also, check that your oven is fully preheated to 425°F before baking. For extra crispiness, you can place them under the broiler for the final 1-2 minutes of cooking time (watch carefully to prevent burning).
- → What sides go well with these taquitos?
These taquitos pair wonderfully with Mexican-inspired sides like cilantro-lime rice, black beans, street corn salad, or a simple green salad with avocado. For a complete fiesta, serve with multiple dipping options such as guacamole, pico de gallo, salsa verde, and Mexican crema or sour cream.