
 Save
Save
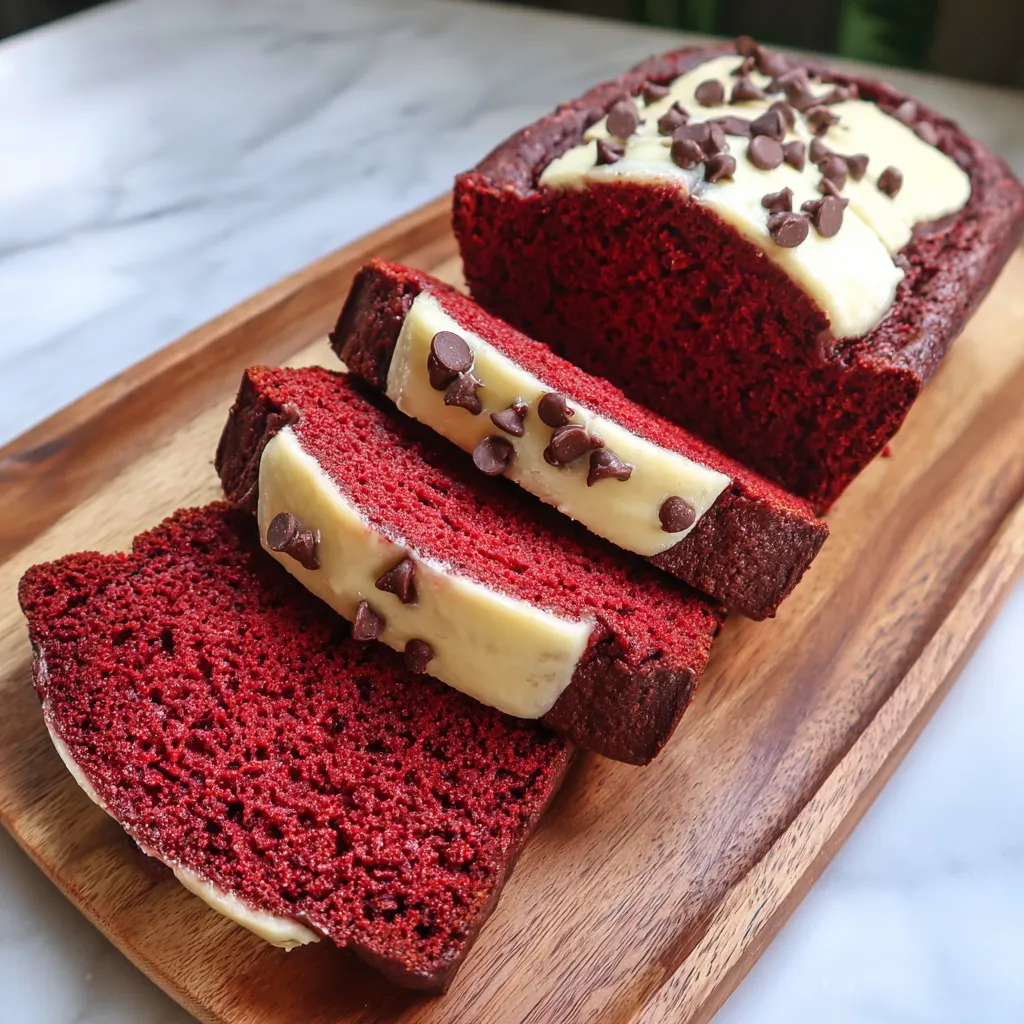
This hearty red velvet banana bread has become my secret weapon for turning overripe bananas into something truly spectacular. The vibrant red color combined with rich cocoa and sweet banana creates a showstopping loaf that's perfect for breakfast, dessert, or anytime you need to impress without spending hours in the kitchen.
I first made this recipe when trying to surprise my daughter on her birthday morning. She loves both red velvet cake and banana bread, so combining them seemed like the perfect solution. Now it's requested for every special occasion in our home.
Ingredients
- Ripe bananas with plenty of brown spots for maximum sweetness and moisture
- Unsalted butter for rich flavor and tender crumb
- Granulated sugar provides the perfect sweetness balance
- Large eggs for structure and richness
- Vanilla extract enhances both the chocolate and banana flavors
- All purpose flour creates the perfect texture
- Cocoa powder adds the signature red velvet chocolate note
- Baking soda for proper leavening
- Salt to enhance all flavors
- Red food coloring creates that vibrant red velvet look
- Buttermilk adds tanginess and helps activate the baking soda
- Chocolate chips optional but add delicious pockets of melty chocolate
Step-by-Step Instructions
- Prepare Your Equipment
- Preheat your oven to 350°F and prepare your loaf pan with either a generous coating of butter or line it with parchment paper. I strongly recommend the parchment method as it makes removal effortless and prevents any sticking along the edges.
- Mix Wet Ingredients
- In a large bowl, thoroughly mash the bananas until almost no lumps remain. This ensures even banana distribution throughout the bread. Add the melted butter while still warm and stir vigorously. The warmth helps dissolve the sugar when you add it next. Mix in the eggs one at a time, beating well after each addition. Finally, stir in the vanilla extract until the mixture is completely smooth and well combined.
- Combine Dry Ingredients
- In a separate bowl, whisk the flour, cocoa powder, baking soda, and salt together. Take your time with this step, making sure to break up any cocoa clumps for an evenly colored bread. Proper mixing at this stage prevents pockets of dry ingredients later.
- Create The Batter
- Add the dry ingredients to your wet mixture in thirds, alternating with buttermilk additions. Begin and end with the dry ingredients. This method creates the perfect texture and prevents overmixing. Stir just until combined after each addition. When the last bit of flour disappears, stop mixing to avoid a tough bread.
- Add Color And Mix Ins
- Pour in the red food coloring and gently fold until the batter transforms into a deep, vibrant red. If the color seems too muted, add a few more drops until satisfied. If using chocolate chips, fold them in now with just a few strokes to distribute evenly throughout the batter.
- Bake To Perfection
- Transfer the batter to your prepared loaf pan, smoothing the top with a spatula for even baking. Bake for 50 to 60 minutes, checking at the 50 minute mark by inserting a toothpick into the center. The bread is done when the toothpick comes out with just a few moist crumbs but no wet batter.
- Cool And Serve
- Allow the bread to rest in the pan for exactly 10 minutes. This critical cooling period allows the structure to set while still warm enough to release easily. Transfer to a wire rack to finish cooling completely before slicing. Cutting too soon will result in a gummy texture.
The buttermilk is my absolute favorite ingredient in this recipe. My grandmother always insisted on real buttermilk in her red velvet cakes, and I've carried that tradition forward. There's something magical about how it interacts with the baking soda to create the perfect texture while adding that subtle tangy note that makes red velvet so distinctive.
Substitution Guide
If you find yourself without some key ingredients, don't worry. Regular milk with a tablespoon of lemon juice or white vinegar can replace buttermilk. Simply mix and let stand for 5 minutes before using. For a dairy free version, substitute the butter with melted coconut oil and use almond milk with a splash of vinegar instead of buttermilk.
Natural food coloring options exist if you prefer to avoid artificial colors. Beet powder can create a natural red hue, though the color will be more subdued. Start with 2 tablespoons and adjust as needed. The flavor is nearly undetectable in the finished bread.
Storage Secrets
This red velvet banana bread stays remarkably fresh thanks to its high moisture content. Store at room temperature in an airtight container or wrapped tightly in plastic wrap for up to 3 days. For longer storage, refrigerate for up to a week, though the texture is best in the first 4 days.
For freezing, wrap individual slices in plastic wrap, then aluminum foil, and place in a freezer bag. This triple protection prevents freezer burn. Thaw slices at room temperature for about an hour, or microwave for 20 seconds for a quick treat.
Serving Suggestions
While delicious on its own, this bread reaches new heights when served warm with a swipe of cream cheese frosting or mascarpone. For breakfast, toast a slice and add a light spread of butter. For dessert, transform it into a trifle by cubing the bread and layering with whipped cream and fresh berries.
Create a stunning brunch presentation by cutting thick slices and using them as the base for banana bread French toast, dusted with powdered sugar and served with a side of maple syrup.
Recipe FAQs
- → Can I make this bread without food coloring?
Yes, you can omit the red food coloring completely. The bread will have a chocolate-brown appearance from the cocoa powder but will still maintain the delicious flavor profile of red velvet and banana.
- → How ripe should the bananas be for this bread?
For the best flavor, use very ripe bananas with plenty of brown spots or even mostly brown skins. These bananas are sweeter and mash more easily, contributing to the bread's moisture and natural sweetness.
- → Can I make this into muffins instead of a loaf?
Absolutely! Pour the batter into a lined muffin tin, filling each cup about 2/3 full. Reduce the baking time to approximately 20-25 minutes, checking for doneness with a toothpick.
- → What can I substitute for buttermilk?
You can make a quick substitute by adding 1/2 tablespoon of lemon juice or white vinegar to 1/2 cup of regular milk and letting it sit for 5 minutes. Plain yogurt or sour cream thinned with a little milk also works well.
- → How should I store this bread?
Store at room temperature in an airtight container for up to 3 days, or refrigerate for up to a week. For longer storage, wrap slices individually in plastic wrap and freeze in a freezer bag for up to 3 months.
- → Can I add cream cheese frosting to this bread?
Definitely! A thin layer of cream cheese frosting complements the red velvet flavor beautifully. Mix 4 oz softened cream cheese with 2 tablespoons butter, 1 cup powdered sugar, and 1/2 teaspoon vanilla until smooth, then spread on the cooled loaf.