
 Save
Save
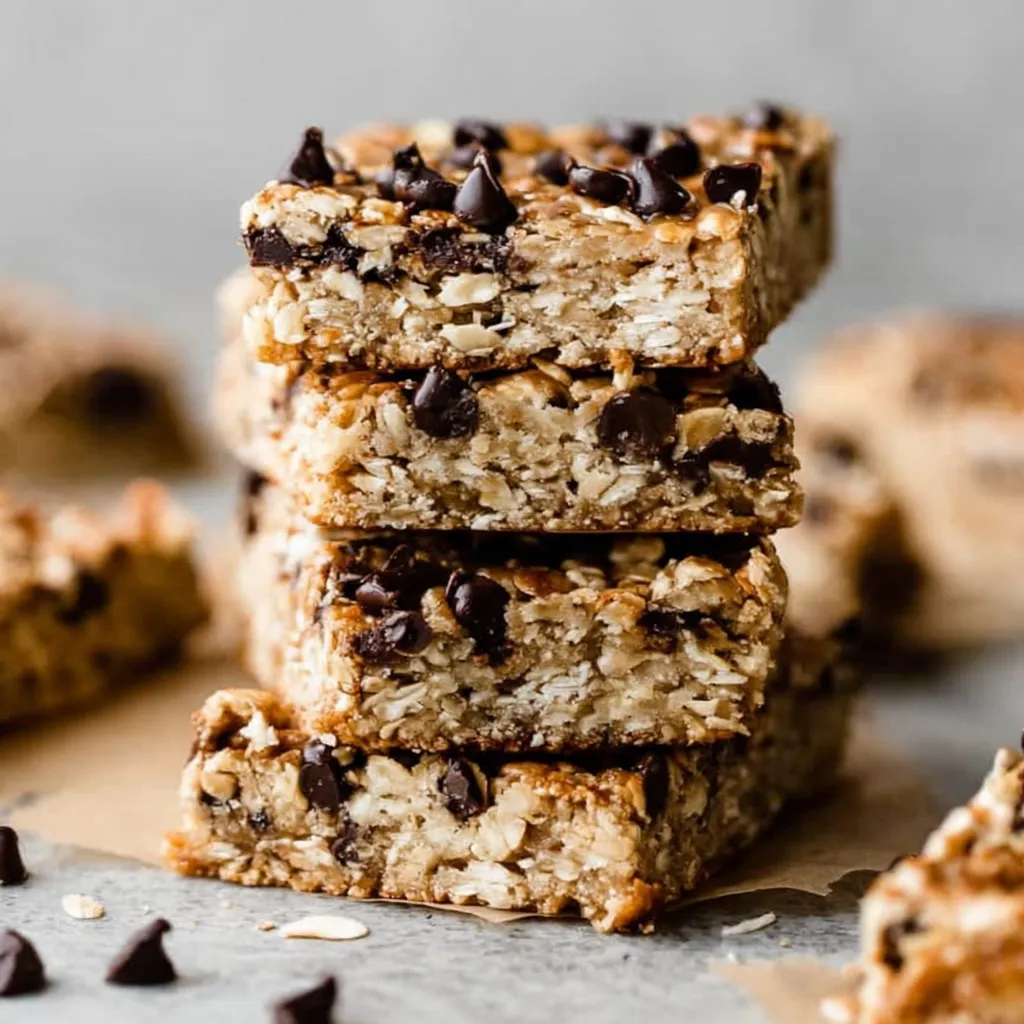
These soft-baked peanut butter granola bars are the perfect homemade alternative to store-bought versions, offering the comforting combination of peanut butter and chocolate in every bite. After years of buying expensive packaged bars, I created this simple recipe that my family now requests weekly.
I first developed these bars during a busy school week when I needed quick, nutritious snacks for my kids. What started as a necessity has become our favorite afternoon treat that disappears faster than I can make them.
Ingredients
- Old-fashioned rolled oats form the hearty base providing fiber and a satisfying chew
- Natural peanut butter delivers protein and that unmistakable nutty flavor look for brands with just peanuts and salt
- Honey or maple syrup naturally sweetens while helping bind everything together honey works better for structure
- Eggs act as the crucial binder that creates that soft-baked texture room temperature works best
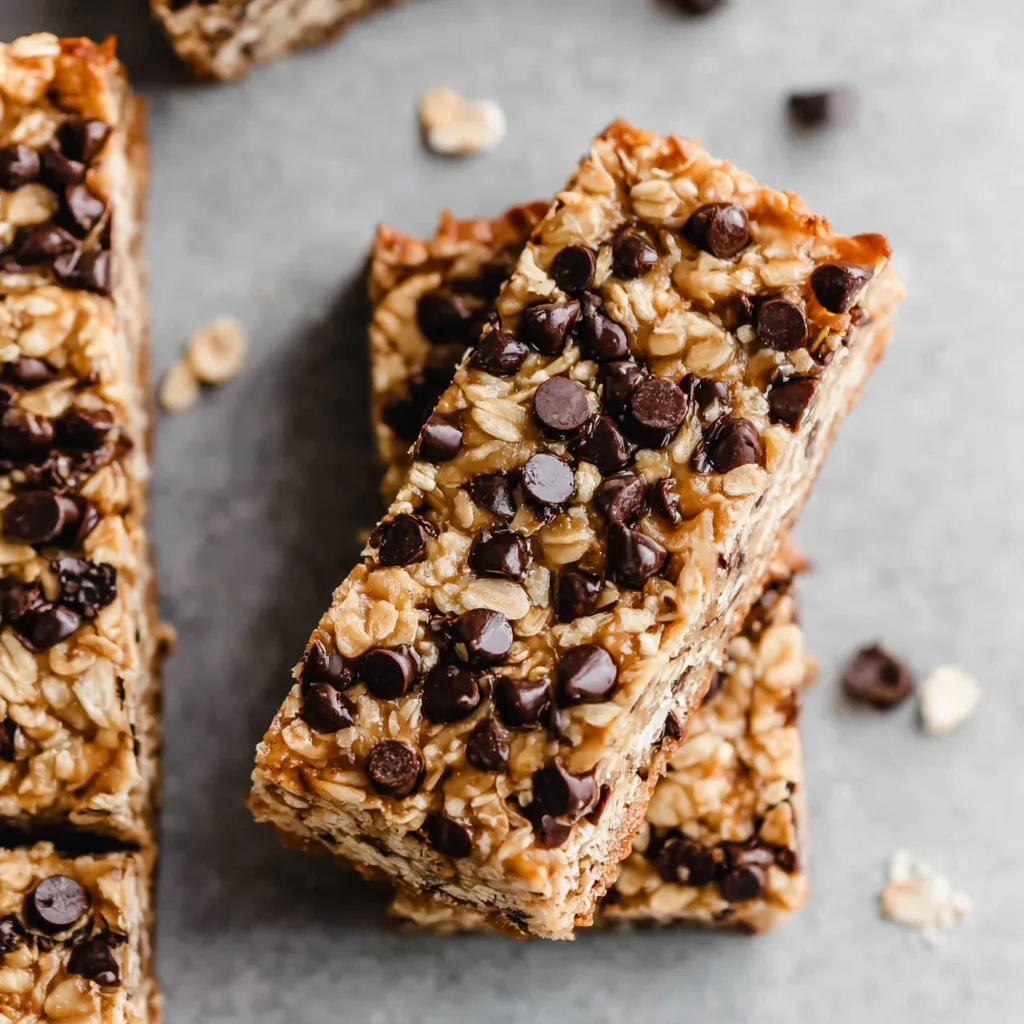
- Mini chocolate chips add delightful pockets of sweetness throughout use dark chocolate for less sugar
- Optional mix-ins like nuts and seeds boost nutrition and add texture variety
Step-by-Step Instructions
- Prepare Your Oven And Peanut Butter
- Preheat your oven to 350°F ensuring it reaches full temperature before baking. If your peanut butter has been refrigerated or is too firm, microwave it for 10-15 seconds until it reaches a drizzly consistency but not hot. This ensures it will mix evenly with other ingredients and create the perfect binding texture.
- Mix The Ingredients
- In a large bowl, combine the oats, peanut butter, honey or maple syrup, and eggs. Mix thoroughly until no dry oats remain and the mixture holds together when pressed between your fingers. This is the crucial step that determines whether your bars will hold together or crumble, so take your time here. If adding mix-ins like nuts or seeds, fold them in gently at this stage.
- Prepare Your Baking Dish
- Line a 9×9 inch baking dish with parchment paper, leaving some overhang on the sides to create handles for easy removal later. This step is essential for clean removal and perfect squares. Spray the parchment lightly with cooking spray if you're concerned about sticking.
- Press The Mixture
- Transfer your granola mixture to the prepared baking dish. Using slightly damp hands or the bottom of a measuring cup, press the mixture VERY firmly into an even layer. This compression is absolutely critical for bars that hold together. Pay special attention to the corners and edges where crumbling often begins.
- Add Chocolate Chips And Bake
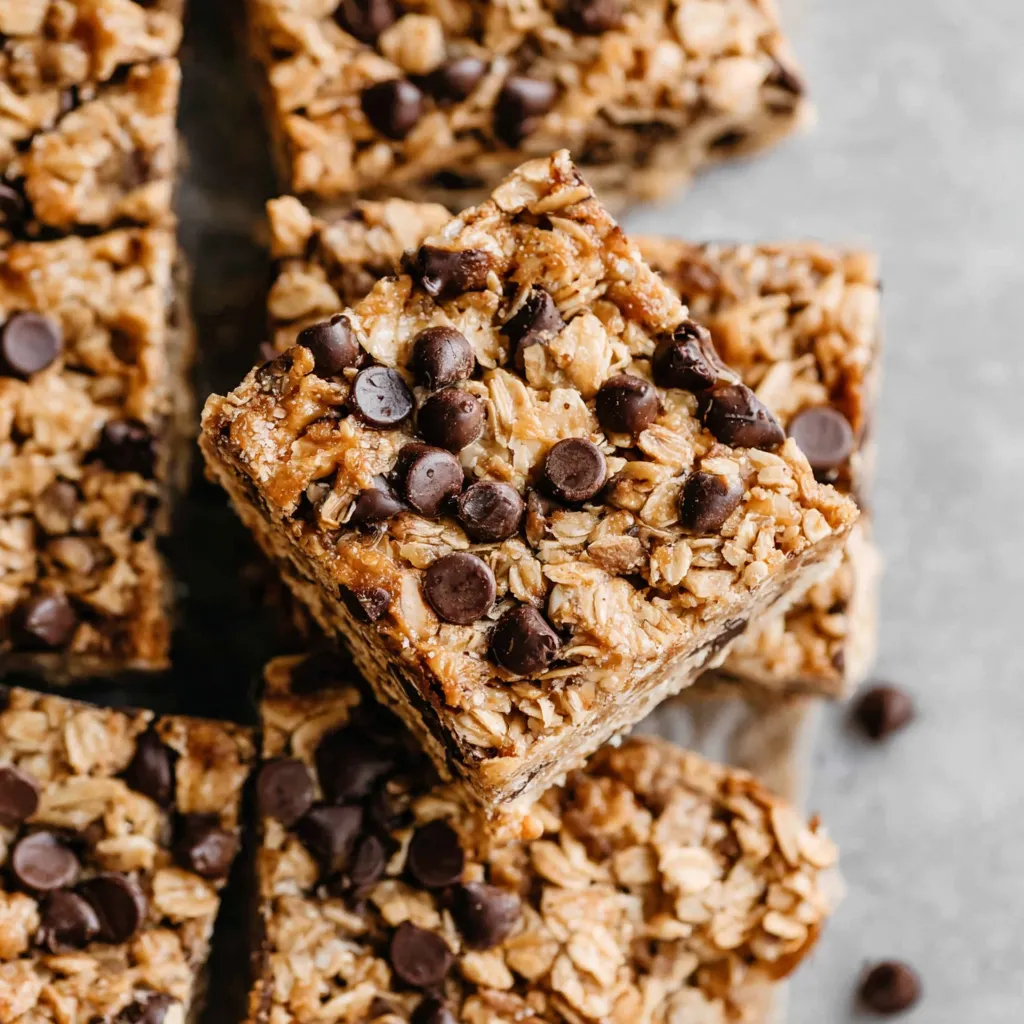
- If using chocolate chips, sprinkle them evenly over the top of the pressed mixture, then gently press them into the surface. This creates a more attractive finish and helps the chips adhere. Bake for 14-17 minutes, checking at the 14-minute mark. The edges should be just beginning to turn golden brown, and the center should feel set but still slightly soft.
- Cool And Cut
- Allow the bars to cool completely in the pan on a wire rack. This cooling period is non-negotiable as it allows the bars to set properly. Once completely cool, use the parchment paper handles to lift the entire slab out of the pan. With a sharp knife, cut into 16 even squares. For the cleanest cuts, wipe your knife between slices.
The natural peanut butter is truly the star of this recipe. I discovered its superiority after trying multiple brands and types. The drippy, fresh-ground variety creates the perfect consistency while avoiding unnecessary oils and sugars. My daughter once declared these better than dessert, which as any parent knows, is the highest form of culinary praise possible.
Storage Solutions
These granola bars maintain their soft texture when stored in an airtight container at room temperature for up to 5 days. For longer storage, refrigerate them for up to 2 weeks, though they will become slightly firmer. They also freeze beautifully for up to 3 months when wrapped individually in parchment paper and placed in a freezer-safe container. I often make double batches specifically for freezing, which allows for quick grab-and-go snacks whenever needed. Let frozen bars thaw at room temperature for about 30 minutes before enjoying.
Ingredient Substitutions
This recipe welcomes adaptation based on dietary needs or pantry availability. For a vegan version, replace eggs with flax eggs by mixing 2 tablespoons ground flaxseed with 6 tablespoons water and letting it sit for 5 minutes. Almond or sunflower seed butter works wonderfully for those with peanut allergies. Brown rice syrup can replace honey or maple syrup for a different flavor profile and slightly chewier texture. For added nutrition, substitute up to 1/2 cup of oats with protein powder, though you may need to adjust the wet ingredients slightly to maintain the proper consistency.
Kid-Friendly Adaptations
Transform this recipe into a fun cooking activity by letting children customize their own bars. Set up a "granola bar station" with separate bowls of different mix-ins like chocolate chips, dried cranberries, coconut flakes, and various seeds. Each child can create their personalized flavor combination in their section of the pan. For younger eaters, consider forming the mixture into bite-sized energy balls instead of bars, which are easier for small hands to manage. Adding a few colorful sprinkles on top before baking makes these bars especially appealing to children without significantly affecting the nutrition profile.
Recipe FAQs
- → Can I make these granola bars vegan?
Yes! Simply substitute the eggs with flax eggs (1 tablespoon ground flaxseed mixed with 3 tablespoons water per egg, let sit for 5 minutes until gelatinous) and use maple syrup instead of honey. Ensure your chocolate chips are dairy-free if including them.
- → How should I store these granola bars?
Once completely cooled and cut, store the bars in an airtight container. They'll keep at room temperature for 3-4 days, in the refrigerator for up to a week, or frozen for up to 3 months. If freezing, separate layers with parchment paper.
- → Why is it important to press the mixture firmly into the pan?
Pressing firmly ensures the ingredients bind together properly during baking, resulting in bars that hold their shape when cut. If the mixture isn't pressed firmly enough, the bars may crumble when you try to handle them.
- → Can I use quick oats instead of old-fashioned rolled oats?
While old-fashioned rolled oats provide the best texture, quick oats can work in a pinch. The bars might be slightly less chewy and more dense. Avoid instant oatmeal packets as they contain added sugars and flavorings.
- → How can I tell when the granola bars are done baking?
The bars are done when the center feels set (not wet) and the edges are just beginning to turn golden brown. Start checking at 14 minutes as oven temperatures vary. Overbaking will result in harder, less chewy bars.
- → What's the best type of peanut butter to use?
Natural peanut butter works best - the kind where peanuts (and maybe salt) are the only ingredients. If it's too solid, warming it slightly helps with mixing. Avoid peanut butters with added sugars, oils, or stabilizers as they can affect the texture and binding properties.