
 Save
Save
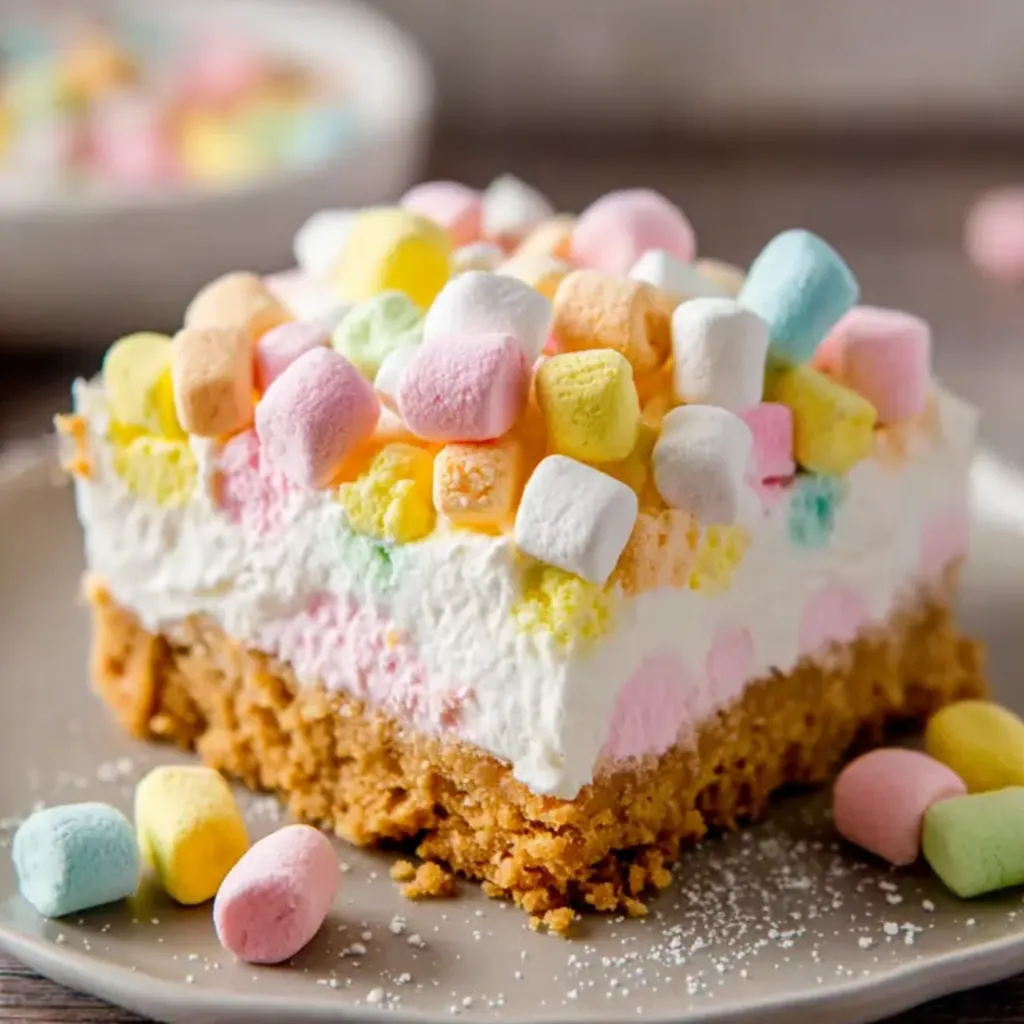
This heavenly no-bake marshmallow slice has become my summer dessert savior when turning on the oven feels like a crime. The creamy marshmallow filling sits atop a buttery cookie crust creating the perfect balance of textures that simply melts in your mouth.
I first made this for my daughter's birthday during a record-breaking heatwave. The look of pure joy on her face when she bit into that first pillowy square convinced me this would become our family tradition for summer celebrations.
Ingredients
- 1½ cups crushed graham crackers digestive biscuits vanilla wafers or shortbread cookies. The base provides structure and a buttery contrast to the soft filling. I prefer graham crackers for their subtle honey notes.
- ½ cup unsalted butter melted. Binds the crust together while adding richness. Always use unsalted to control the final flavor.
- 8 oz cream cheese softened. Creates the luxurious creamy base. Room temperature is crucial for smooth blending.
- ½ cup powdered sugar. Sweetens without grittiness. Sift first for ultimate smoothness.
- 1 teaspoon vanilla extract. Enhances all other flavors. Pure extract makes a noticeable difference.
- 1½ cups heavy whipping cream. Creates cloudlike texture when whipped. The higher the fat content the better it will hold its shape.
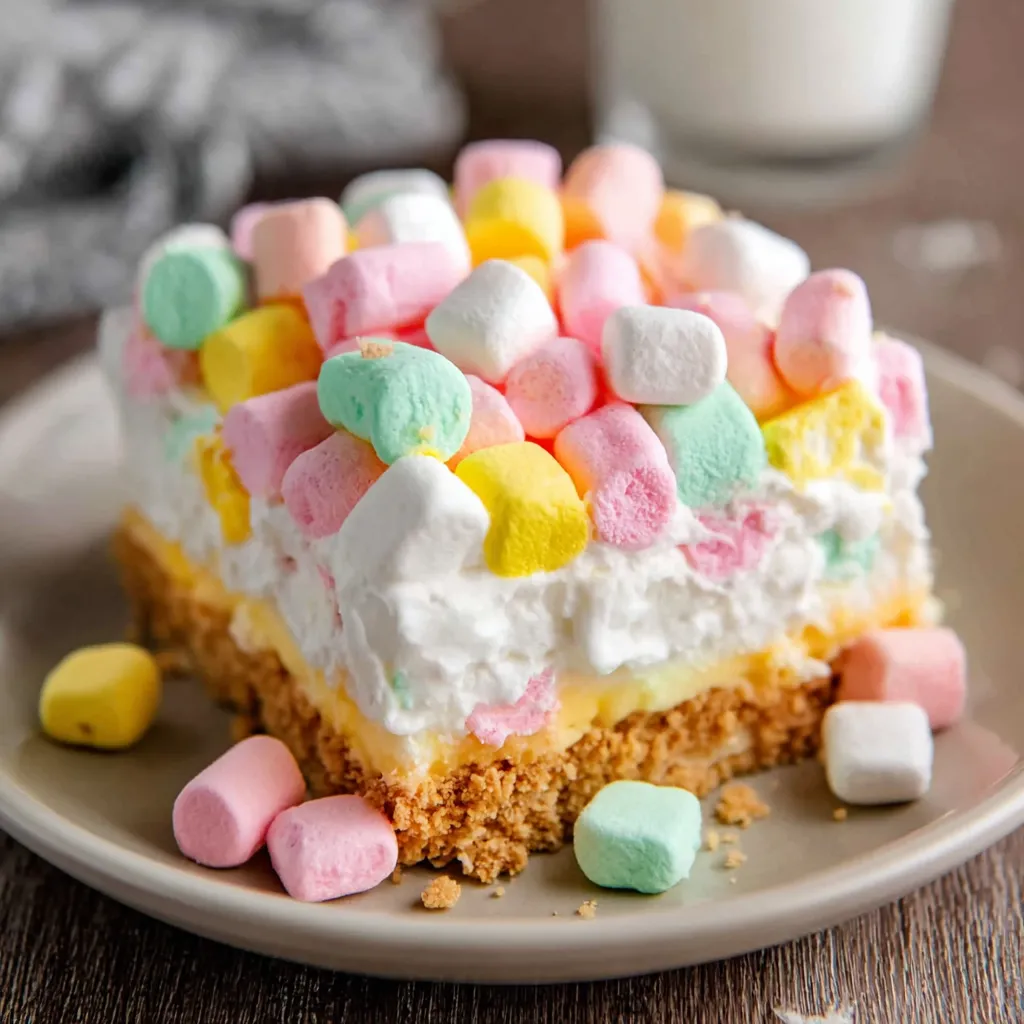
- 2 cups mini rainbow marshmallows. The star ingredient adding sweet pops of color and chewy texture. Mini size distributes better throughout.
- ½ cup white chocolate chips optional. Adds surprising bursts of sweetness and a subtle textural contrast.
Step-by-Step Instructions
- Prepare the Cookie Base
- Crush cookies until they resemble fine sand with no large chunks remaining. Mix thoroughly with melted butter until every crumb is coated and the mixture resembles wet sand. Press firmly into your lined pan using the bottom of a measuring cup to create an even compact layer. The chilling step is crucial as it prevents the crust from becoming soggy when you add the filling.
- Whip the Cream Cheese Base
- Ensure your cream cheese is truly at room temperature to avoid lumps. Beat until completely smooth and slightly fluffy before adding powdered sugar and vanilla. The mixture should look like a thick glaze with no cream cheese lumps whatsoever. Take your time with this step as it forms the foundation of your filling.
- Create the Cloud Filling
- Whip the heavy cream in a separate bowl until it forms stiff peaks that stand straight up when the beaters are lifted. This typically takes 3 to 4 minutes on medium high speed. Gently fold the whipped cream into the cream cheese mixture using a spatula with a cutting and folding motion to maintain maximum airiness. Once fully incorporated fold in the colorful marshmallows and optional white chocolate chips.
- Assemble and Chill
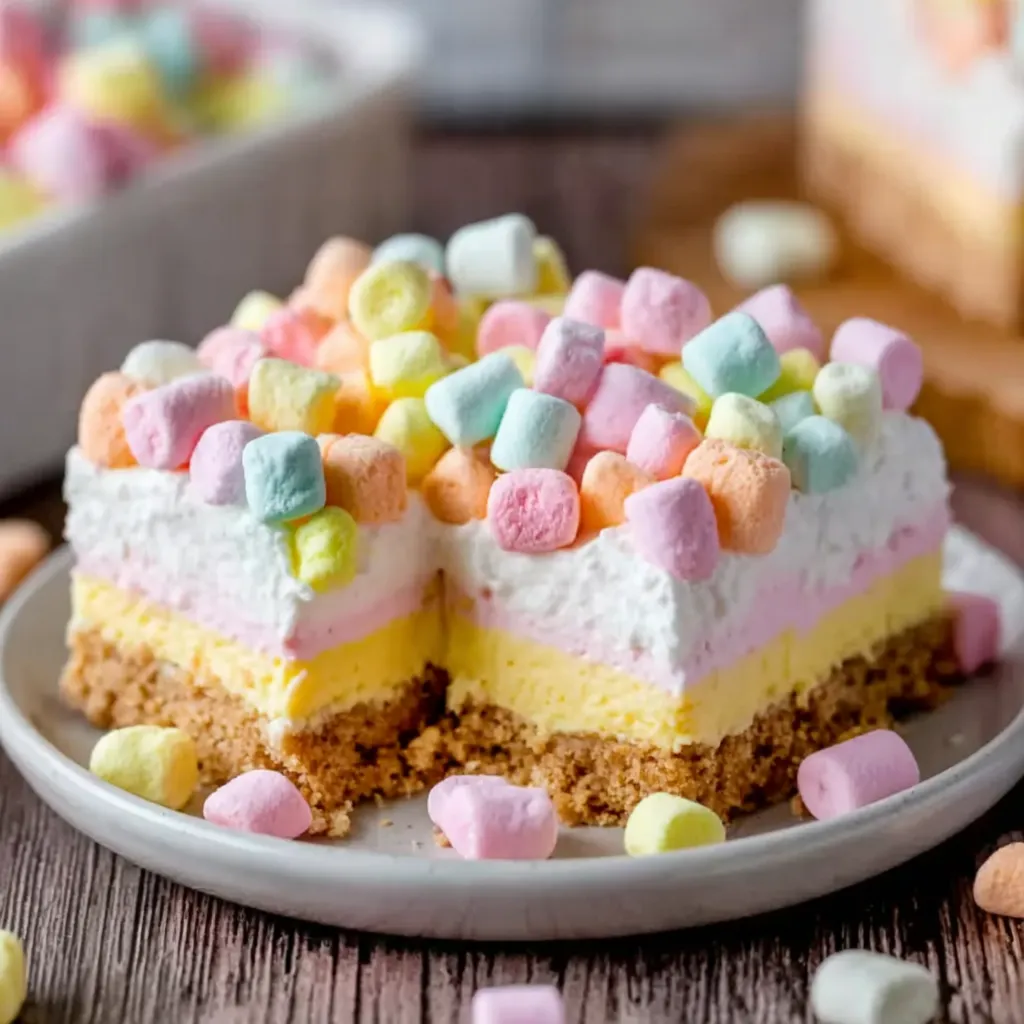
- Spread the marshmallow filling over the chilled crust using an offset spatula to create a smooth even layer. Press additional marshmallows on top in a decorative pattern if desired. Cover with plastic wrap without touching the surface to prevent a skin from forming. The full chilling time is nonnegotiable for proper setting.
The first time I made this slice I used strawberry marshmallows and white chocolate together. The combination reminded me of the strawberry and cream desserts my grandmother used to make when I visited during summer breaks. Now whenever I make this treat I think of her kitchen with its checkered curtains and the sound of her humming as she cooked.
Storage Tips
This marshmallow slice keeps beautifully in the refrigerator for up to 5 days when stored in an airtight container. The texture actually improves after the first day as the flavors meld together and the marshmallows slightly soften into the cream. For longer storage you can freeze individual slices wrapped tightly in plastic wrap then aluminum foil for up to 3 months. Thaw overnight in the refrigerator before serving.
Flavor Variations
The beauty of this recipe lies in its versatility. Try chocolate graham crackers for the base with peanut butter chips mixed into the filling for a chocolate peanut butter version. During holidays use seasonal marshmallows like peppermint during Christmas or pumpkin spice for fall gatherings. You can also add a tablespoon of lemon zest to the cream cheese mixture for a bright summery twist that balances the sweetness beautifully.
Serving Suggestions
While perfect on its own this marshmallow slice pairs wonderfully with fresh berries on the side. For an elevated dessert experience drizzle each serving with warm chocolate sauce or caramel just before serving. I love to serve this at outdoor gatherings on a chilled platter surrounded by mint sprigs and edible flowers for a beautiful presentation that holds up well even in warm weather.
Recipe FAQs
- → Can I use different types of cookies for the crust?
Absolutely! While graham crackers are traditional, you can substitute digestive biscuits, vanilla wafers, or shortbread cookies depending on your preference. Each will provide a slightly different flavor profile but all work wonderfully as the base.
- → How far in advance can I make this dessert?
You can prepare this marshmallow slice up to 2 days before serving. Store it covered in the refrigerator to maintain freshness. The chilling time actually improves the texture and flavor as the components meld together.
- → Can I freeze leftover marshmallow slice?
Yes, this dessert freezes quite well. Cut into individual portions, wrap each piece in plastic wrap, then store in an airtight container for up to 1 month. Thaw in the refrigerator for several hours before serving.
- → What can I add for different flavor variations?
Consider adding lemon zest for a citrus twist, folding in chopped nuts or shredded coconut for texture, using flavored marshmallows (strawberry or chocolate), or incorporating a tablespoon of cocoa powder into the cream cheese mixture for chocolate lovers.
- → Why isn't my filling setting properly?
The most common reason is under-whipping the heavy cream. Make sure to whip the cream to stiff peaks before folding it into the cream cheese mixture. Also, ensure the dessert chills for at least 4 hours—overnight is even better—to properly set.
- → Can I make this dessert dairy-free?
Yes, with some substitutions. Use dairy-free cream cheese alternatives, coconut oil instead of butter, and full-fat coconut cream (chilled overnight and whipped) in place of heavy cream. The texture will be slightly different but still delicious.