
 Save
Save
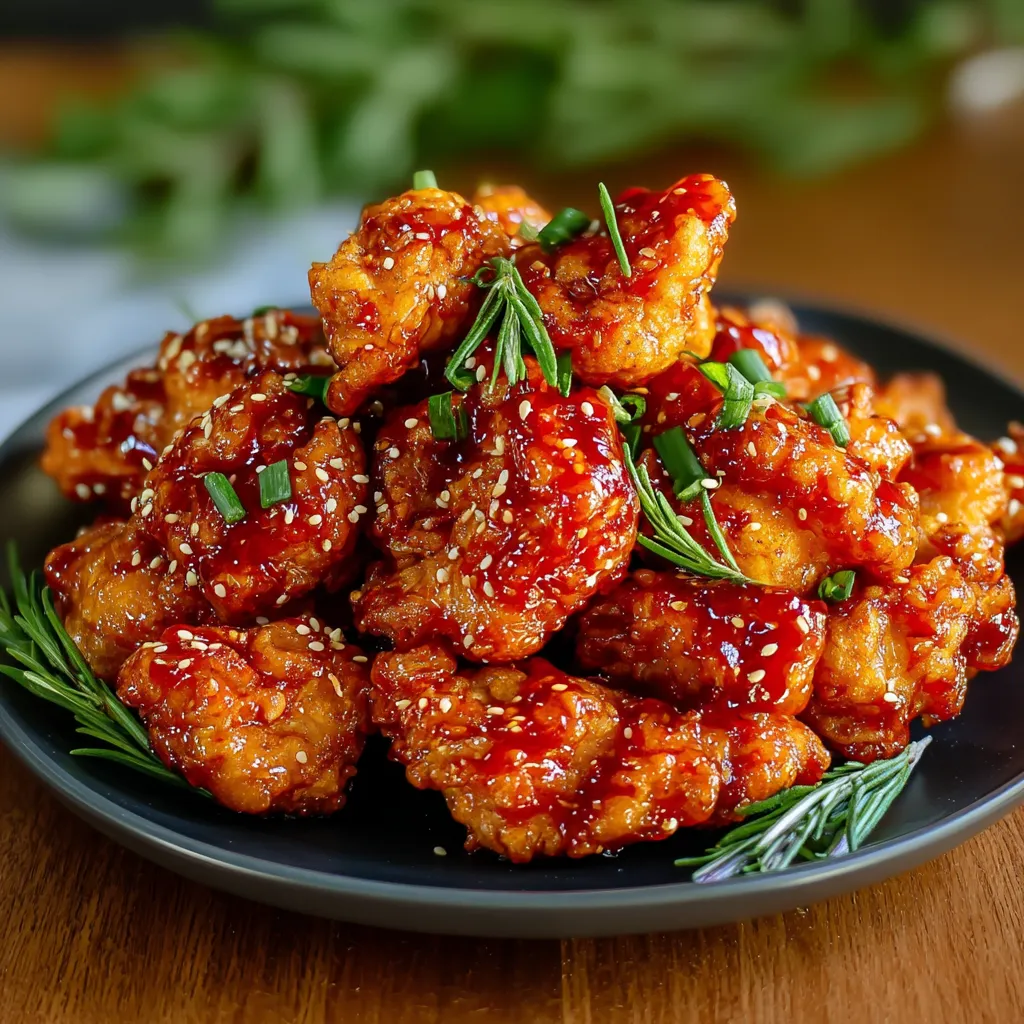
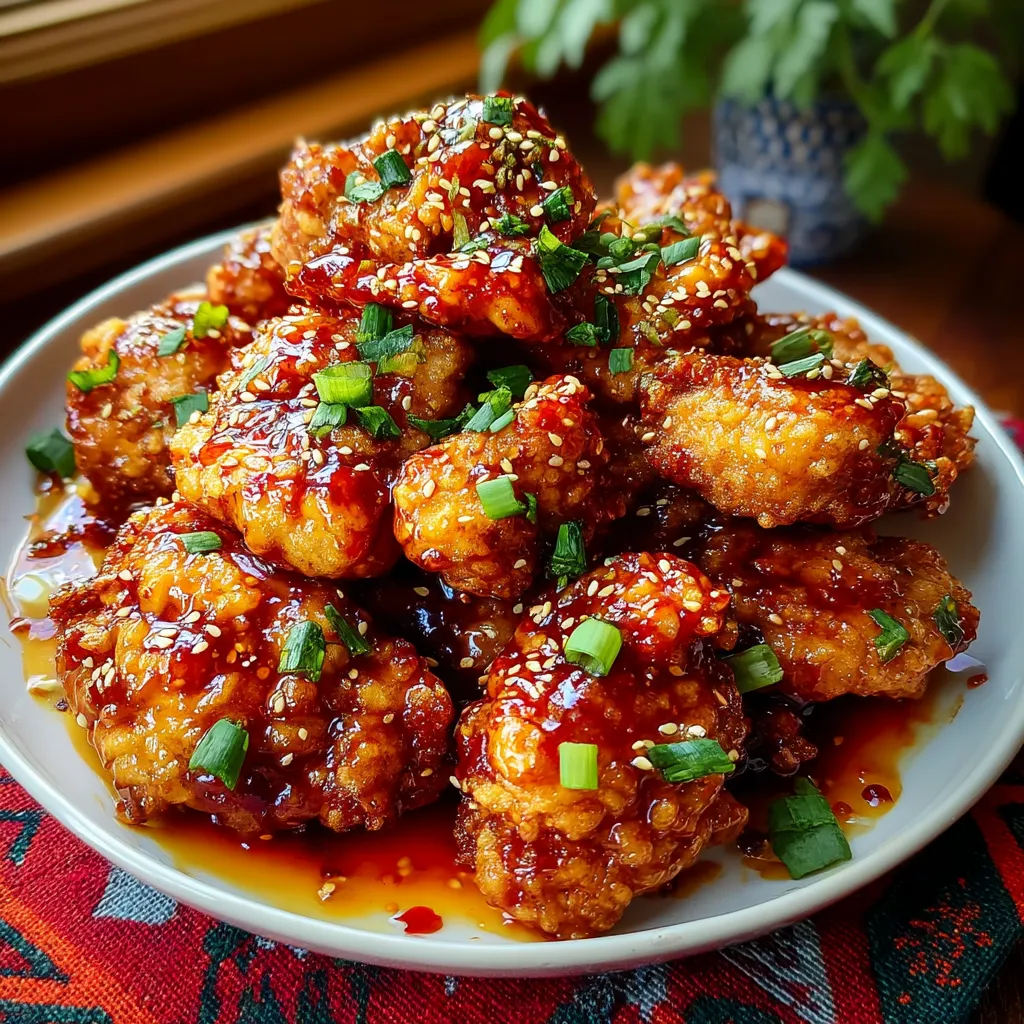
This crispy Korean fried chicken with its sweet and spicy garlic glaze has become my go-to recipe whenever I need to impress guests without spending hours in the kitchen. The double coating technique creates an irresistibly crunchy exterior while keeping the chicken incredibly juicy inside.
I first made this Korean fried chicken for a game night with friends and it disappeared within minutes. Now it's requested at every gathering and my family begs for it on weeknights too.
Ingredients
- Chicken Breast fresh boneless chunks deliver the perfect juicy interior while cooking quickly
- Cornstarch creates that signature ultra crispy coating that stays crunchy even after being tossed in sauce
- All Purpose Flour works with cornstarch for the perfect coating texture
- Eggs help the coating adhere perfectly to the chicken pieces
- Ketchup provides tomato base and subtle tang for the sauce
- Chili Sauce adds the perfect level of heat that can be adjusted to your preference
- Honey balances the spice with natural sweetness for that classic Korean glaze
- Brown Sugar deepens the flavor profile with caramel notes
- Soy Sauce brings umami richness and salt to the sauce
- Garlic Cloves fresh minced garlic is essential for authentic flavor
- Red Pepper Flakes provides additional heat and visual appeal
- Sesame Oil adds that distinctive nutty finish that makes Korean cuisine special
Step-by-Step Instructions
- Prepare the Sauce:
- Combine ketchup, chili sauce, honey, brown sugar, soy sauce, water, garlic, red pepper flakes, cornstarch, and sesame oil in a bowl. Whisk thoroughly until completely smooth with no lumps of cornstarch remaining. The sauce should have a vibrant reddish brown color. Set aside to allow flavors to meld while you prepare the chicken.
- Create the Coating Station:
- Mix cornstarch, flour, salt, and black pepper in a shallow bowl until evenly combined. In a separate bowl, beat eggs until smooth and slightly frothy. Position these bowls next to each other in a line for an efficient coating process.
- Coat the Chicken:
- Working with a few pieces at a time, dip chicken chunks into the beaten egg, ensuring they're completely coated. Let excess egg drip off, then transfer to the cornstarch mixture. Toss thoroughly until each piece is fully covered with a thick white coating. Place coated pieces on a plate without stacking them.
- Fry to Perfection:
- Heat canola oil to 350°F in a heavy bottomed pan or wok. The oil should be about 2 inches deep. Carefully lower coated chicken pieces into the hot oil in small batches, being careful not to overcrowd. Fry for 4 to 5 minutes until golden brown and crispy. Remove with a slotted spoon and drain on paper towels.
- Create the Glaze:
- Pour the prepared sauce mixture into a clean pan over medium heat. Bring to a gentle simmer, stirring constantly until it thickens enough to coat the back of a spoon, about 2 to 3 minutes. The sauce should be glossy and have a syrupy consistency.
- Coat and Serve:
- Add the fried chicken pieces to the thickened sauce and gently toss until every piece is generously coated with the sticky, shiny glaze. The coating will remain crispy while absorbing the delicious sauce flavors. Transfer to a serving platter immediately.

The minced garlic is truly the heart of this recipe. I remember the first time I made this dish with freshly minced garlic instead of powder. My teenage son who normally picks around garlic in other dishes couldn't stop raving about the flavor. That moment converted him into a garlic lover forever.
Make Ahead Options
This Korean fried chicken can be partially prepared ahead of time to make entertaining easier. The chicken can be coated and fried up to 4 hours before serving. Store the fried pieces uncovered at room temperature to maintain crispiness. Prepare the sauce separately and keep refrigerated. When ready to serve, gently reheat the sauce until bubbling, then toss with the chicken pieces. This method ensures you get that perfect texture contrast between crispy exterior and juicy interior without the coating becoming soggy.
Spice Level Customization
The beauty of this Korean fried chicken recipe lies in its adaptability to different heat preferences. For a milder version perfect for children or those sensitive to spice, reduce the chili sauce to 1 tablespoon and omit the red pepper flakes entirely. For heat lovers, increase the red pepper flakes to 1 teaspoon and add 1 tablespoon of gochujang paste to the sauce mixture. You can also offer additional chili sauce on the side for dipping, allowing each person to control their own spice level.
Serving Suggestions
Transform this Korean fried chicken into a complete meal by serving it alongside traditional accompaniments. Steamed white rice provides the perfect neutral base to soak up the delicious sauce. For an authentic Korean experience, serve with kimchi, pickled radishes, and lettuce wraps for a hands on dining adventure. The chicken also pairs beautifully with a cold cucumber salad dressed with rice vinegar and sesame oil to balance the rich flavors. For casual entertaining, present on a large platter with toothpicks and napkins as an irresistible finger food.
Recipe FAQs
- → Can I use different cuts of chicken instead of breast?
Absolutely! While this Korean fried chicken uses breast meat, you can substitute with boneless chicken thighs for even juicier results. Wings and drumsticks also work wonderfully, though cooking times may need adjustment. Just ensure the chicken reaches an internal temperature of 165°F (74°C) regardless of the cut used.
- → How can I make this dish less spicy?
To reduce the spiciness, simply decrease or omit the red pepper flakes and reduce the chili sauce amount. You can replace the chili sauce with additional ketchup for the same consistency but milder flavor. The honey and brown sugar will still provide that delicious sweet element to balance the reduced heat.
- → What's the best oil for frying this chicken?
Canola oil is recommended for its neutral flavor and high smoke point, but other options include vegetable oil, peanut oil, or rice bran oil. Avoid olive oil or butter as they have lower smoke points and will burn at the high temperatures needed for proper frying.
- → Can I prepare any components ahead of time?
Yes! The sauce can be prepared up to 3 days ahead and stored in the refrigerator. You can also mix the dry coating ingredients in advance. For best results, however, coat and fry the chicken just before serving to maintain maximum crispiness. If needed, you can fry the chicken earlier and reheat in a 375°F oven for 10 minutes before tossing with the heated sauce.
- → What sides pair well with Korean fried chicken?
Traditional Korean sides like kimchi, pickled radishes, or cucumber salad complement the flavors perfectly. For a complete meal, serve with steamed rice or Korean japchae (glass noodles). A cold Korean beer or refreshing cucumber soju cocktail makes an excellent beverage pairing.
- → How do I get the chicken extra crispy?
For maximum crispiness, double-fry the chicken. First, fry at 325°F for about 5-6 minutes until cooked through but not browned. Remove and rest for 2-3 minutes, then fry again at 375°F until golden and crispy. This technique creates that signature crackly Korean fried chicken exterior while keeping the inside juicy.