
 Save
Save
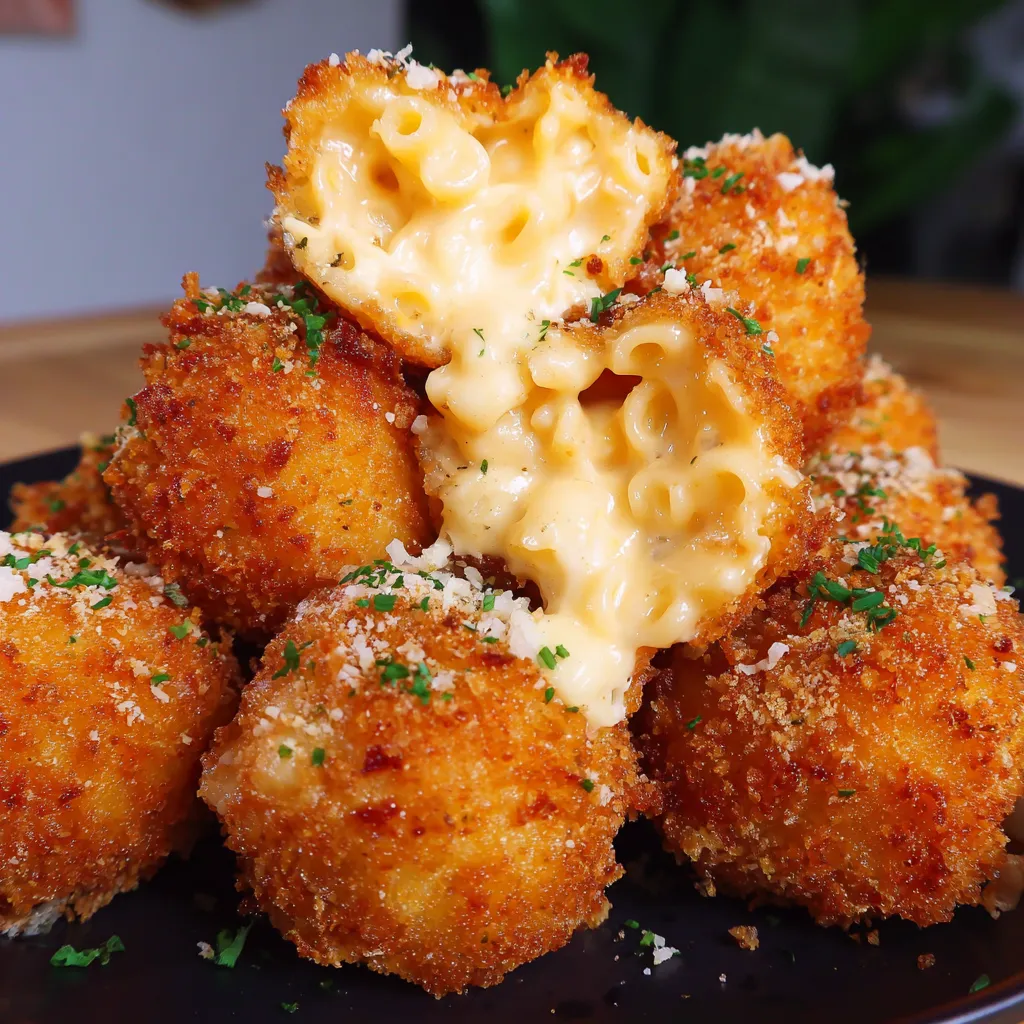
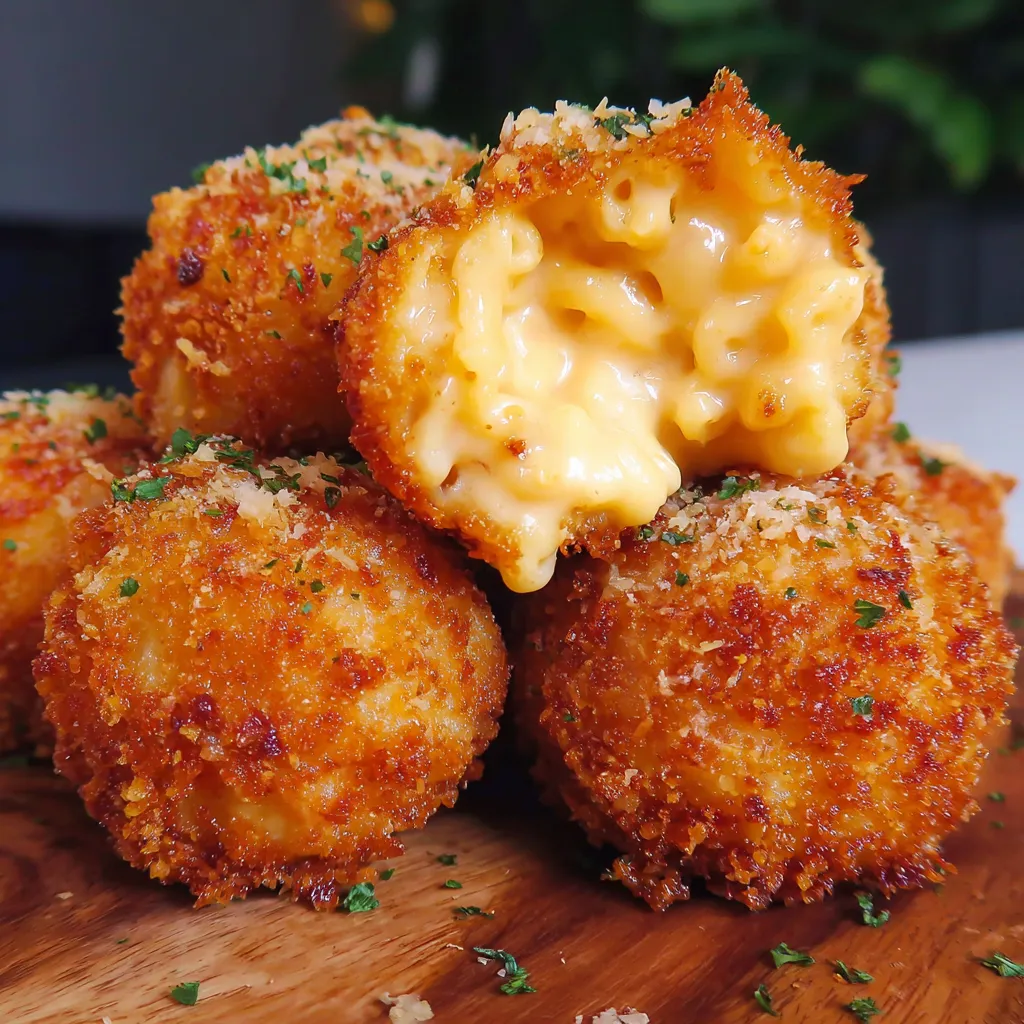
This crispy fried mac and cheese balls recipe transforms the classic comfort food into an irresistible handheld appetizer that disappears within minutes at every gathering I host. The contrast between the golden crunchy exterior and the gooey cheesy interior creates a textural masterpiece that both kids and adults adore.
I first made these for a Super Bowl party three years ago and they've become my most requested appetizer since. Even my picky nephew who claims to hate cheese devoured four of these in one sitting!
Ingredients
- Elbow macaroni small pasta shape perfect for holding maximum cheese sauce in each bite
- Unsalted butter creates the base for a rich roux that thickens the sauce beautifully
- All purpose flour works with butter to create the perfect sauce consistency
- Milk whole milk produces the creamiest result but 2% works in a pinch
- Shredded cheddar cheese use a good quality sharp cheddar for the best flavor punch
- Grated Parmesan cheese adds nutty depth and helps the mixture set when chilled
- Salt and pepper essential for balancing and enhancing the cheesy flavors
For Coating and Frying
- All purpose flour creates the first essential layer that helps egg adhere
- Large eggs acts as the glue that holds the breadcrumb coating in place
- Seasoned breadcrumbs creates that golden crispy exterior everyone loves
- Vegetable oil neutral flavor with high smoke point perfect for frying
Step-by-Step Instructions
- Create the Cheese Sauce
- Cook butter and flour together for 1-2 minutes until it smells slightly nutty and turns light golden brown. This step cooks out the raw flour taste and creates the foundation for a silky smooth sauce. Gradually add milk while whisking constantly to prevent lumps from forming. Continue cooking until the mixture thickens enough to coat the back of a spoon about 3-5 minutes.
- Add Cheese and Pasta
- Remove the sauce from heat before adding both cheeses to prevent the proteins from seizing. Stir continuously until completely melted and velvety smooth. Season with salt and pepper tasting as you go. Fold in the cooked elbow macaroni ensuring each piece is thoroughly coated in the luxurious cheese sauce.
- Chill Thoroughly
- Transfer the mac and cheese mixture to a shallow baking dish spreading it into an even layer. Cover with plastic wrap pressing it directly onto the surface to prevent a skin from forming. Refrigerate for at least 2 hours but overnight works even better. The mixture must be completely cold and firm to shape properly.
- Form the Balls
- Use a small ice cream scoop or tablespoon to portion the chilled mac and cheese. Working quickly roll each portion between your palms to form uniform balls about 1-2 inches in diameter. If the mixture becomes too soft return it to the refrigerator for 30 minutes before continuing.
- Coat Thoroughly
- Set up a breading station with three separate dishes for flour beaten eggs and breadcrumbs. Roll each mac and cheese ball in flour first shaking off excess then dip completely in egg and finally coat generously with breadcrumbs pressing gently to adhere. For extra crispiness double coat by dipping the breaded ball back into egg and breadcrumbs again.
- Fry to Perfection
- Heat oil to exactly 350°F using a candy thermometer for accuracy. Fry 4-5 balls at a time to maintain oil temperature for 2-3 minutes until deeply golden brown. Gently turn them during frying to ensure even cooking. Transfer to paper towels immediately after frying to absorb excess oil.
The Parmesan cheese is my secret weapon in this recipe. When I first developed these balls they kept falling apart during frying until I discovered that Parmesan acts as a binding agent when cooled helping everything stay together beautifully. My daughter now requests these every year for her birthday instead of cake!
Make Ahead Magic
These mac and cheese balls are the ultimate make ahead appetizer. You can prepare them in stages over several days which makes them perfect for entertaining. Make the mac and cheese up to three days ahead and keep refrigerated. Form and bread the balls up to 24 hours before serving storing them covered in the refrigerator. You can even freeze the breaded uncooked balls for up to one month. Simply arrange them on a baking sheet freeze until solid then transfer to a freezer bag. When ready to serve fry directly from frozen adding about 1-2 minutes to the cooking time.
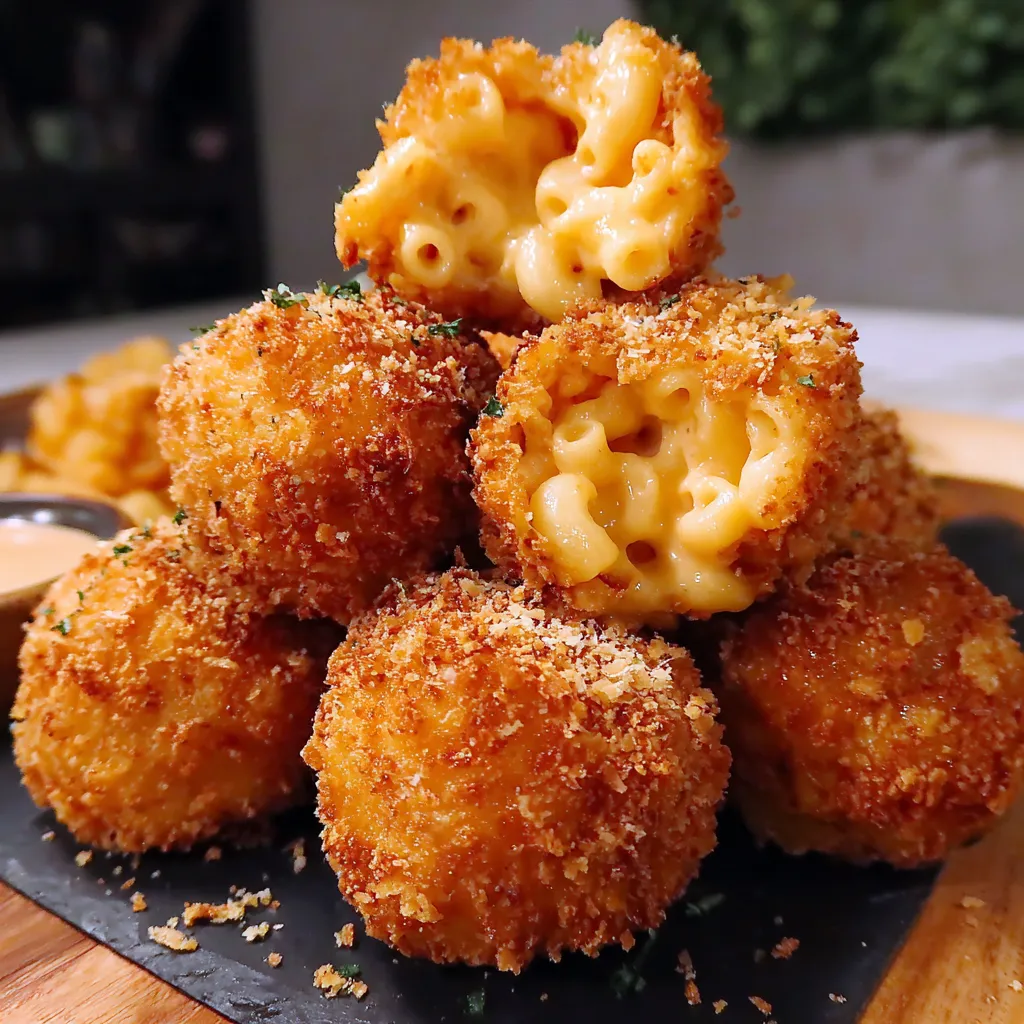
Dipping Sauce Pairings
The perfect dipping sauce elevates these mac and cheese balls to another level. My family favorite is a simple sriracha mayo made by mixing 1/2 cup mayonnaise with 1-2 tablespoons sriracha depending on heat preference. Other excellent options include marinara sauce for an Italian twist ranch dressing for a crowd pleasing option or honey mustard for a sweet tangy contrast. Set out a variety of sauces and watch guests create their own perfect combinations.
Flavor Variations
The basic recipe provides an excellent canvas for creative flavor additions. For southwestern style mix in 1/4 cup diced jalapeños and substitute pepper jack for half the cheddar. For a gourmet version add 2 tablespoons truffle oil and use Gruyere cheese instead of cheddar. Buffalo chicken lovers can fold in 1/2 cup shredded rotisserie chicken tossed with 3 tablespoons buffalo sauce. I personally love adding 1/3 cup crispy bacon bits and 2 tablespoons chopped chives for a loaded baked potato inspired version that disappears in minutes at potlucks.
Recipe FAQs
- → Can I make these mac and cheese balls ahead of time?
Yes! You can prepare the mac and cheese mixture and form the balls up to 2 days in advance. Keep them refrigerated and uncoated until ready to use. Alternatively, you can fully prepare and fry the balls, then freeze them. Reheat in a 350°F oven for 10-15 minutes until hot and crispy.
- → Can I bake these instead of frying?
Absolutely! While frying delivers the crispiest exterior, you can bake them at 400°F for about 15-20 minutes, turning halfway through. Spray them with cooking oil before baking for better browning.
- → Why do my mac and cheese balls fall apart when frying?
This typically happens when the mac and cheese mixture isn't chilled long enough. Ensure you refrigerate for at least 2 hours, or even overnight. Additionally, be gentle when coating them, and make sure your oil is at the correct temperature (350°F).
- → What are the best cheeses to use?
Sharp cheddar and Parmesan create a classic flavor profile, but you can experiment! Gruyère adds nuttiness, pepper jack brings heat, and mozzarella increases stretchiness. For best results, use freshly grated cheese rather than pre-shredded, which contains anti-caking agents that can affect melting.
- → What dipping sauces pair well with these?
These crispy bites pair wonderfully with marinara sauce, ranch dressing, spicy mayo (mix mayo with sriracha), honey mustard, or even a tangy BBQ sauce. For something special, try a buffalo sauce or truffle aioli.
- → How do I know when the oil is ready for frying?
The ideal temperature is 350°F (175°C). If you don't have a thermometer, drop a small breadcrumb into the oil - it should sizzle immediately and float to the top, but not burn quickly. If it sinks without bubbling, the oil isn't hot enough.