
 Save
Save
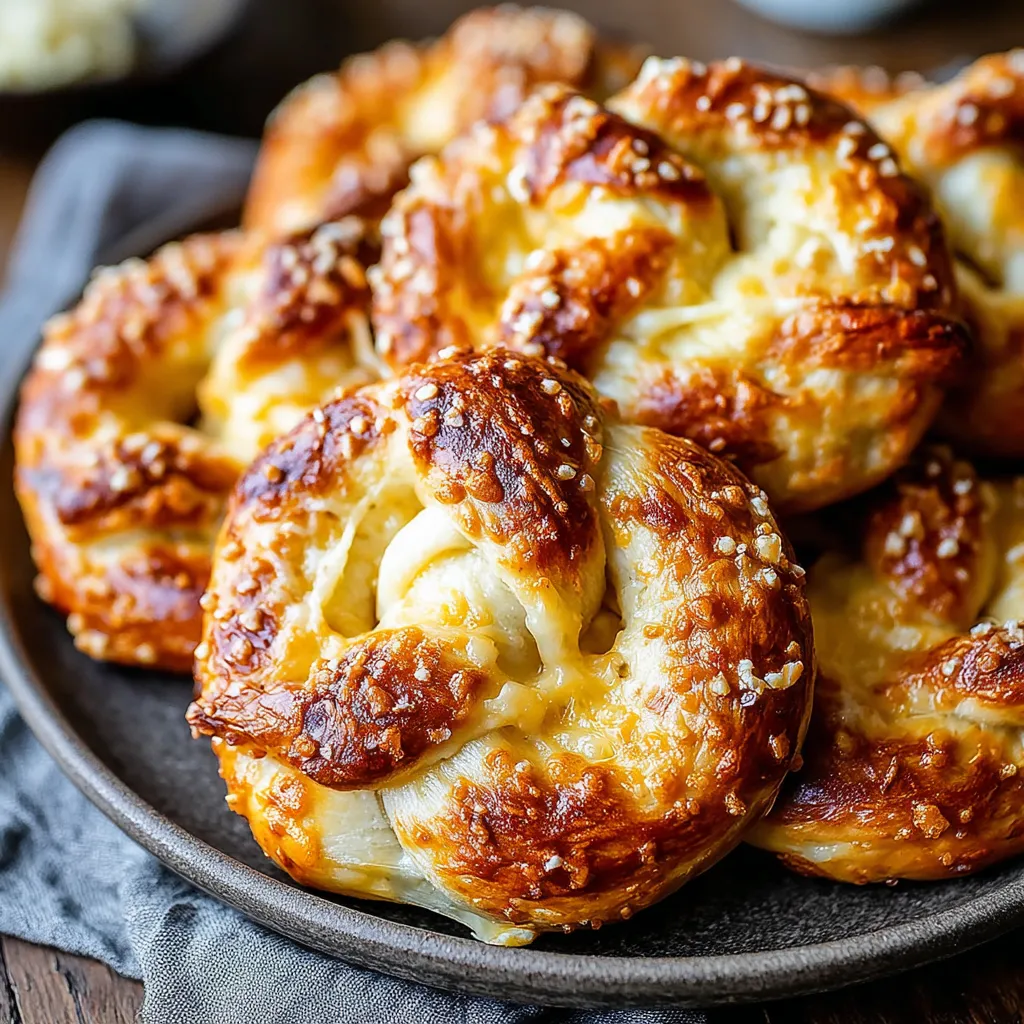
This cheesy homemade soft pretzel recipe transforms simple ingredients into an irresistible treat that brings the mall pretzel stand right to your kitchen. The combination of a chewy exterior with molten cheese hidden inside creates the ultimate comfort food that disappears quickly whenever I make them.
I first made these pretzels for a game day gathering and they vanished before halftime. Now they've become our Sunday afternoon tradition while we catch up on our favorite shows.
Ingredients
- Warm water Temperature matters here. It should feel like comfortable bath water around 110°F to activate the yeast without killing it.
- Sugar Feeds the yeast and adds a subtle sweetness that balances the salt on top.
- Instant yeast The magic that makes our dough rise. Make sure yours is fresh for best results.
- Unsalted butter Adds richness to the dough. I always use unsalted to control the salt level precisely.
- All purpose flour Creates the perfect texture. No need for special bread flour.
- Kosher salt The coarser grind adds better flavor to the dough than table salt.
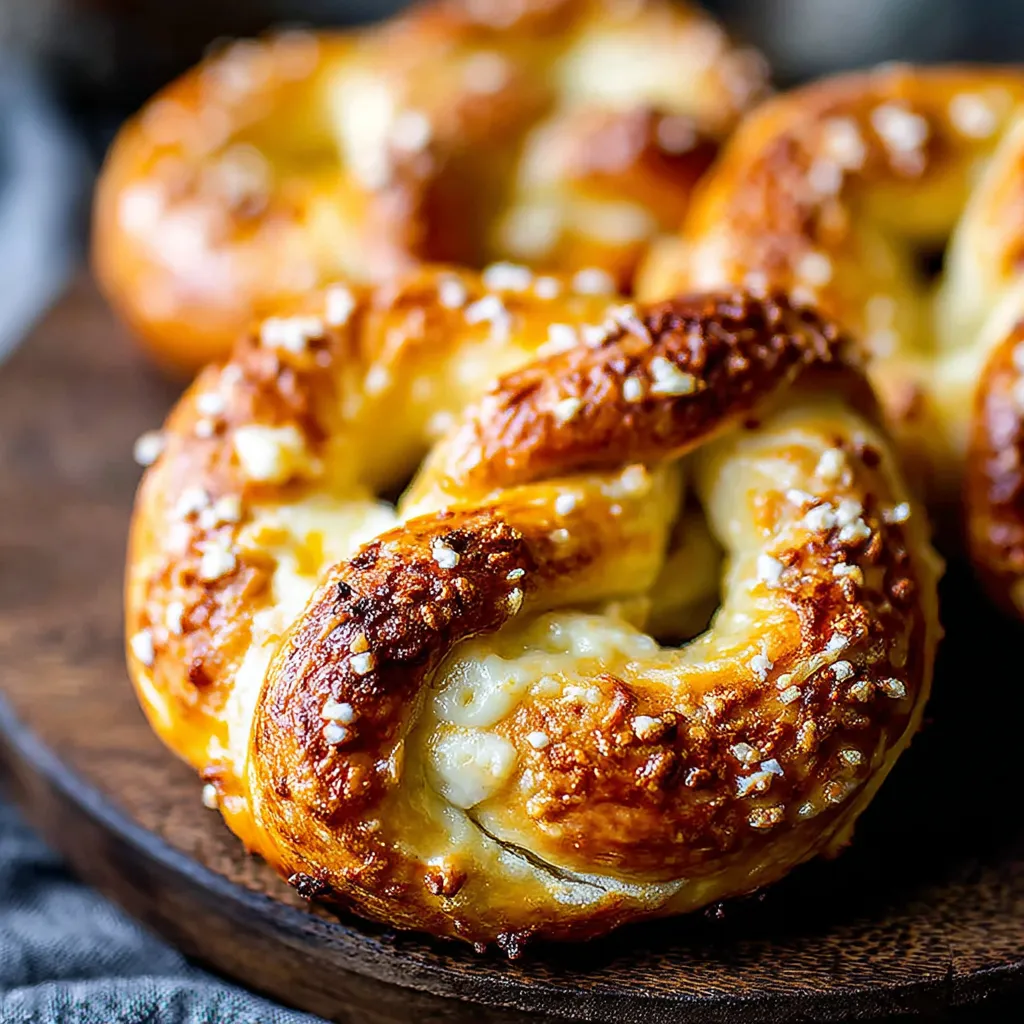
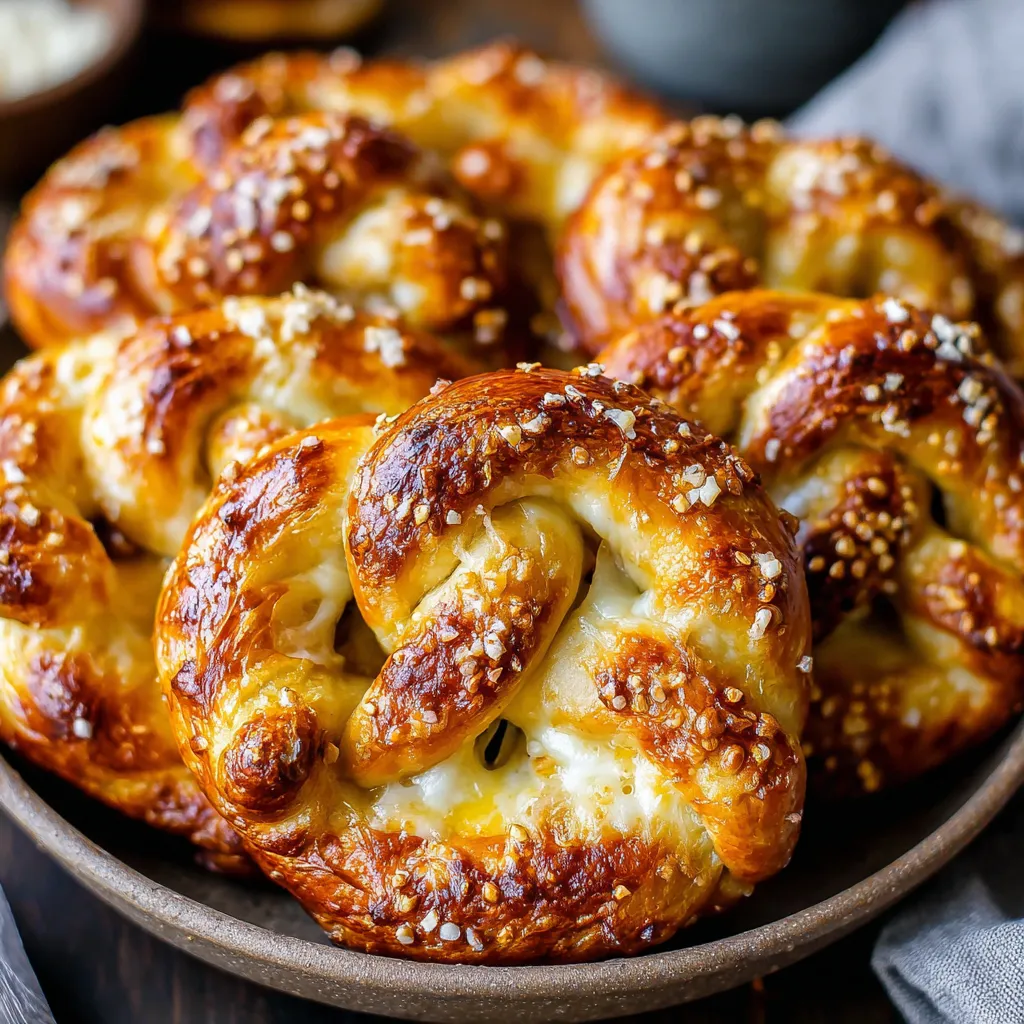
- Sharp cheddar cheese The sharper the better for maximum flavor. I like to cut my own sticks rather than using pre-shredded for better melting.
- Baking soda Creates the distinctive pretzel flavor and chewy crust during the water bath.
- Egg yolk wash Gives pretzels their beautiful golden brown finish.
- Coarse salt The finishing touch that makes these pretzels irresistible. Flaky sea salt works beautifully here.
Step-by-Step Instructions
- Activate the yeast
- Mix warm water with sugar in your stand mixer bowl then sprinkle yeast on top. Let it rest for 10 minutes until foamy and fragrant. This tells you your yeast is alive and ready to work its magic. If you don't see bubbles after 10 minutes your yeast might be dead and you should start over.
- Create the dough
- Add melted butter to the yeast mixture then incorporate flour and salt. Start mixing on low speed with the dough hook to prevent flour clouds then increase to medium for thorough kneading. The dough is ready when it feels smooth elastic and pulls away cleanly from the sides of the bowl. This usually takes 4 to 5 minutes of consistent kneading.
- First rise
- Transfer dough to an oiled bowl turning once to coat all surfaces. Cover with a clean kitchen towel and place in a warm draft free spot. I like to place mine near a sunny window or inside an oven that's been warmed for just a minute then turned off. Let the dough double in size which typically takes about an hour. You'll know it's ready when you gently poke it and the indentation remains.
- Prepare for baking
- While the dough rises preheat your oven to 450°F and prepare your baking sheets with parchment paper and a light coating of oil. Start heating a large pot of water with baking soda for the water bath. The water should be at a rolling boil before you add the pretzels.
- Shape and stuff
- Punch down the risen dough and divide it into 8 equal pieces. Roll each piece into a 24 inch rope then flatten it slightly with your palms. Place a cheese stick down the center then pinch the dough around it securely. Twist into the classic pretzel shape by making a U shape crossing the ends over each other then pressing them onto the bottom curve.
- Boiling bath
- Working with one or two pretzels at a time carefully lower them into the boiling water bath for 30 seconds. Use a slotted spoon to gently bathe the top with water ensuring the entire surface gets treated. This step creates the distinctive chewy pretzel texture and characteristic flavor. Transfer to your prepared baking sheet with enough space between each pretzel.
- Bake to perfection
- Brush each pretzel with egg wash ensuring you cover the entire surface for even browning. Sprinkle generously with coarse salt then bake for exactly 12 minutes until deeply golden brown. Watch carefully in the last few minutes as they can go from perfect to overdone quickly. Cool on a wire rack for at least 5 minutes before serving to allow the cheese inside to set slightly.
I discovered the perfect cheese-to-dough ratio after many attempts. The first time I made these I used too much cheese and ended up with a molten cheese explosion in my oven. Now I cut my cheese sticks to the perfect width that allows for melting without escaping during baking.
Storing Your Pretzels
Freshly baked pretzels will maintain their best texture for about 24 hours at room temperature in an airtight container. After that they begin to lose their distinctive chewiness. For longer storage refrigerate them for up to 3 days and reheat in a 350°F oven for about 5 minutes until warmed through.
If you want to freeze these treasures let them cool completely then wrap individually in plastic wrap and place in a freezer bag. They'll keep for up to 2 months. To reheat unwrap and place directly in a 350°F oven for 10 minutes or until heated through.
Cheese Variations
While sharp cheddar is my family's favorite these pretzels welcome endless cheese variations. Try pepper jack for a spicy kick mozzarella for ultimate stretchy cheese pulls or a combination of gruyère and fontina for sophisticated flavor. Whatever cheese you choose make sure it's cut into sticks rather than shredded for the best melting experience.
For a flavor explosion try adding extras alongside your cheese. Thin slices of jalapeño small pieces of cooked bacon or a sprinkle of Italian herbs can transform these pretzels into a whole new experience.
Serving Suggestions
These cheesy pretzels are perfect on their own but reach new heights when paired with dipping sauces. My family's favorites include whole grain mustard honey mustard beer cheese dip or marinara sauce. For a sweet and savory combination try serving them with apple butter.
Make these the centerpiece of a pretzel bar party by offering multiple dipping options and several cheese varieties. They pair beautifully with craft beer for adults or homemade lemonade for a family gathering.
The History Behind Pretzels
Traditional German pretzels date back to the Middle Ages when monks created the twisted shape to represent arms crossed in prayer. The three holes were said to represent the Holy Trinity. Original pretzels were plain but creative bakers eventually began experimenting with fillings and toppings.
The distinctive pretzel flavor comes from the alkaline bath before baking. Historically this was achieved using food-grade lye but home bakers find baking soda provides similar results with ingredients that are safer and easier to handle.
Recipe FAQs
- → Can I use different types of cheese for these pretzels?
Absolutely! While the recipe calls for sharp cheddar, you can substitute with mozzarella for more stretch, pepper jack for heat, or even a combination of cheeses. Just make sure to use cheese that melts well and cut it into appropriate stick sizes for stuffing.
- → Why do you boil the pretzels in baking soda water?
The baking soda bath is crucial for achieving that distinctive pretzel flavor and texture. It gelatinizes the outside of the dough, allowing it to brown more quickly in the oven and creating that chewy, shiny crust that's characteristic of authentic pretzels.
- → Can I make these pretzels ahead of time?
Yes! You can prepare the dough and let it rise overnight in the refrigerator. You can also shape and boil the pretzels, then freeze them before baking. When ready to serve, thaw them completely, brush with egg wash, add salt, and bake as directed.
- → What can I serve with these cheesy pretzels?
These pretzels are delicious on their own, but they pair wonderfully with mustard (stone-ground or honey mustard), beer cheese dip, marinara sauce, or even a jalapeño ranch for some kick. They're perfect for game day spreads or casual entertaining.
- → How do I know when my dough has risen enough?
Your dough should roughly double in size during the rising period. A simple test is to gently press your finger about half an inch into the dough - if the indentation remains, the dough has risen enough. If it springs back completely, it needs more time.
- → What if I don't have a stand mixer?
You can definitely make these pretzels without a stand mixer. Simply mix the ingredients in a large bowl with a wooden spoon until combined, then knead by hand on a floured surface for 8-10 minutes until smooth and elastic.