
 Save
Save
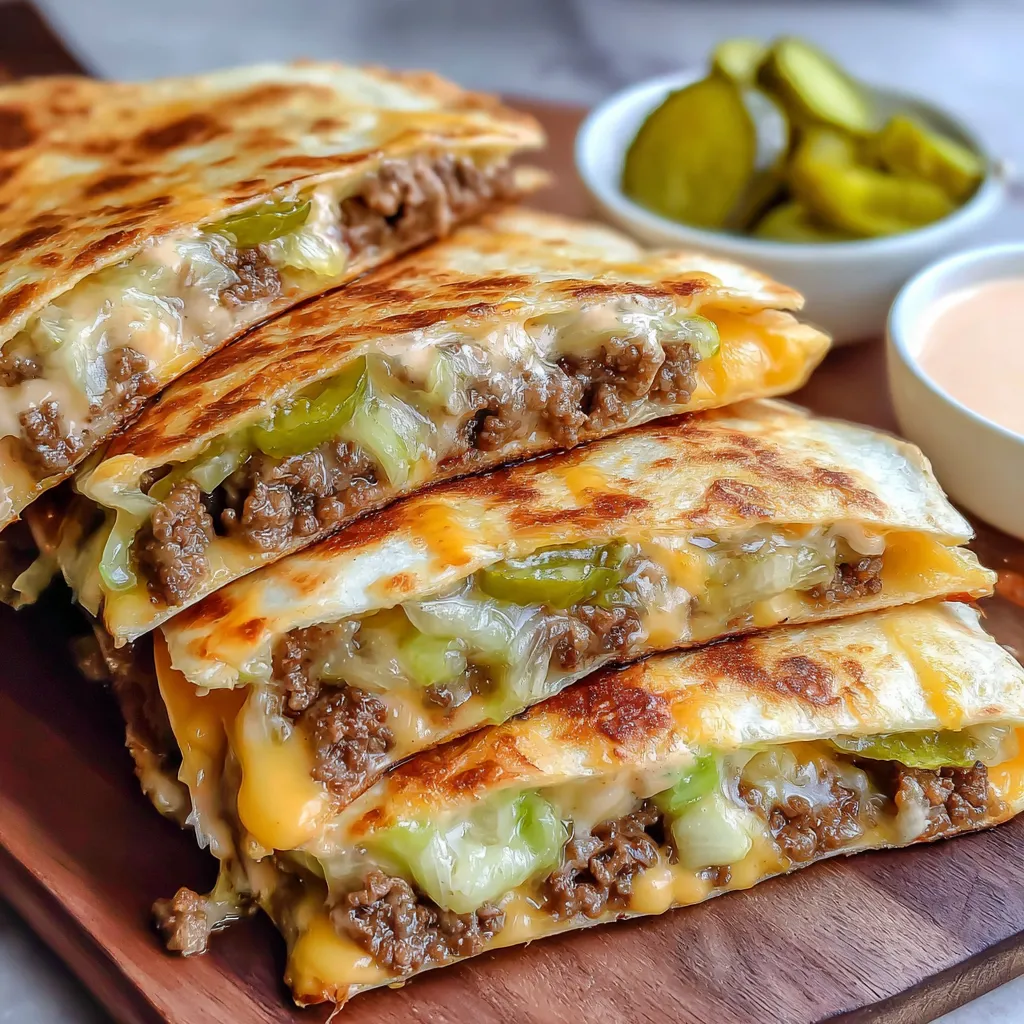
This cheeseburger quesadilla recipe combines two beloved comfort foods into one irresistible dish. I created this fusion masterpiece when I needed a quick dinner that would please both my burger-loving spouse and my quesadilla-obsessed kids. The result was an instant family favorite that satisfies those fast food cravings while being easily customizable.
My family requests these at least twice a month and they always disappear within minutes. I originally made them when we were craving burgers but had tortillas instead of buns. Now we sometimes prefer them to traditional cheeseburgers.
Ingredients
- Lean ground beef gives you classic burger flavor without excessive grease. Choose 85/15 or 90/10 for best results
- Salt enhances all the flavors and brings out the natural savoriness of the beef
- Black pepper adds that traditional burger spice. Freshly ground tastes noticeably better
- Garlic powder provides depth without the texture of fresh garlic. Look for fresh not clumped powder
- Worcestershire sauce adds that unmistakable umami that makes burgers taste like burgers
For the Burger Sauce
- Mayonnaise creates the creamy base. Full fat works best for authentic flavor
- Grated onion infuses the sauce with flavor. The fine texture ensures no large chunks
- Ketchup provides sweetness and tomato flavor. Use a good quality brand
- Pickle relish adds tanginess and texture. Sweet or dill both work well
- Yellow mustard gives that classic burger condiment flavor. The regular ballpark variety is perfect
- White vinegar brightens all the flavors. Distilled white vinegar works perfectly
- Paprika adds color and a subtle smoky note. Spanish paprika has the best flavor
For the Quesadillas
- Burrito sized flour tortillas provide the perfect size and sturdy base. Look for fresh pliable ones
- Cheddar cheese slices melt beautifully and provide that classic burger cheese flavor
- Finely chopped onion adds texture and sharpness. Sweet or yellow onions work best
- Chopped dill pickles contribute crunch and tanginess. Get good quality refrigerated ones
- Olive oil helps achieve that perfect golden crust. Extra virgin or regular both work
Step-by-Step Instructions
- Make the Burger Sauce
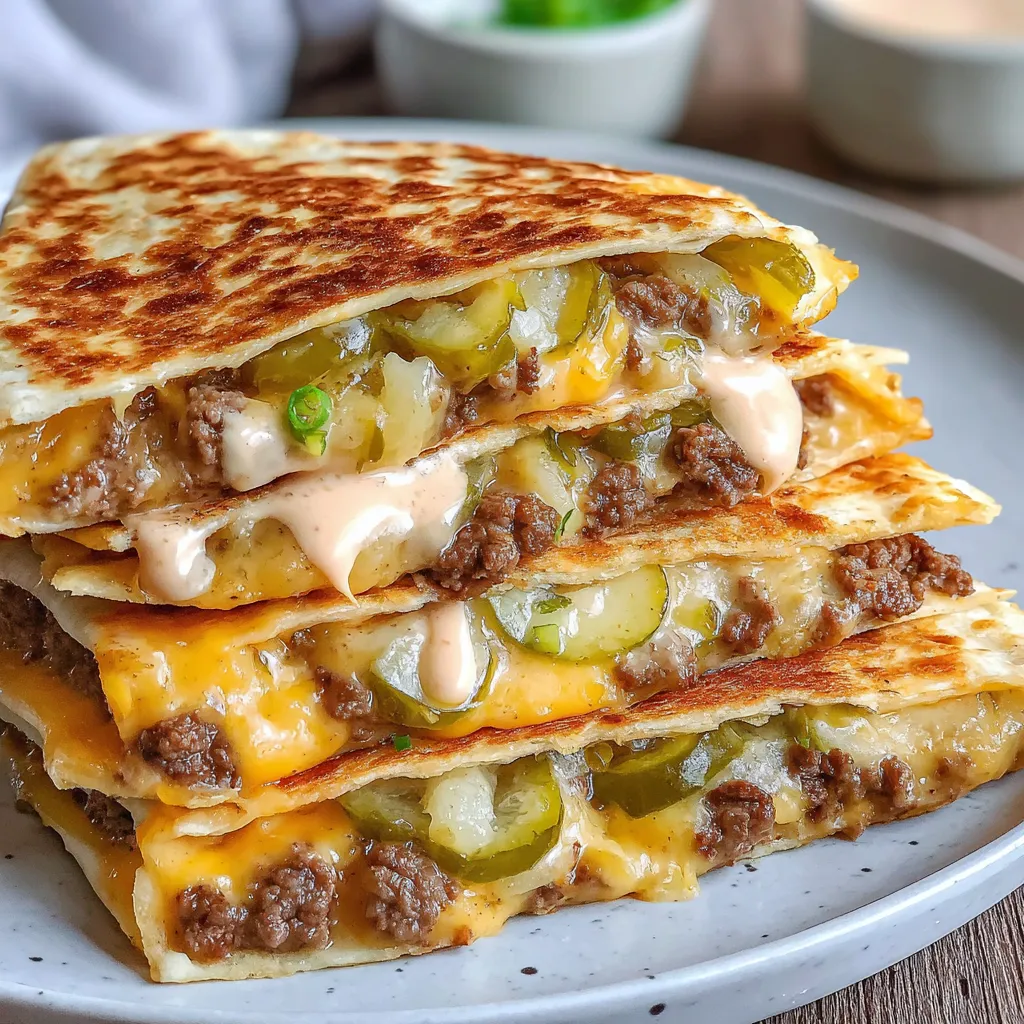
- Combine all sauce ingredients in a small bowl and whisk thoroughly until completely smooth. The sauce should have a creamy consistency with visible flecks of spices and relish. Refrigerate while preparing other components to allow flavors to meld together. This sauce actually tastes even better if made a few hours ahead.
- Brown the Beef
- Heat your largest skillet over medium high heat until hot. Add ground beef directly to the dry hot pan and immediately begin breaking it apart with a wooden spoon. Continue cooking and stirring frequently for 5 to 7 minutes until no pink remains and the beef develops some browned edges. These browned bits add tremendous flavor.
- Season the Beef
- Carefully drain excess fat from the pan while keeping the beef inside. Return to heat and sprinkle all seasonings evenly over the meat. Stir thoroughly to ensure even distribution making sure to scrape up any flavorful bits from the bottom of the pan. The beef should be fragrant and well coated with seasonings. Remove from heat once fully incorporated.
- Assemble the Quesadillas
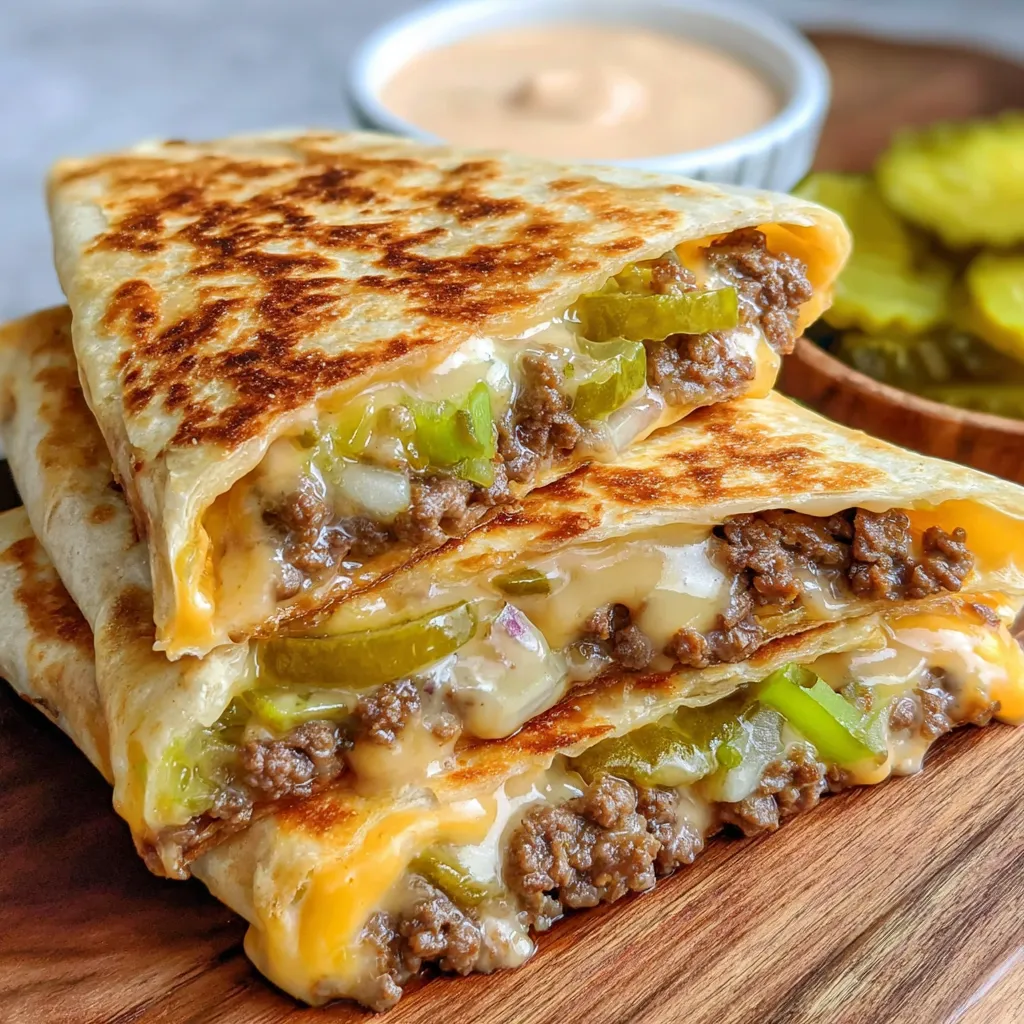
- Lay each tortilla flat on your work surface. Place 2 cheese slices on one half of each tortilla ensuring even coverage. Divide the seasoned beef mixture among the tortillas spreading it in an even layer over the cheese. The beef should be warm but not hot enough to melt the cheese immediately. Distribute chopped onions and pickles evenly over the beef layer. Add 2 more cheese slices on top to help seal everything together. Fold tortillas in half to create half moon shapes pressing gently to flatten.
- Cook the Quesadillas
- Wipe out your skillet and return to medium high heat. Add olive oil and allow it to heat until shimmering but not smoking. Carefully place quesadillas in the pan without overcrowding working in batches if necessary. Cook for 2 to 3 minutes until the bottom is golden brown and crispy then carefully flip using a wide spatula. Cook the second side until equally golden and the cheese is completely melted throughout.
- Serve and Enjoy
- Transfer quesadillas to a cutting board and let rest briefly so the cheese can set slightly. Use a sharp knife or pizza cutter to slice each quesadilla into 2 or 3 triangular pieces cutting with firm pressure to create clean edges. Serve immediately with the burger sauce alongside for dipping. The contrast between the crispy exterior and the melty cheesy interior is absolutely perfect.
I particularly love using sharp cheddar cheese in this recipe as it provides that authentic burger flavor that milder cheeses just cant match. My husband once claimed these were better than our favorite local burger joint which is high praise indeed.
Make Ahead Tips
You can prepare the burger sauce up to three days in advance and store it in an airtight container in the refrigerator. The flavors actually develop and improve over time so this is a great component to make ahead. The seasoned beef can also be cooked up to two days ahead and refrigerated. Simply reheat it in the microwave or a skillet before assembling the quesadillas. For a party you can even assemble the quesadillas a few hours ahead and keep them covered in the refrigerator before cooking.
Perfect Pairings
These cheeseburger quesadillas pair wonderfully with traditional burger sides. Try serving them with crispy french fries sweet potato fries or tater tots for the ultimate comfort food experience. A simple green salad with a light vinaigrette provides a nice contrast to the richness of the quesadillas. For drinks consider an ice cold beer craft root beer or a classic chocolate milkshake to complete the burger joint experience at home. My family loves to set up a DIY toppings bar with extra sauce pickles shredded lettuce and diced tomatoes.
Kid-Friendly Variations
This recipe is already a hit with children but you can make it even more kid friendly with a few simple modifications. For picky eaters consider omitting the chopped onions or substituting with milder green onions. You can also use American cheese instead of cheddar for that classic fast food taste that kids love. Cut the quesadillas into smaller pieces for little hands and serve the sauce on the side for dipping. My children enjoy helping assemble these which gets them excited about dinner and more likely to eat enthusiastically.
Recipe FAQs
- → Can I use ground turkey instead of beef?
Absolutely! Ground turkey works wonderfully as a lighter alternative. Season it a bit more generously since turkey has a milder flavor, perhaps adding a touch more Worcestershire sauce and garlic powder to enhance the taste.
- → How can I make these quesadillas spicy?
For a spicy kick, add sliced jalapeños or a sprinkle of red pepper flakes to the filling. You could also mix some hot sauce into the burger sauce or serve with additional hot sauce on the side.
- → Can I prepare the burger sauce ahead of time?
Yes! The burger sauce actually develops more flavor when made ahead. Store it in an airtight container in the refrigerator for up to 5 days. This makes meal prep even quicker when you're ready to make the quesadillas.
- → What's the best way to reheat leftover quesadillas?
For best results, reheat leftover quesadillas in a dry skillet over medium heat for 1-2 minutes per side until crispy and heated through. You can also use an oven at 350°F for 5-10 minutes. Avoid microwaving if possible as it makes the tortillas soggy.
- → What sides pair well with these quesadillas?
These quesadillas pair perfectly with classic burger sides like french fries, sweet potato fries, or a simple green salad. Corn on the cob, coleslaw, or tortilla chips with guacamole also make excellent accompaniments that complement the fusion theme.
- → Can I make these quesadillas vegetarian?
Definitely! Substitute the ground beef with plant-based meat alternatives, black beans, or a mixture of sautéed mushrooms and walnuts for texture. The burger sauce can be made with vegan mayonnaise for a completely plant-based option.