 Save
Save
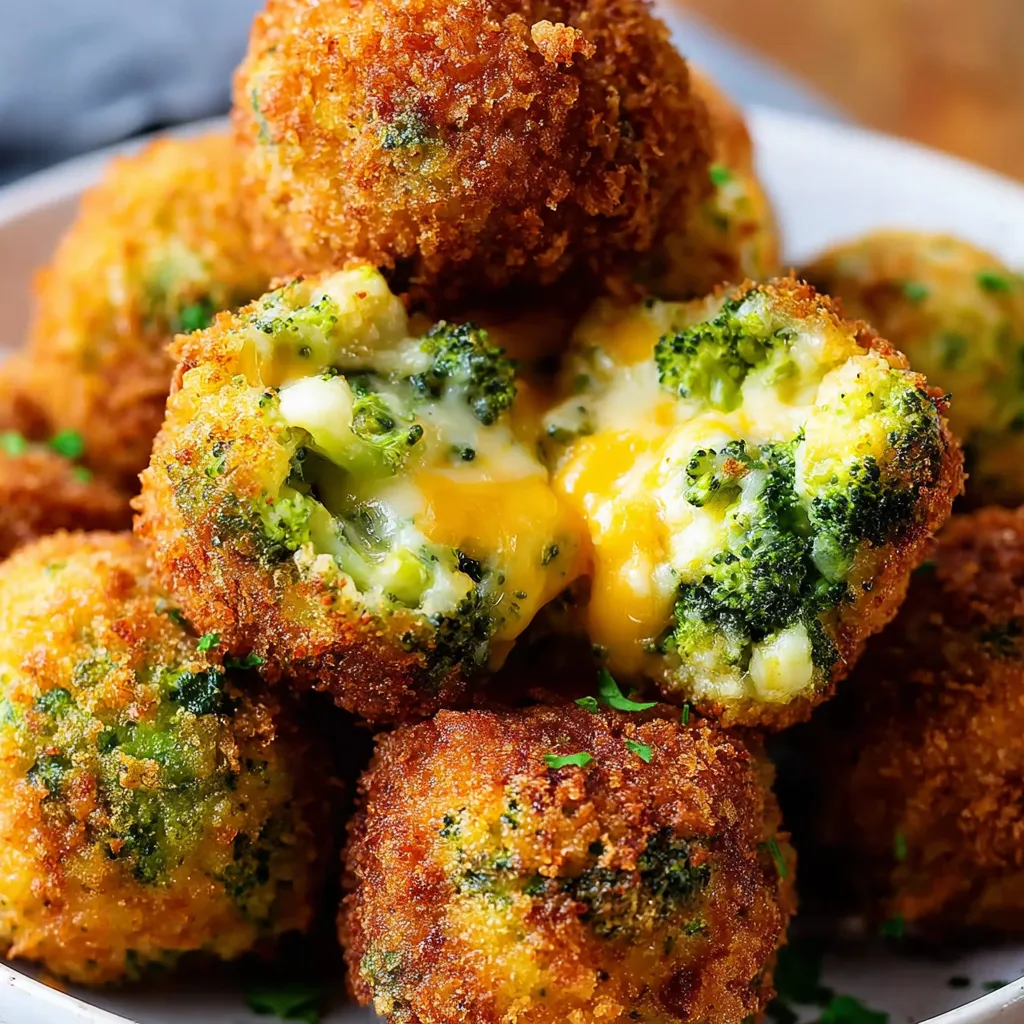
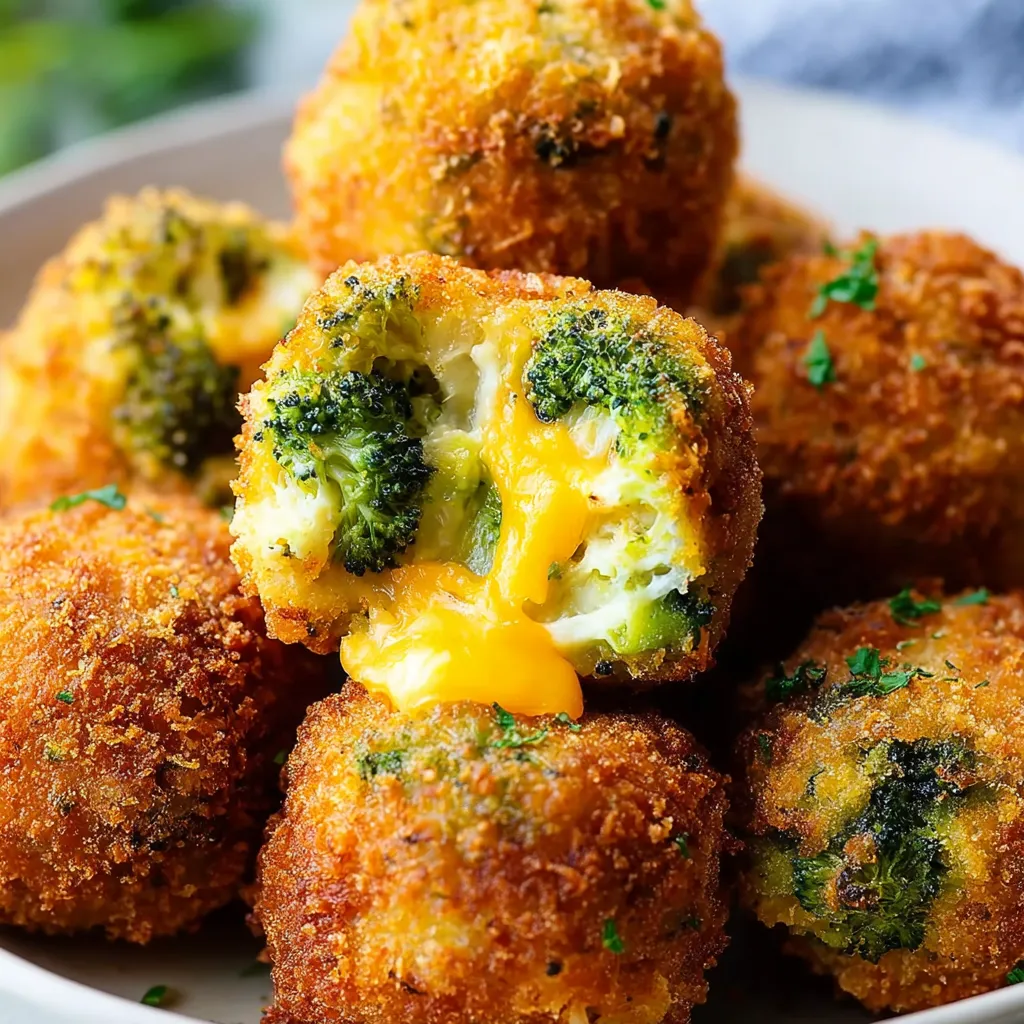
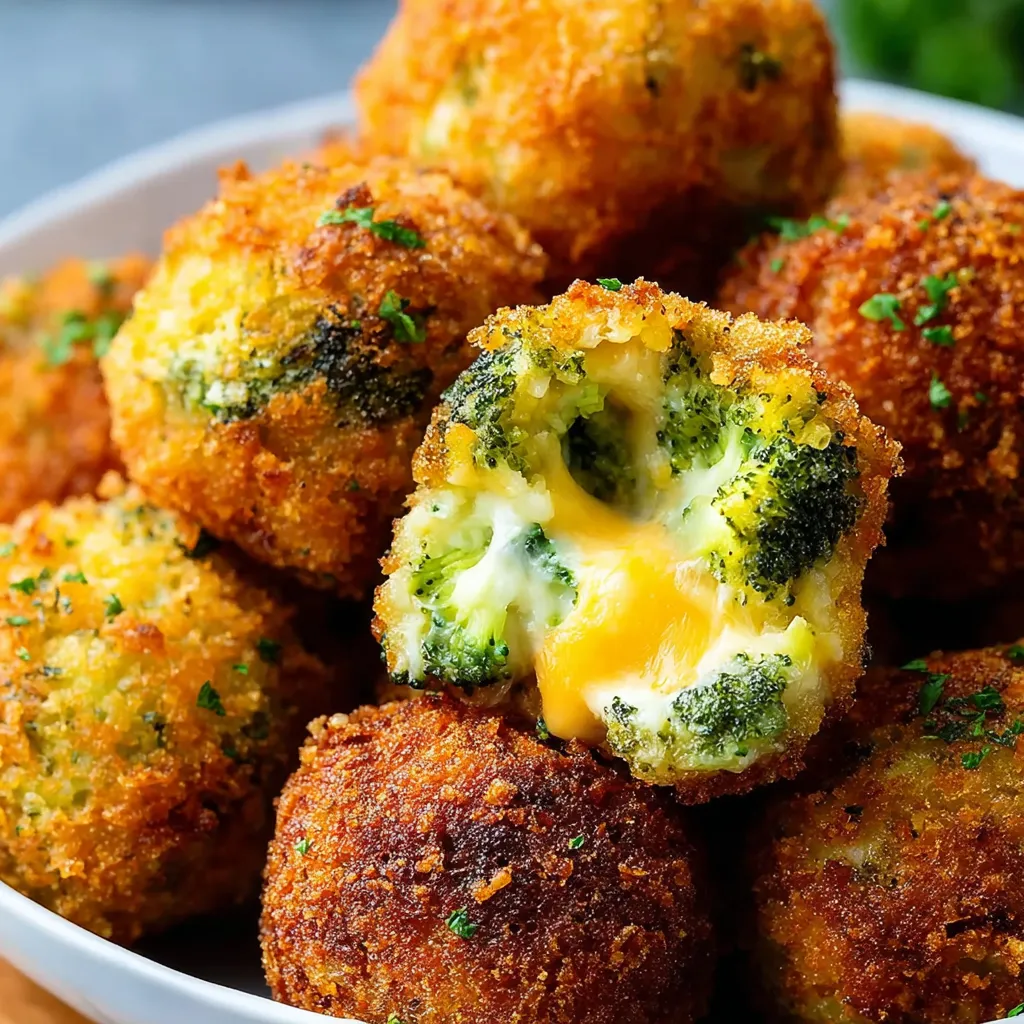
These crispy broccoli cheese balls deliver irresistible comfort in every bite. The contrast between the crunchy golden exterior and the gooey cheese-filled interior creates a sensational appetizer that disappears within minutes at any gathering.
I first made these for a football watch party, and they became an instant tradition. My friend's teenage son who normally avoids vegetables ate seven of them before asking what was inside!
Ingredients
- Fresh broccoli florets heaping 1½ cups creates the perfect vegetable base while providing texture and nutrition
- Shredded Colby cheese 1 cup melts beautifully with a mild flavor that complements the broccoli
- Shredded cheddar cheese 1 cup adds that classic sharp flavor that everyone recognizes and loves
- Velveeta 4 ounces creates that unmatched creamy meltiness that holds everything together
- Crushed red pepper flakes ½ teaspoon provides just enough heat without overwhelming the other flavors
- Panko crumbs 2¼ cups divided between the mixture and coating creates the perfect crispy exterior
- Eggs 3 large total act as the essential binder both in the mixture and for the breading process
- All-purpose flour ½ cup creates the first layer of the breading that helps everything else adhere
- Vegetable or canola oil for frying offers the neutral flavor needed for perfect golden results
Step-by-Step Instructions
- Prepare the broccoli
- Cook the broccoli florets in a steamer until they become slightly tender but still maintain some firmness. This usually takes about 3 to 4 minutes. Allow them to cool completely before moving to the next step as hot broccoli will melt the cheese prematurely.
- Create the perfect texture
- Finely chop the cooled broccoli into tiny pieces approximately ¼-inch or smaller. The small size ensures the broccoli distributes evenly throughout the cheese mixture and prevents large chunks that might cause the balls to fall apart during frying.
- Mix the binding ingredients
- Combine the chopped broccoli, both shredded cheeses, Velveeta chunks, red pepper flakes, ¼ cup of the Panko crumbs, and one beaten egg in a large bowl. Stir everything thoroughly until you achieve a uniform mixture where the egg and crumbs bind all ingredients together.
- Form the balls
- Using clean slightly damp hands, shape the mixture into balls using approximately a rounded tablespoon of mixture for each. Gently but firmly compress the mixture as you roll it between your palms. This should yield 12 to 14 evenly sized balls. Place them on a plate and refrigerate for at least 30 minutes to firm up.
- Set up the breading station
- Arrange three bowls in a row for the breading process. Place the flour in the first bowl, the remaining 2 beaten eggs whisked with 1 tablespoon of water in the second bowl, and the remaining 2 cups of Panko crumbs in the third bowl. This creates the perfect assembly line for efficient coating.
- Heat the oil
- Pour approximately 2 inches of vegetable or canola oil into a Dutch oven or heavy pot. Heat the oil to exactly 375°F, using a thermometer to verify the temperature. Maintaining this temperature is crucial for proper cooking without burning the exterior or leaving the interior cold.
- Bread and fry
- Working with one ball at a time, roll it first in the flour ensuring complete coverage, then dip in the egg mixture allowing excess to drip off, and finally coat thoroughly with Panko crumbs pressing gently to adhere. Carefully lower 4 balls at a time into the hot oil and fry until golden brown on all sides, about 2 to 3 minutes total.
- Drain and serve
- Using a slotted spoon, transfer the fried balls to a paper towel-lined plate to absorb excess oil. Allow them to cool slightly before serving warm. The cooling period of 2 to 3 minutes helps the cheese set slightly so the balls hold their shape when bitten into.
 Save
Save
The Velveeta might seem like an unusual addition, but it creates that silky smooth meltiness that other cheeses alone cannot achieve. My grandmother always kept a block in her refrigerator specifically for these balls, claiming it was the secret ingredient that made everyone ask for her recipe.
Make-Ahead Options
These broccoli cheese balls are perfect for preparing in advance. You can make the mixture and form the balls up to 24 hours before cooking. Simply keep them covered in the refrigerator until you're ready to bread and fry. For longer storage, freeze the unbreaded balls on a baking sheet until solid, then transfer to a freezer bag where they'll keep for up to three months. When ready to serve, thaw in the refrigerator overnight before proceeding with the breading and frying steps.
Perfect Pairings
These crispy delights pair wonderfully with dipping sauces that complement their rich flavor. Try serving them with a spicy sriracha mayo, cool ranch dressing, or tangy marinara sauce. For a complete meal, serve alongside a fresh green salad with vinaigrette dressing to balance the richness of the cheese balls. They also make excellent companions to grilled meats or roasted vegetables for a more substantial dinner offering.
Healthier Alternatives
If you prefer to avoid frying, these broccoli cheese balls can be baked with excellent results. Simply preheat your oven to 425°F, place the breaded balls on a parchment-lined baking sheet, spray lightly with cooking oil, and bake for 15 to 20 minutes until golden and heated through. For a lower-carb option, substitute almond flour for the all-purpose flour and crushed pork rinds for the Panko crumbs. The texture will be slightly different but still deliciously crispy.
 Save
Save
Recipe FAQs
- → Can I bake these broccoli cheese balls instead of frying?
Yes, you can bake these balls at 375°F for about 20-25 minutes until golden brown. Spray them lightly with cooking oil before baking for a crispier exterior. While baking offers a healthier alternative, the texture won't be quite as crispy as the fried version.
- → Can I make these broccoli cheese balls ahead of time?
Absolutely! You can prepare the balls through the breading stage and refrigerate them for up to 24 hours before frying. For longer storage, freeze the breaded balls on a baking sheet, then transfer to a freezer bag for up to 1 month. Fry directly from frozen, adding a few extra minutes to the cooking time.
- → What dipping sauces pair well with these cheese balls?
These broccoli cheese balls pair wonderfully with ranch dressing, marinara sauce, honey mustard, or a spicy sriracha mayo. For a complementary flavor, try a garlic aioli or a simple lemon-herb yogurt dip.
- → Can I substitute the cheeses in this recipe?
Yes, you can customize the cheese blend based on your preferences. Just ensure you include a good melting cheese like mozzarella, fontina, or Monterey Jack. The Velveeta helps with the creamy texture, but you could substitute with cream cheese or additional shredded cheese with a splash of milk.
- → How do I know when the oil is at the right temperature for frying?
A cooking thermometer is ideal for maintaining 375°F. Without one, test by dropping a small piece of bread into the oil—it should bubble vigorously and turn golden brown in about 60 seconds. If it browns too quickly, the oil is too hot; if it takes longer, the oil needs more heating.
- → What can I serve with these broccoli cheese balls for a complete meal?
These versatile bites work well as an appetizer or as part of a meal. Serve alongside a fresh green salad, tomato soup, or as part of a finger food spread with other appetizers. They also make a great side dish for grilled chicken or fish.
